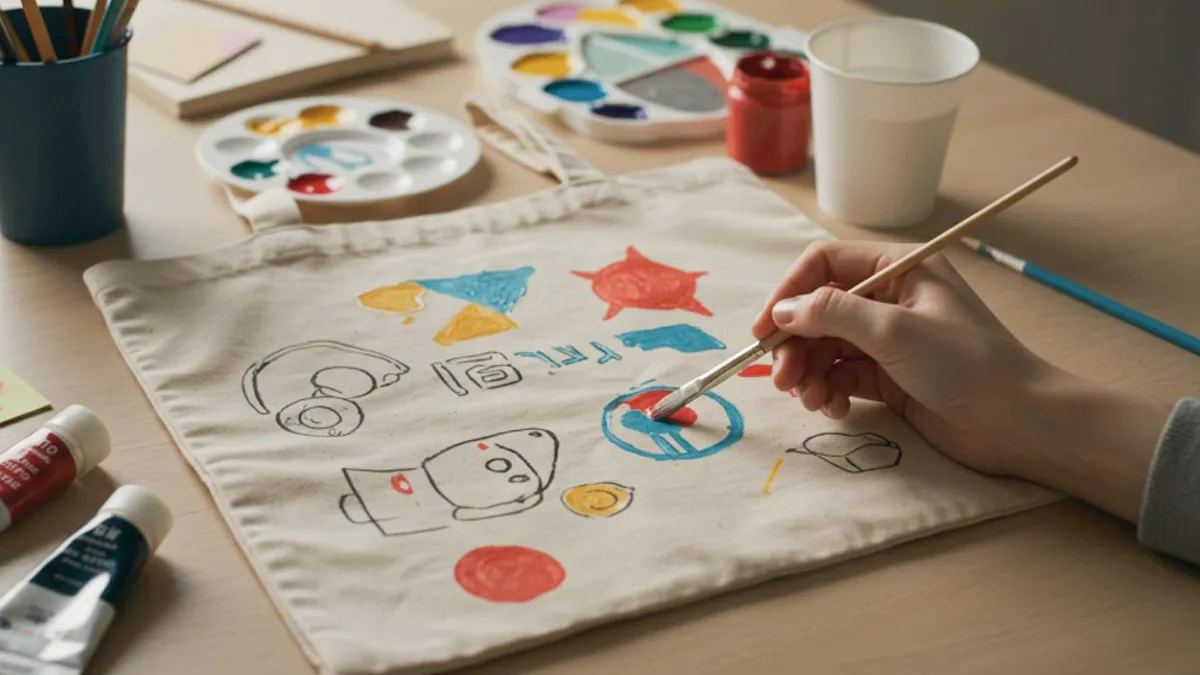
Jumping into painting on canvas bags with acrylics feels easier than you might think. You don’t need fancy skills or expensive tools to create something unique. Imagine carrying a tote that shows off your personality, favorite colors, or even a doodle you love. You can make mistakes, laugh, and learn as you go. The best part? You get to express yourself and have fun along the way.
Key Takeaways
- Acrylic paint works well for beginners because it dries fast and has bright colors.
- Get your workspace and materials ready before you start so painting goes smoothly.
- Mix fabric medium with acrylics to keep your design soft and stop it from cracking.
- Stencils and paint pens help you make neat lines and detailed designs, even if you are new.
- Let each layer of paint dry all the way before you add more so it does not smudge.
- Heat setting your painted bag helps keep the design in place and makes it last longer.
- Wash your painted bag by hand with gentle soap to keep it looking good and help it last.
- Try out different designs and do not worry about mistakes; practicing helps you get better!
Painting on Canvas Bags with Acrylics
Why Choose Acrylics
You might wonder why so many people love painting on canvas bags with acrylics. Acrylic paint works great for beginners and pros alike. Here’s why you should give it a try:
- Acrylics dry quickly, so you don’t have to wait long to see your results.
- They cover canvas fabric well, making your colors pop.
- You can mix them with fabric medium. This keeps your design flexible and helps prevent cracking or peeling.
- Acrylics last a long time. Your painted bag can handle daily use.
- They are easy to use and clean up with just water.
If you want a paint that is simple, bold, and reliable, acrylics are the way to go. You can start painting on canvas bags with acrylics even if you have never painted before.
Common Myths
You might have heard some things about painting on canvas bags with acrylics that just aren’t true. Let’s clear up a few common myths:
Myth: Acrylic paint always cracks or peels off canvas bags.
Truth: If you use fabric medium and let your bag dry well, your design stays flexible and strong.
Myth: Only artists can make nice designs.
Truth: Anyone can create something fun and personal. Stencils and paint pens help you get clean lines, even if you’re new.
Myth: Acrylics are hard to use on fabric.
Truth: Acrylics work well on canvas. They stick to the fabric and give you bright, lasting colors.
Don’t let these myths stop you from trying painting on canvas bags with acrylics. You’ll find it much easier than you think.
What Beginners Should Know
Before you start painting on canvas bags with acrylics, a little prep goes a long way. Here’s a simple checklist to help you get ready:
- Gather your materials: You’ll need a cup of water, scrap paper, gloves, an apron, and a color chart for mixing paints.
- Set up your workspace: Use a large table and lay out all your supplies. Prepare your palette with the main colors you want to use.
- Prep your canvas bag: Stretch the bag flat to remove creases. Slip a plastic sheet or cardboard inside the bag. This stops paint from bleeding through.
- Pick your paint: Choose acrylic paint for its quick drying time and bold look. Remember, colors may look a bit darker when dry.
- Select your brushes: Start with sturdy synthetic brushes in a few sizes. These work best for painting on canvas bags with acrylics.
Tip: Take your time and enjoy the process. Painting on canvas bags with acrylics lets you express yourself and create something you’ll love to use every day.
Supplies for Painting a Canvas Tote Bag
Before you start painting, you need the right supplies. Picking good materials makes your project easier and helps your design last longer. Let’s break down what you need for your canvas tote bag masterpiece.
Essential Materials
Canvas Bag Types
You want a sturdy canvas tote bag that can handle paint and daily use. Look for bags with thick, tightly woven fabric. Some popular choices include basic totes, zippered bags, and even the roomy Pittman bag, which has a zipper to keep your supplies safe. If you plan to paint outside, a bag with a flat bottom helps your work stay steady.
Acrylic Paints
Acrylic paints work great for beginners. They dry fast and give you bright colors. Many artists recommend Liquitex Basics because it covers well and doesn’t cost too much. You can also try fabric paint, which stays flexible after drying. Both options stick well to a canvas tote bag.
Brushes and Tools
You need a few different brushes. Use flat brushes for big areas and round brushes for details. Sponges help you add texture or fill large spaces quickly. Don’t forget a cup of water for rinsing brushes and some paper towels for quick cleanups.
| Tool | Use |
|---|---|
| Flat brush | Large areas, backgrounds |
| Round brush | Details, outlines |
| Sponge | Texture, blending |
| Paint palette | Mixing colors |
Optional Add-ons
Gesso and Fabric Medium
Gesso helps prep your canvas tote bag by making the surface smoother and less absorbent. You can brush on a thin layer before painting. Fabric medium mixes with acrylic paint to keep your design soft and flexible. This helps prevent cracking when you use your bag.
Stencils and Paint Pens
Stencils make it easy to create neat shapes and patterns. You can use painter’s tape to block off areas for clean lines or color blocks. Paint pens, especially white ones, help you add fine details or outlines. A pencil and eraser let you sketch your design before you start painting.
Tip: Try using a plastic crate on wheels or a backpack to organize and carry your supplies, especially if you like painting outdoors.
When you shop for supplies, look for quality brands at local art stores or trusted online shops. Good brushes and paints make a big difference. If you want to try new techniques, add stencils, sponges, or fabric medium to your kit. With the right tools, your canvas tote bag will look amazing and last a long time.
How to Prepare a Canvas Bag for Painting
Getting your canvas bag ready is a big step. When you prep your bag, your paint sticks better and your design lasts longer. You also avoid surprises like paint bleeding through or colors looking dull. Let’s walk through how you can set up your space and prep your bag for the best results.
Workspace Setup
A good workspace makes painting easier and more fun. You want to keep things tidy and have everything close by. Here’s how you can set up your area like a pro:
- Place all your tools—brushes, paints, water, and towels—within arm’s reach. This way, you don’t have to get up while painting.
- Sort your materials by type and size. Put brushes together, paints together, and so on.
- Give each item its own spot. You’ll always know where to find what you need.
- Clear away anything you don’t need. A clean table helps you focus on your art.
Tip: Lay down some old newspaper or a plastic sheet to protect your table from spills. Good lighting helps you see your colors clearly.
Prepping the Bag
Washing and Drying
Start with a clean bag. Wash your canvas tote in cold water with mild soap. This removes dust, oils, and any factory coating. Let it air dry completely. If the bag feels wrinkled, iron it flat. A smooth surface makes painting easier.
Applying Gesso
Gesso acts like a primer for your canvas bag. It gives you a better surface to paint on and helps your colors stand out. Use a flat brush to spread a thin, even layer of gesso over the area you want to paint. Let it dry for at least an hour. If you want, add a second coat for extra smoothness.
Here’s why artists love using gesso:
| Benefit | Description |
|---|---|
| Even Surface | Gesso provides an even painting surface, preventing paint from seeping through the canvas. |
| Vibrancy | Colors appear more vibrant on a well-primed surface. |
| Longevity | Increases the lifespan of the artwork by providing a protective barrier. |
Note: You can skip gesso if you want a softer, more textured look. For bold colors and sharp lines, gesso is your friend.
Inserting Backing
Before you start painting, slide a piece of cardboard or thick paper inside your bag. This stops paint from bleeding through to the other side. It also gives you a firm surface to work on. Make sure the backing covers the whole area you plan to paint.
Now your bag is ready for your creative touch! Prepping takes a little time, but it makes a big difference in how your finished bag looks and feels.
How to Paint on Canvas Tote Bags
Ready to get creative? You’re about to learn how to paint on canvas tote bags step by step. This part is where your ideas come to life. You’ll plan your design, use stencils, outline with paint pens, and master painting techniques. Let’s dive in!
Planning Your Design
You want your bag to look awesome, so planning matters. Start by sketching your ideas on paper. Think about how your design will fit on the tote. Focus on the composition, the size of each element, and how the colors work together. Grab a color wheel and pick colors that look good side by side. Complementary or analogous colors make your bag pop.
Once you have a plan, lightly outline your design on the tote bag with a pencil. This helps you see where everything goes before you start to paint on canvas tote bags. If you make a mistake, just erase and try again.
Tip: Popular design trends include minimalist logos, full-color art, retro graphics, and even QR codes. You can paint a canvas tote bag with a vintage vibe or add a message that matters to you.
Using Stencils
Stencils help you get sharp shapes and patterns. Place the stencil on your bag and hold it steady. Use a sponge or brush to dab paint inside the stencil. Lift the stencil carefully so you don’t smudge the edges. You can use painter’s tape to block off areas for clean lines. Stencils make it easy to paint on canvas tote bags, even if you’re new to painting a canvas bag.
Outlining with Paint Pen
Paint pens give you crisp outlines and fine details. After you finish your base sketch, trace the lines with a paint pen. White paint pens work great for highlights or borders. If you want your design to stand out, outline shapes before you fill them in with color. This step helps you control the look and keeps your design neat when you paint on canvas tote bags.
Painting Techniques
You’ve planned your design. Now you’re ready to paint a canvas tote bag. Here’s how to paint on canvas tote bags using beginner-friendly techniques.
First Layer
Start with the first layer of paint. Use a flat brush for big areas and a round brush for smaller spots. Dip your brush in paint and use simple strokes to fill in the shapes. Don’t worry if the color looks light at first. Acrylics dry fast, so you can add more layers soon. Let each layer dry before you add another. This keeps colors from mixing and helps your design stay sharp.
| Step | What to Do |
|---|---|
| Sketch | Draw your design on paper and tote |
| Outline | Use pencil or paint pen |
| Paint Base | Fill large areas with flat brush |
| Dry | Wait for paint to dry |
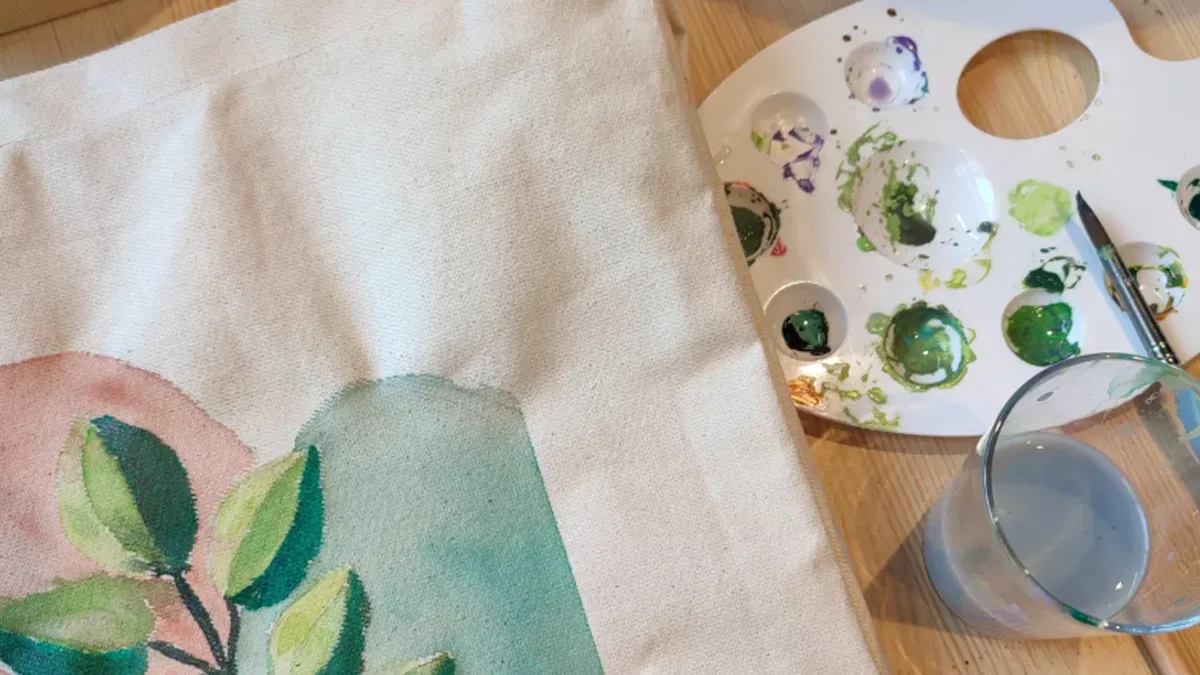
Layering and Blending
Layering makes your colors bold and smooth. After the first layer dries, add more paint to build up the color. You can blend colors by brushing them together while they’re still wet. Try mixing two shades for a gradient effect. If you want shadows or highlights, use lighter or darker paint and blend gently. Layering and blending help you create depth and interest when you paint on canvas tote bags.
Note: If you make a mistake, let the paint dry. Paint over the spot with a fresh layer. Acrylics cover well, so you can fix errors easily.
Adding Details
Details bring your design to life. Use small brushes or paint pens for tiny shapes, lines, and highlights. Add shadows to make things look 3D. Try painting your tote bag with dots, stripes, or patterns for extra flair. If you want your bag to match the latest trends, add a minimalist logo, a retro graphic, or a colorful illustration.
When you finish painting a canvas bag, step back and check your work. Fix any spots that need more color or sharper lines. You can always add more details later.
Tip: Take your time and enjoy the process. Every brush stroke makes your bag more unique.
Now you know how to paint on canvas tote bags from start to finish. You’ve planned your design, used stencils, outlined with paint pens, and mastered painting techniques. Your tote bag is ready to show off your style!
Drying, Setting, and Caring for Your Painted Bag
You’ve finished painting your canvas bag—now it’s time to make sure your artwork lasts! Taking care of your painted tote helps keep the colors bright and the fabric strong. Here’s how you can dry, set, and care for your bag so it stays beautiful for a long time.
Drying and Setting Paint
Let your bag dry in a cool, dry place. Don’t rush this step. Acrylic paint dries fast, but thicker layers need more time. Wait at least 24 hours before you move on to setting the paint.
Heat Setting
Heat setting helps lock in your design. Place a piece of parchment paper or a thin cloth over your painted area. Set your iron to medium heat (no steam). Press gently for about 3–5 minutes, moving the iron around. This step makes your paint more durable and helps prevent cracking.
Using Fabric Sealer
For extra protection, use a fabric sealer or a clear acrylic spray. Spray a light, even coat over your design. Let it dry completely. This shield keeps your artwork safe from water, dirt, and daily wear. Always follow the instructions on your sealer for the best results.
Tip: Sealing your bag and heat setting both help your design last longer, especially if you plan to use your tote every day.
Cleaning Up
Painting can get messy, but cleaning up doesn’t have to be hard. Try these simple steps:
- Use a barrier cream on your hands before you start painting. This makes washing off paint much easier.
- Wipe your hands and surfaces with baby wipes. They remove paint without drying out your skin.
- For dried paint on tables, use a little rubbing alcohol and a cloth.
- Clean your brushes with castile soap and warm water. If paint dries on your brushes, soak them in soapy water for a few minutes.
- If you get paint on your clothes, rub the spot with ivory bar soap before washing.
Keeping your tools clean helps them last longer and makes your next project easier.
Washing and Maintenance
To keep your painted canvas bag looking fresh, follow these care tips:
- Wash your bag by hand in cold or lukewarm water with mild detergent.
- Gently scrub any stains, but avoid wringing or twisting the fabric.
- Rinse until the water runs clear.
- Always air dry your bag. Reshape it while it’s damp to keep its form.
- Dry your bag away from direct sunlight to prevent fading.
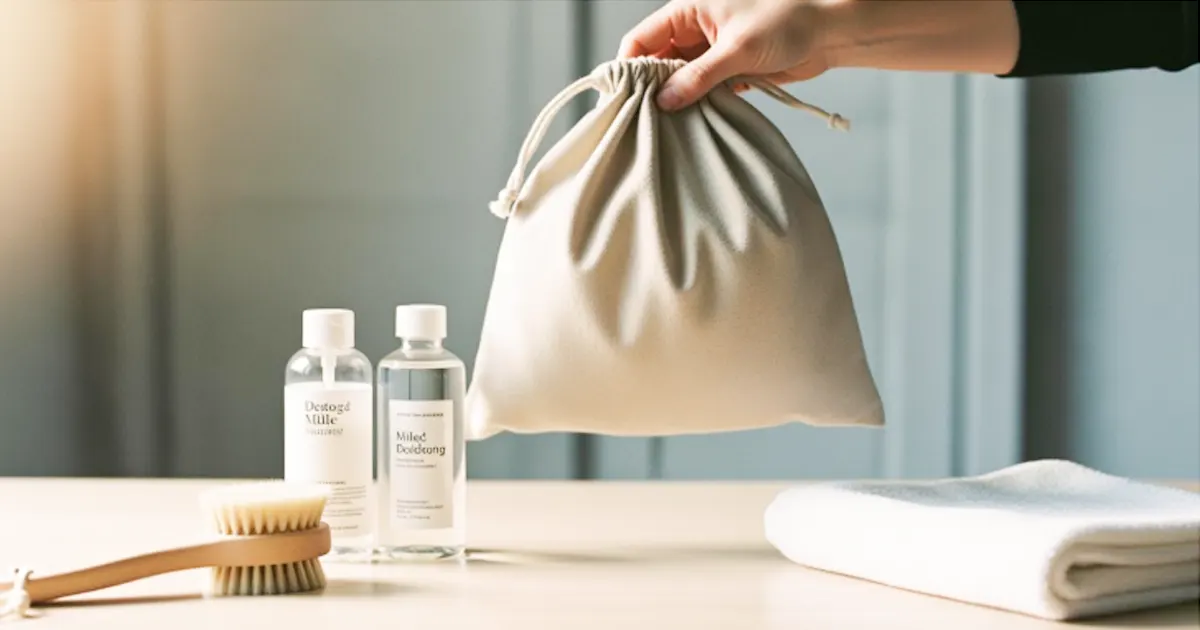
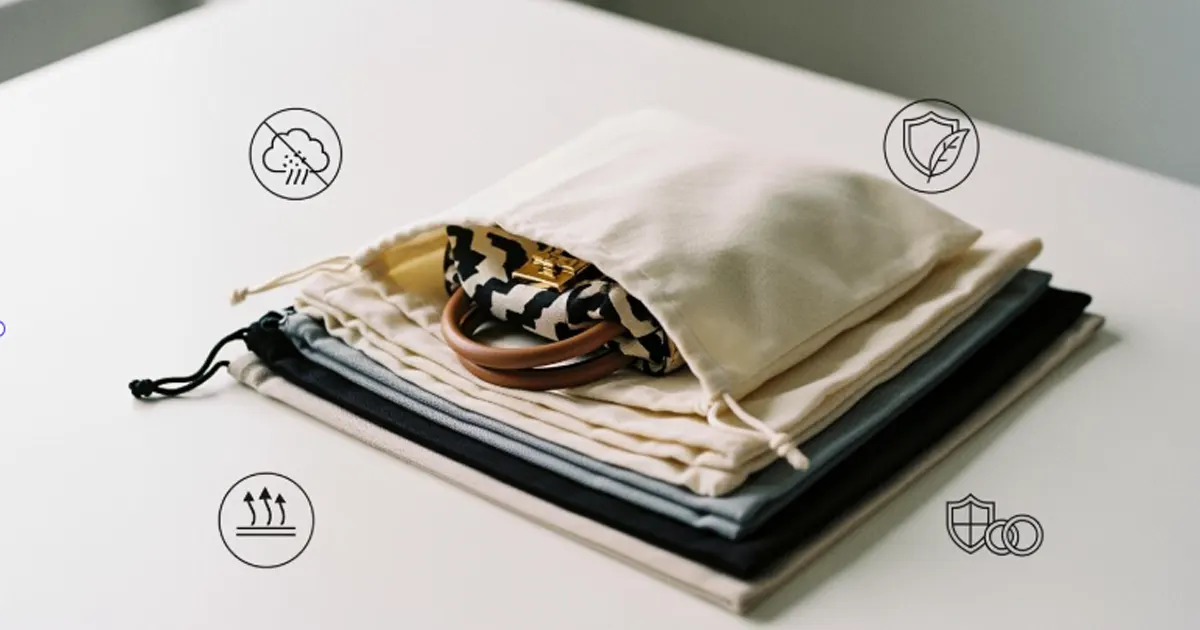
- Store your bag in a cool, dry place. Use a dust bag or pillowcase for long-term storage.
- Try a waterproofing spray to protect against rain and stains.
- Use fabric conditioner to keep the canvas soft and prevent cracking.
| Care Step | Why It Matters |
|---|---|
| Hand wash only | Prevents paint from cracking or fading |
| Air dry | Keeps bag shape and avoids shrinkage |
| Store properly | Stops mold and fading |
A little care goes a long way. Your painted canvas bag will stay bright and sturdy, ready for your next adventure!
Troubleshooting and Tips for Painting a Canvas Bag
Fixing Mistakes
Everyone makes mistakes when learning how to paint a canvas bag. The good news? You can fix most of them! If you smudge a line or use the wrong color, let the paint dry first. Then, paint over the spot with a fresh layer. Acrylics cover well, so you can hide small errors easily. If you spill paint outside your design, use a damp cloth to wipe it up right away.
Here are some common mistakes beginners make with canvas tote bags and how you can avoid them:
- Skipping primer: If you forget to prime your bag, paint may not stick well. Always use two coats of gesso for best results.
- Mixing muddy colors: Practice mixing primary colors before you start. This helps you get bright, clean shades.
- Using too many colors: Stick to a simple palette at first. Your design will look more balanced.
- Messy workspace: Set up your area before you begin. A tidy space helps you focus and keeps your canvas tote bags clean.
Tip: Don’t stress about small flaws. They make your canvas tote bags unique!
Preventing Bleeding and Smudging
Paint bleeding and smudging can ruin your hard work. You want your canvas tote bags to look crisp and neat. Try these tricks to keep your designs sharp:
- Anchor your bag to a flat surface. This keeps it smooth and wrinkle-free.
- Slide a piece of cardboard inside the bag. It stops paint from bleeding through to the other side.
- Use painter’s tape to mark edges. Press it down well so paint doesn’t leak underneath.
- Stencils help you control shapes and patterns, especially for detailed work.
- Let each coat of paint dry fully before adding another. Patience pays off!
If you follow these steps, you’ll see how to paint a canvas bag with clean lines and bold colors.
Note: Always check that your bag is dry before moving it. Wet paint smudges easily on canvas tote bags.
Encouragement for Next Projects
You’ve learned how to paint a canvas bag and care for it. Now, why not try new designs? Many beginners start with simple ideas and build confidence. Here are some fun projects you can try on canvas tote bags:
- Abstract shapes: Use bold colors and geometric patterns for a modern look.
- Floral designs: Paint easy flowers like daisies or sunflowers using basic shapes.
- Monogrammed bags: Add your initials or name for a personal touch.
- Polka dots: These are quick, cheerful, and always in style.
- Stripes: Classic and easy to customize with your favorite colors.
Every time you paint a new canvas tote bag, you get better. Don’t be afraid to experiment. Each project teaches you something new about how to paint a canvas bag. Soon, you’ll have a collection of canvas tote bags that show off your creativity!
Conclusion
You finished your tote bag! Be proud of your work. Each time you paint, you learn more. It’s okay to feel frustrated sometimes. Artists use those feelings to get better. If you keep practicing for a few weeks, you will improve a lot. Try making matching items or a special gift for someone. Use fabric markers, iron-on transfers, or stencils to make each project different.
We are a professional canvas bag manufacturer offering custom, OEM, and ODM solutions for bulk orders. From paint-ready blank totes to branded finished bags, we build to your spec: fabric weight and composition, handle style/length, closures (zip/snap/drawstring), pocket layout, size and color, and print/embellishment options (acrylic-friendly finish, screen print, embroidery, heat transfer). We provide sampling, mass production, and rigorous QC, with compliant materials and testing (e.g., REACH/CPSIA) and customized packaging.
Need totes designed for acrylic painting? We can supply surfaces and finishes optimized for acrylics so your end users can paint easily and show off their designs. Contact us for samples and a fast quote to start your custom project.
FAQ
How do I stop paint from bleeding through my canvas bag?
Slide a piece of cardboard or thick paper inside your bag before you start painting. This backing catches any paint that seeps through and keeps your design crisp.
Can I wash my painted canvas bag in the washing machine?
Hand washing works best. Use cold water and mild soap. Machine washing can cause the paint to crack or fade. Always air dry your bag to keep it looking fresh.
What if I make a mistake while painting?
Let the paint dry. Paint over the mistake with a new layer of acrylic. Acrylics cover well, so you can fix most errors easily. Don’t worry—mistakes happen to everyone!
Do I need to use fabric medium with acrylic paint?
Fabric medium helps keep your design soft and flexible. If you want your bag to feel less stiff and last longer, mix fabric medium into your acrylic paint.
How long should I let my painted bag dry before using it?
Wait at least 24 hours for the paint to dry completely. For extra durability, heat set your design with an iron after it dries.
Can I use regular markers or pens for details?
Paint pens work best for details on canvas. Regular markers may fade or wash out. Choose acrylic paint pens for bold, lasting lines.
What designs are easiest for beginners?
Try simple shapes, polka dots, stripes, or stencils. These designs look great and don’t need advanced skills. You can always add more details as you get comfortable.