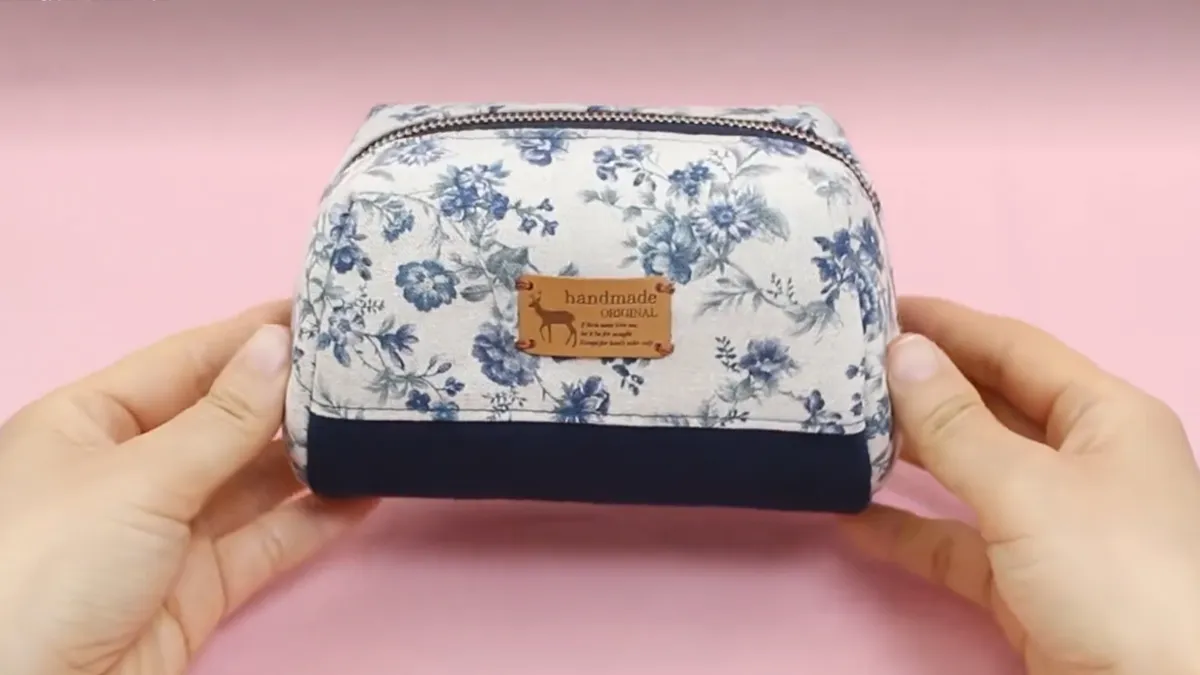
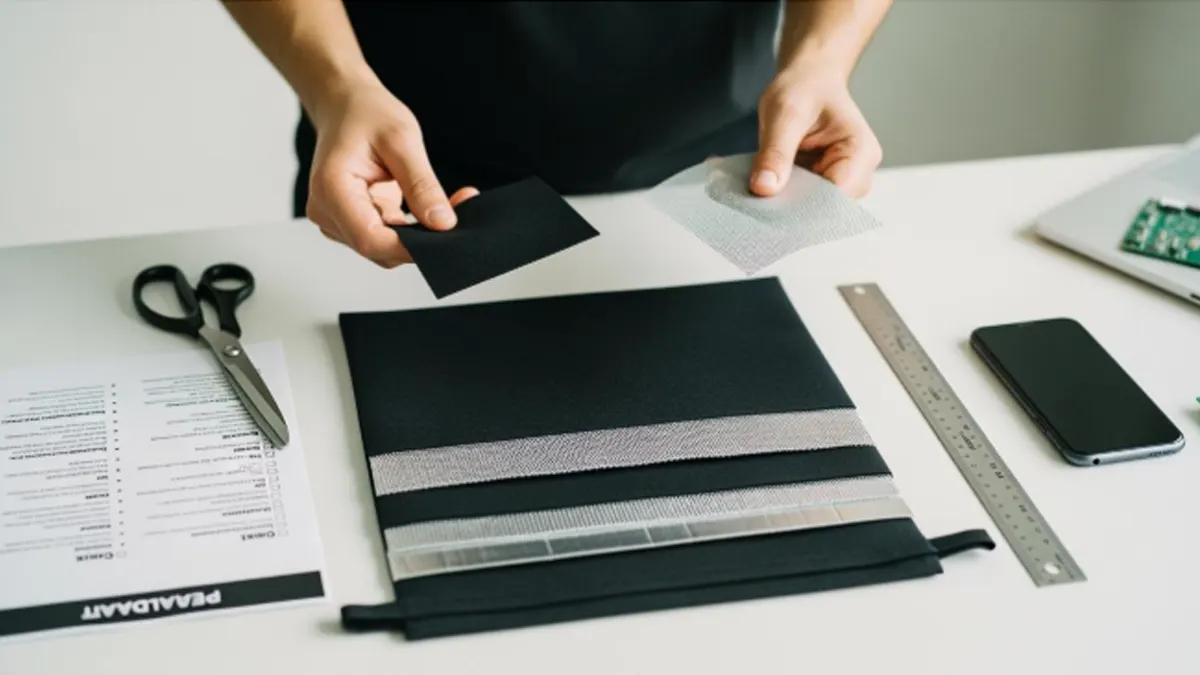
If you have ever wondered how to sew a makeup bag with zipper that looks store-bought, you are in the right place. Sewing your own makeup bag is not just a fun creative project — it is also a practical skill that lets you make something perfectly suited to your style and needs. The best part? With the right guidance, even beginners can create a lined, professional-looking bag without stress.
In this guide, I will walk you through everything: choosing the best fabric for a makeup bag, cutting and preparing your materials, sewing the zipper neatly, adding lining, and finishing touches that make it feel like a high-quality product. Grab a cup of tea, and let’s get sewing together.

Why Make Your Own Makeup Bag
You could buy a makeup bag, but making your own has some big advantages:
- Customization – You choose the fabric, colors, and size.
- Gift potential – Handmade bags make thoughtful, personal presents.
- Cost savings – Quality fabric plus your time can cost less than store prices.
- Satisfaction – There is a special pride in using something you created with your own hands.
Whether you are making one for yourself, as a gift, or as a sample for a future small business, learning how to sew a makeup bag with zipper will give you a versatile skill.
Materials and Tools You Will Need

The first step to success is gathering the right supplies. Here is what I recommend:
- Fabric for the outer layer – Cotton canvas is durable and easy to sew. Quilting cotton works too, but may need interfacing. Oilcloth or faux leather is great if you want a waterproof option. (best fabric for makeup bag)
- Lining fabric – Use a waterproof lining or lightweight cotton. If you want to learn how to sew a lined makeup bag with zipper, choosing a lining that complements your outer fabric is key.
- Interfacing – Medium-weight fusible interfacing will give your bag structure.
- Zipper – A nylon coil zipper (size 8–12 inches, depending on bag width) is easiest to sew.
- Tools – Sewing machine, zipper foot, fabric scissors, pins or clips, ruler or measuring tape, iron, thread.
Cutting and Preparing Your Fabric

Before sewing, you will want to cut everything precisely so your seams align neatly later.
Step 1: Decide on the Size
- Small: 7” wide x 4” tall (perfect for lipstick and compact powder)
- Medium: 9” wide x 6” tall (fits daily essentials)
- Large: 11” wide x 7” tall (great for travel)
Step 2: Cut Pieces
For a medium bag, cut:
- Outer fabric: 2 pieces, each 9” x 6”
- Lining fabric: 2 pieces, each 9” x 6”
- Interfacing: 2 pieces, each 9” x 6”
Step 3: Fuse the Interfacing
Follow the instructions on your interfacing package. Iron it onto the wrong side of your outer fabric to give structure and prevent sagging.
Sewing the Zipper

A clean zipper installation is what separates a beginner-looking project from a professional finish. Do not worry — it is easier than it sounds.
Positioning the Zipper
Lay one outer fabric piece right side up. Place the zipper (right side down) along the top edge. Then place the lining fabric right side down on top of the zipper, aligning the top edges.
Attaching the Zipper
Use a zipper foot on your sewing machine. Stitch close to the zipper teeth without sewing over them. This makes the zipper move smoothly and look neat.
Topstitching for a Professional Look
After sewing both sides of the zipper, fold the fabric away from the zipper and press it flat. Topstitch along the zipper edge — this keeps the fabric from catching in the zipper and adds a polished finish.
Sewing the Bag Body
Once the zipper is in, sewing the body is simple.

Sewing the Sides and Bottom
Open the zipper halfway (important so you can turn the bag later). Align the outer fabrics right sides together, and do the same with the linings. Sew around all edges, leaving a 2–3 inch gap in the lining bottom for turning.
Boxing the Corners (Optional)
If you want the bag to stand up and hold more items, box the corners. Pinch each corner so the side and bottom seams meet, forming a triangle. Measure 1–1.5 inches from the point and sew straight across. Trim the excess fabric.
Finishing Touches
Turn the bag right side out through the gap in the lining. Sew the gap closed with a small seam. Push the lining into the outer bag and press it neatly.
Add a little decorative charm or ribbon to the zipper pull if you like — small details make it feel custom-made.

Customizing Your Makeup Bag
Once you know the basics, you can play with endless variations:
- Patchwork designs
- Embroidery or fabric paint
- Adding an interior pocket
- Using metallic zippers for a chic look
If you ever wondered how to add a zipper to a pouch, the steps above apply — the same method works for pencil cases, gadget pouches, and more.
Conclusion
Now that you know how to sew a makeup bag with zipper, you have the skills to create something practical, stylish, and uniquely yours. Start simple, then try different fabrics, sizes, and designs until you find your favorite.
We are a professional makeup bag manufacturer and can help you bring your designs to life — whether you want a single custom piece or a full production run. If you are ready to turn your sewing ideas into beautifully crafted bags,Contact us and let’s make it happen together.
FAQ
What is the best fabric for a makeup bag?
Cotton canvas, oilcloth, and waterproof polyester are great choices. Canvas is sturdy and easy to sew, while oilcloth is wipe-clean. Avoid very stretchy fabrics as they are harder to control.
Can you sew a makeup bag without a sewing machine?
Yes, but it takes longer. Use small, even backstitches for strength. Hand sewing works for small projects or if you are just trying out the idea.
How to sew a lined makeup bag with zipper?
The method is the same as above — the lining is sewn together with the outer fabric along the zipper, then both are stitched around and turned.
How to add a zipper to a pouch?
Follow the zipper positioning and attaching steps above. Use a zipper foot and keep your stitches neat for the best result.
How can I make my makeup bag waterproof?
Use laminated cotton, oilcloth, or add a waterproof lining like ripstop nylon. You can also spray the finished bag with a fabric waterproofer.

