You want your gift to look amazing, right? Learning how to put tissue paper in a gift bag is actually pretty simple. With a few easy steps, you can make any present look like it came from a professional. You just need a bag, some tissue paper, and a little bit of time. Anyone can do this—even if you have never wrapped a gift before. Grab your supplies and let’s get started!
Key Takeaways
- Pick a gift bag that fits your gift and is strong enough.
- Choose bright tissue paper to make the gift look fun. Mixing colors can make it look even better.
- Fluff and shape the tissue paper to make it look full. This also helps protect your gift in the bag.
- Use these steps: pinch, lift, put in, and spread out the tissue paper. This makes the bag look neat.
- Put tissue paper inside the bag to make it look fancy. It also helps keep your gift from moving.
- Add things like ribbons and tags to make your gift special. This helps people remember your gift.
- Keep practicing, and your gifts will look nicer each time.
- Try custom gift bags for a special touch. This shows you care and makes your gift stand out.
Supplies Needed
Before you start, gather everything you need for a polished gift presentation. You do not need fancy tools. Just a few simple items will help you create a beautiful look.
Gift Bag
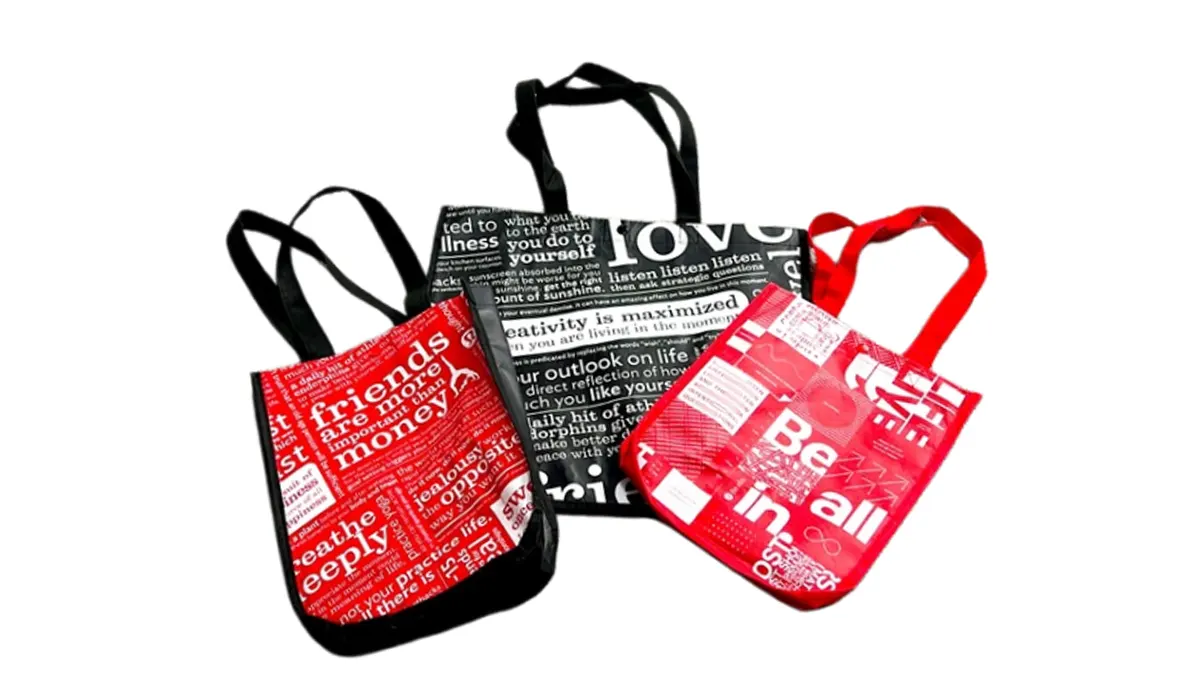
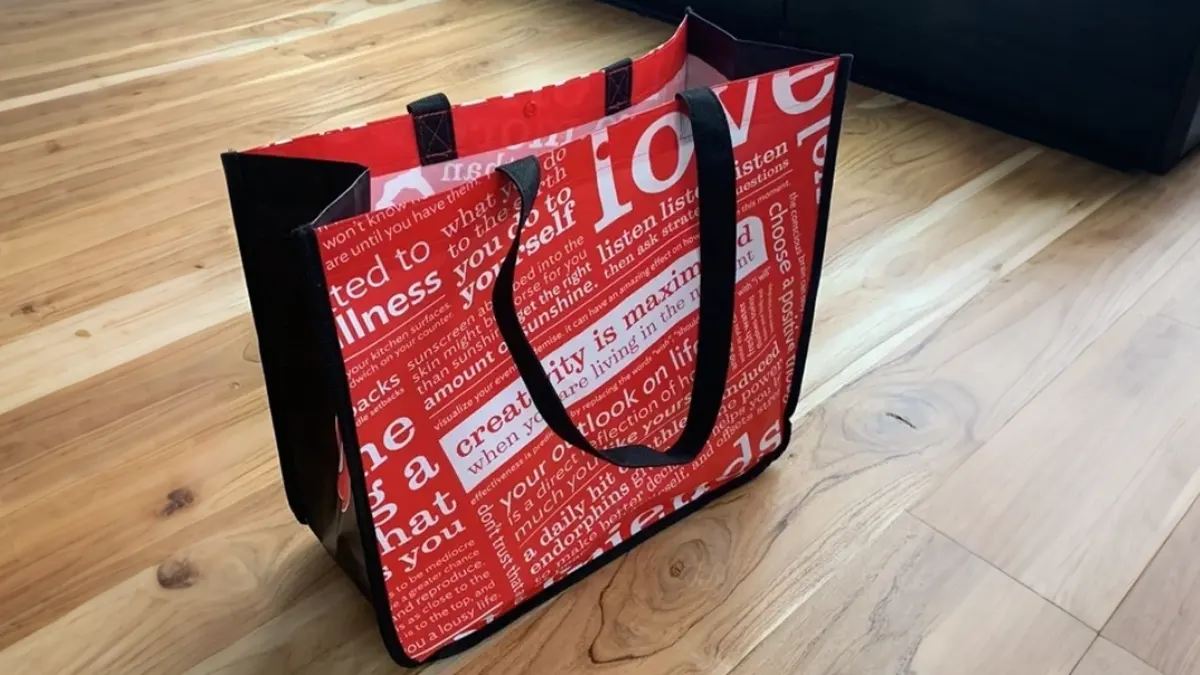
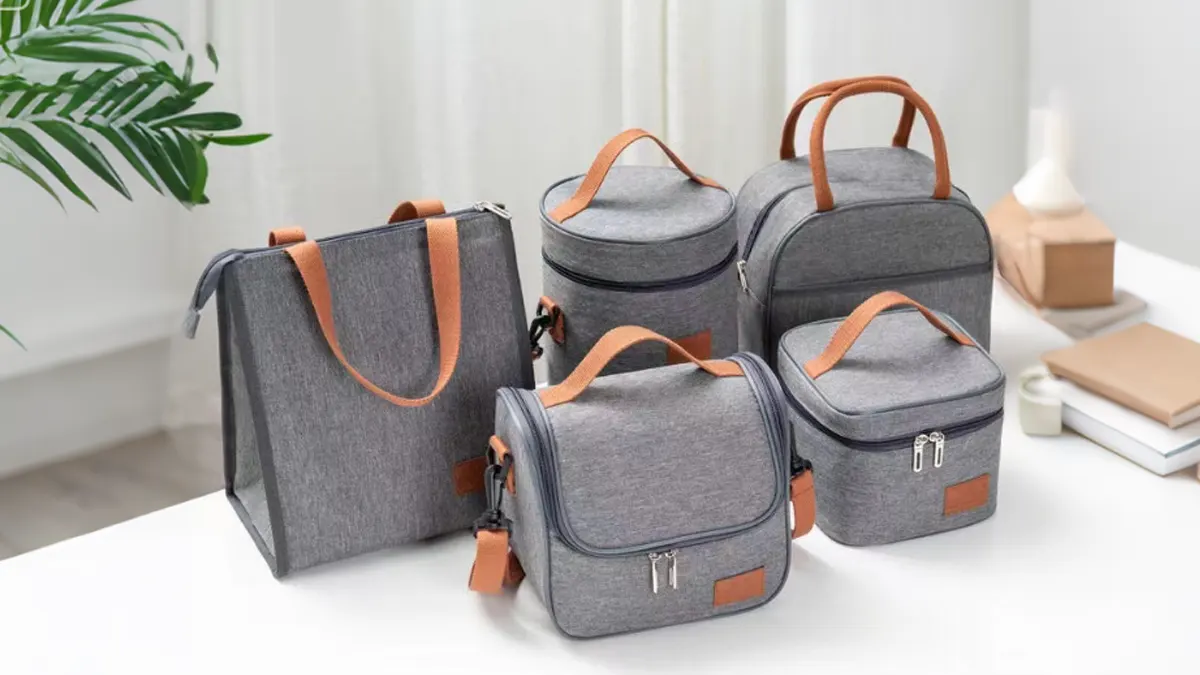
You want your gift bag to match the occasion and fit your present perfectly. Bags come in many sizes, shapes, and materials. If you have a heavier item, choose a sturdy bag. Plastic gift bags work well for weight and water resistance. Fabric bags, like linen or jute, add style and are reusable. Non-woven bags offer durability and eco-friendly options.
Tip: Pick a bag that is just big enough for your gift. If the bag is too large, your present may shift around and look messy. If the bag is too small, you might struggle to fit everything inside.
Here are some things to consider when choosing your gift bag:
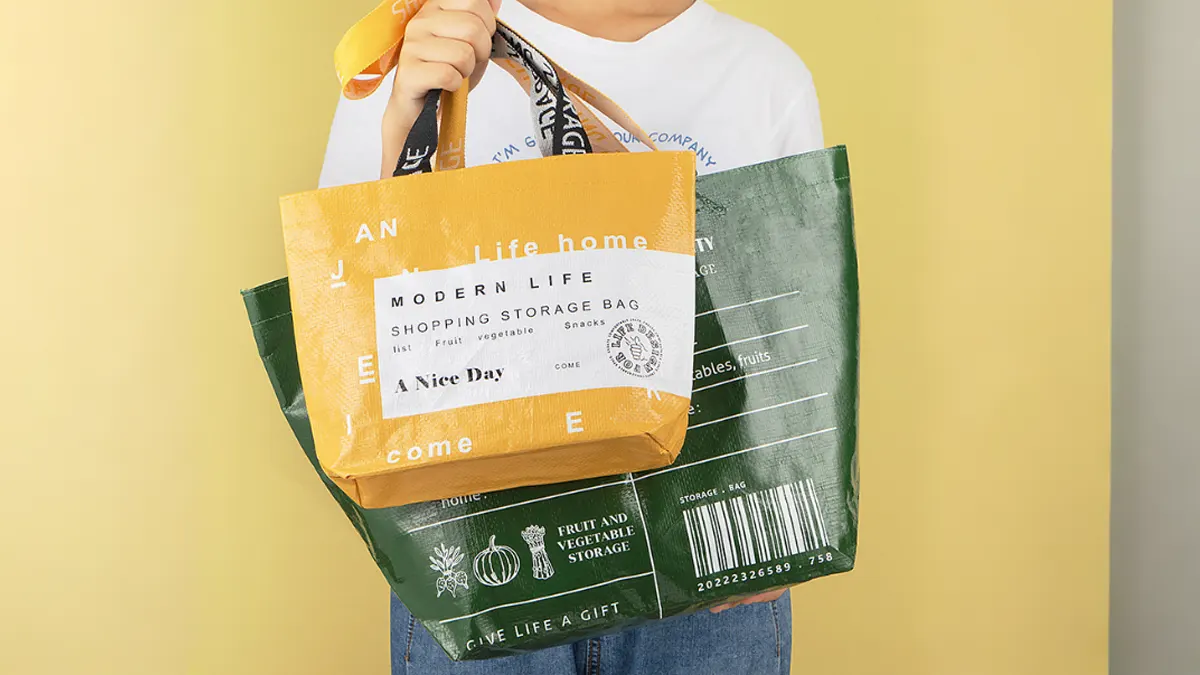
- Customized bags come in many designs and colors. They make your gift stand out.
- Personalization adds a special touch and makes your gift memorable.
- The right size keeps your gift secure and neat.
- Colors and patterns that match the event theme make your presentation pop.
Tissue Paper
Tissue paper adds color, texture, and a sense of surprise. You can find tissue paper in almost every color and pattern. Seasonal trends often influence your choices. For example, spring calls for soft pinks and floral prints, while winter looks great with frosty blues and classic neutrals.
| Season | Color Palette & Design Tips |
|---|---|
| Spring | Pale peachy pinks, straw yellows, cinnamon browns, poppy reds; floral patterns resonate with the season. |
| Summer | Turquoise blues, sea greens, sandy yellows, light pinks; vibrant designs that stand out among competitors. |
| Autumn | Brown, orange, yellow colors; prints that reflect the transition from summer to autumn. |
| Winter | Frosty blues, steel grays, classic neutrals; designs that align with winter themes and color schemes. |
Note: You do not need to stick to one color. Mixing two or three shades can make your gift bag look more interesting.
Embellishments
Embellishments are optional, but they add flair. You can use ribbons, bows, gift tags, or even small ornaments. These extras help your gift feel more personal and festive.
- Ribbons tie everything together and add elegance.
- Gift tags let you write a special message.
- Small ornaments or charms can match the season or the recipient’s interests.
Adding embellishments shows you put thought into your gift. Even a simple bow can make a big difference.
Now that you have your supplies ready, you are set to move on to the next step. With the right bag, tissue paper, and a few extras, your gift will look amazing and feel special.
Prepare Tissue Paper
Getting your tissue paper ready is a key step for a beautiful gift bag. You want your tissue to look full and inviting, not flat or wrinkled. Let’s break it down so you can get that perfect, professional look every time.
Unfold Sheets
Start by taking your tissue paper out of the package. Lay each sheet flat on a clean, smooth surface like a table or countertop. This gives you plenty of space to work and helps prevent unwanted creases.
Carefully unfold each sheet. Tissue paper can tear easily, so use gentle hands. If you see any big wrinkles, smooth them out with your palm. You want the paper to look crisp and fresh. If you use more than one color, stack the sheets together before moving to the next step.
Tip: Always use a flat surface when working with tissue paper. This makes it easier to open the sheets fully and keeps them from slipping or tearing.
Fluff and Shape
Now it’s time to give your tissue paper some life! Fluffing and shaping the sheets makes your gift bag look special. It also helps protect your gift inside.
Here’s how you can do it:
- Pinch the center of the tissue sheet between your fingers.
- Lift the sheet up, letting the edges fall naturally.
- Gently shake or wiggle the paper to create soft folds and volume.
- Repeat with each sheet, layering them for a fuller look.
When you fluff and shape tissue paper, you do more than just make it look nice. You create a cushion for your gift, which helps keep it safe. A well-fluffed tissue also gives your gift bag a polished, eye-catching appearance.
Fluffing tissue paper isn’t just about looks. It adds a layer of protection and makes your gift feel extra special.
Why should you take the time to fluff and shape your tissue paper?
- It creates an appealing and professional presentation.
- It cushions the gift, providing protection.
- It enhances the overall aesthetic of the gift bag.
If you care about the environment, choose biodegradable tissue paper. This small choice can make a big difference. Here’s how eco-friendly tissue paper helps:
- It reduces waste in landfills because it breaks down naturally.
- It causes less pollution during decomposition, unlike synthetic materials.
- It conserves resources like trees and water, supporting sustainability.
- It lowers your carbon footprint by using less energy in production.
- It protects wildlife by avoiding harmful chemicals and materials.
- It supports a circular economy since you can recycle and reuse it.
Choosing biodegradable tissue paper is a simple way to make your gift both beautiful and kind to the planet.
Once you’ve fluffed and shaped your tissue paper, you’re ready for the next step. Your gift bag will already look more inviting and thoughtful!
How to Put Tissue Paper in a Gift Bag
You want your gift to look amazing, so let’s dive into how to put tissue paper in a gift bag. These step by step instructions will help you create a polished and exciting presentation every time.
Step by Step Instructions
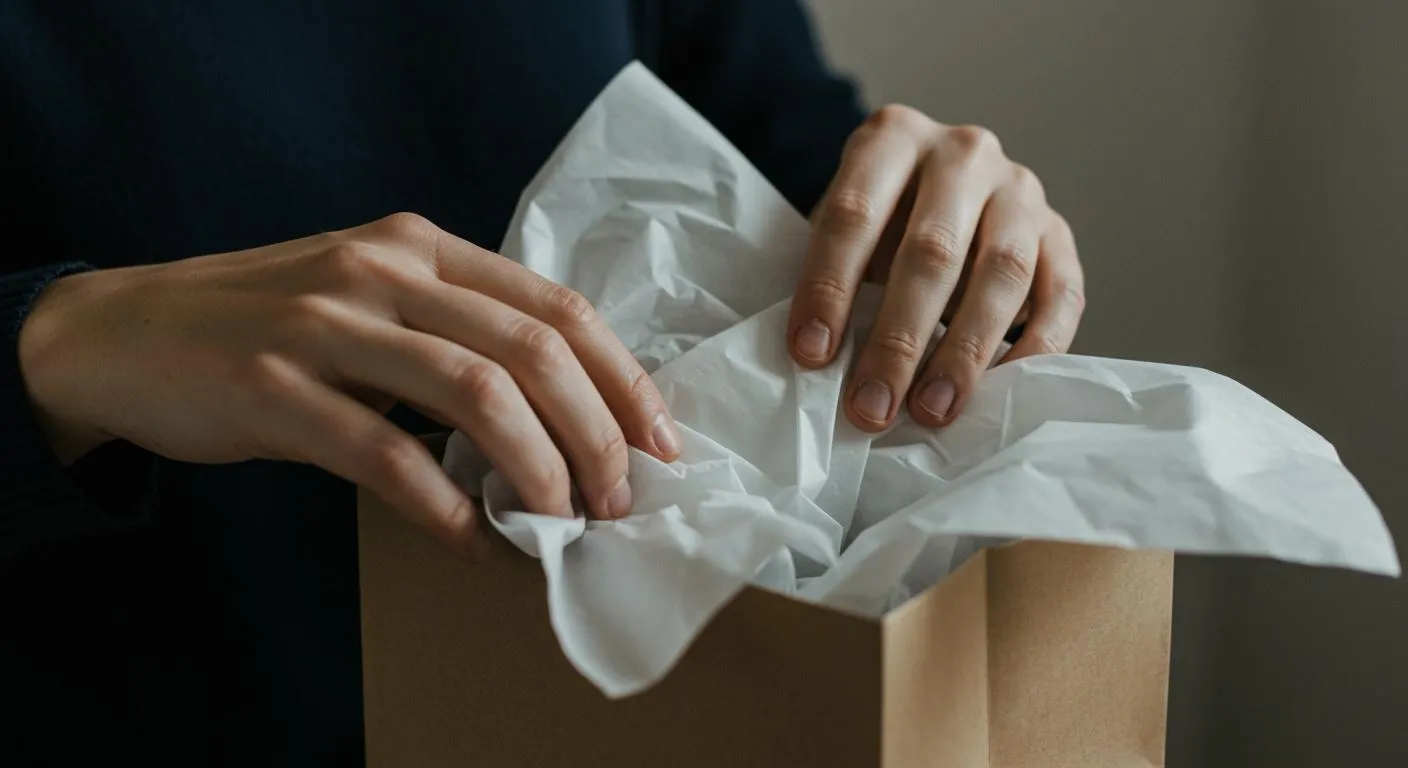
Pinch and Lift
Start by unfolding each piece of tissue paper so it’s just one layer thick. You want the paper to look smooth and fresh. Now, grab one end of the tissue and twist it gently through your fingers. If you want the twist to hold tighter, you can lick your fingers a little. Leave a gap of about two inches every six inches as you twist. This creates a puff effect that makes the tissue look full and decorative. When you reach the end of the strip, overlap another piece by one or two inches and twist it in. This technique gives your tissue paper a beautiful flare and adds volume to your gift bag.
Tip: Twisting and pinching the tissue paper helps you create a professional look with very little effort.
Insert and Fan Out
Once you’ve twisted and fluffed your tissue paper, it’s time to put it in the bag. Pinch the center of the sheet and lift it up so the edges fall naturally. Insert the pointed end into the bag, letting the flared edges stick out at the top. Fan out the edges with your fingers to create a soft, inviting look. Repeat this process with more sheets for extra fullness.
Here’s a quick guide for how many sheets you’ll need:
| Bag Size | Sheets of Tissue Paper |
|---|---|
| Small | 3–4 |
| Medium | 4–6 |
| Large | 6–8 |
If you want your gift to stand out, use layers of complementary tissue paper styles. Try mixing blue and silver, or glittery and plain sheets. You can even secure the tissue with a holiday-themed sticker for special occasions. Professional gift wrappers recommend using tissue that’s stiff but not too rigid. This makes it easier to handle and keeps the shape you want.
Placing the tissue paper with care creates anticipation and excitement for the recipient. A neat arrangement boosts emotional satisfaction for both you and the person receiving the gift.
Line the Bag
Lining the bottom and sides of your gift bag adds an extra touch of elegance. It also helps protect your gift and keeps everything in place. Here are some techniques you can use:
| Technique Description | Details |
|---|---|
| Centering the Tissue | Place the sheets so they cover the base of the bag completely. Smooth out the paper to avoid wrinkles. Trim any excess for a neat look. |
| Tucking the Tissue | Gently tuck the tissue paper around the sides of the gift. Use one layer for light items and two layers for heavier gifts to add cushioning. |
| Double-layering | Layer two sheets for extra texture and volume. This works well with contrasting colors and is perfect for larger gifts. |
When you line the bag, you make the whole presentation look more thoughtful. Double-layering adds texture and makes the gift feel more valuable. Tucking the tissue around the sides keeps everything secure, especially if you have a fragile item.
Note: Placing the tissue paper neatly can change how your gift is received. Studies show that a well-arranged gift bag creates excitement and makes the moment feel special.
If you want to impress, use layers of tissue paper in different colors or patterns. You can even add a sticker or small embellishment to keep everything in place. These small details show you care and make your gift memorable.
By following these instructions, you’ll know exactly how to put tissue paper in a gift bag for any occasion. Whether you’re wrapping a birthday present or a holiday surprise, your gift will look polished and professional.
Put Gift in Bag
Position Gift
You have your tissue paper ready and your bag looks great. Now comes the fun part—putting your gift inside without messing up all your hard work. You want the tissue paper to stay fluffy and neat. Here’s how you can do it step by step:
- Lay one or two pieces of tissue paper flat on a table. You can use just one color or mix a few for a cool effect.
- Pinch the center of the tissue paper and lift it up. This makes the paper look like a bouquet.
- Turn the tissue paper over and hold it like you would hold a flower bouquet. Use your thumb and forefinger to keep it together.
- Gently insert the pointed end of the tissue paper bouquet into the gift bag. Try not to push too hard. You want the top of the tissue paper to stay fluffy and visible.
Tip: If your gift is fragile or has sharp edges, wrap it in a separate sheet of tissue paper first. This keeps everything safe and adds another layer of color.
When you put tissue paper in a gift bag, you want the gift to sit right in the middle. If the bag is deep, place a little extra tissue at the bottom. This helps lift the gift up so it doesn’t get lost inside.
Adjust Tissue
Once your gift is inside, you might notice the tissue paper needs a little fixing. Don’t worry—this part is easy and makes your bag look even better.
- Use your fingers to gently fluff the tissue paper around the gift. Pull the edges up so they peek out of the top of the bag.
- If the tissue paper looks flat, pinch and lift the corners to add more volume.
- Tuck any loose ends of tissue paper around the sides of the gift. This keeps the gift secure and stops it from moving around.
- For a neat finish, make sure the tissue paper covers the gift but doesn’t hide it completely. You want the colors and patterns to show.
| Adjustment Tip | What It Does |
|---|---|
| Fluff the edges | Adds volume and style |
| Tuck around the sides | Keeps the gift in place |
| Pinch corners | Makes the tissue stand out |
A little extra fluffing goes a long way. Your gift will look like it came from a fancy shop!
If you want to add even more style, use a sticker or a small ribbon to hold the tissue paper in place. This works well for special occasions or when you want your gift to stand out.
You’ve now mastered how to position your gift and adjust the tissue for a perfect look. Your bag is ready to impress!
Finishing Touches
Fluff and Adjust
You have your gift and tissue paper in place. Now, you want everything to look polished and eye-catching. This is where a few final tweaks make all the difference. Start by gently fluffing the tissue paper. Use your fingers to lift and separate the layers. This adds volume and makes the bag look full and inviting.
Try these simple ways to give your tissue paper a professional finish:
- Stack three sheets of tissue paper, fold them, cut the ends, and fluff them up before placing them in the bag. This creates a soft, full look.
- Use two sheets, fold them accordion-style, tie them in the middle, and fluff the layers to make tissue flowers. These flowers sit on top and add a fun, decorative touch.
- Stack and cut five sheets, fold them, and tie them around the gift to create a crinkle tissue paper bow. This bow adds flair and makes your gift stand out.
Tip: If you see any flat spots or gaps, just pinch and lift the tissue in those areas. You can always add another sheet if you want more fullness.
A little extra fluffing goes a long way. Your gift bag will look like it came from a boutique!
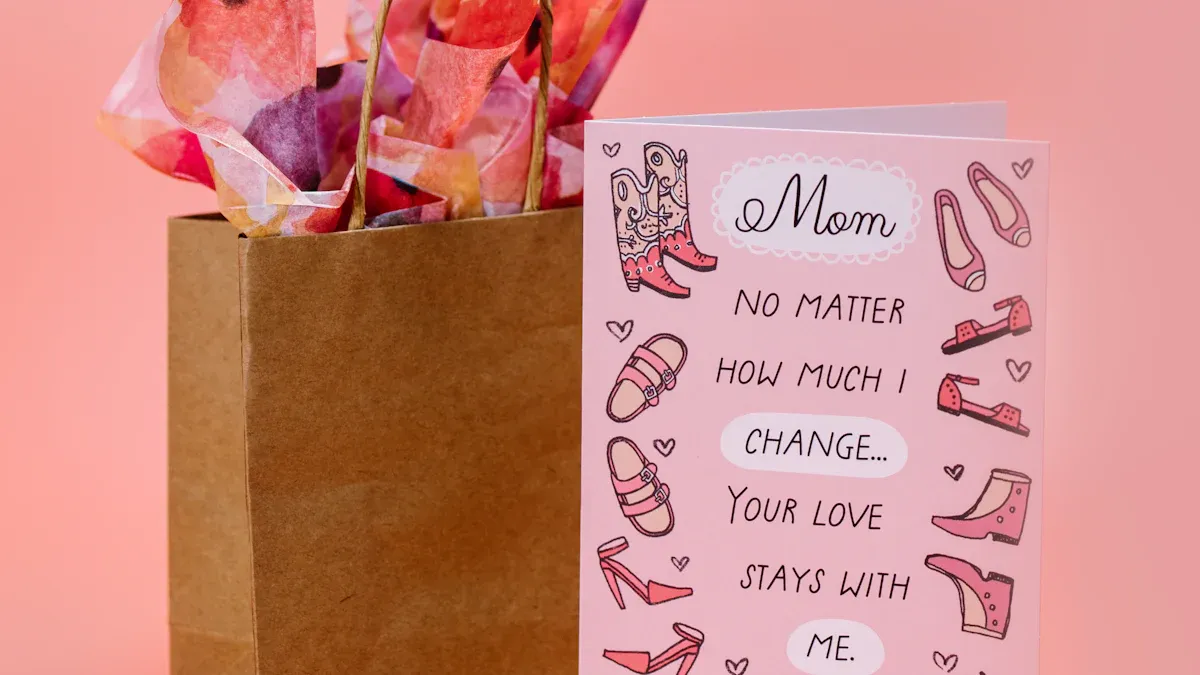
Add Embellishments
Now, let’s make your gift bag truly special. Embellishments turn a simple bag into something memorable. You have lots of options, so pick what fits the occasion and your style.
Here are some popular ways to decorate your gift bag:
- Ribbons and Tags: Tie a ribbon around the handle or attach a tag with a sweet message. Ribbons and tags add style and personalization. They show you put thought into your gift and make the bag feel extra special.
- Fabric or Paper Accents: Add a strip of fabric, a paper cutout, or even a piece of wrapping paper for a layered look.
- Glitter: Sprinkle a little glitter for a blingy effect. This works great for birthdays or celebrations.
- Burlap: Use burlap for a rustic or holiday vibe. It looks cozy and festive.
- Stenciled Designs: Try stenciling a design onto the bag for a trendy, custom look.
Even a simple bow or tag can transform a plain bag into a memorable expression of care. Your gift will feel more inviting and personal.
Mix and match these ideas to fit your theme. You can keep it simple with a ribbon or go all out with flowers and glitter. No matter what you choose, these finishing touches show you care and make your gift unforgettable.
Customization & Services
Are you looking for something truly unique for your next gift? You can take your gift presentation to the next level with our custom gift bag services. Whether you want your logo on every bag or need a special size for a big event, we have you covered. Let’s explore how our OEM, ODM, and wholesale options can help you stand out.
OEM & ODM
You might wonder what OEM and ODM mean. OEM stands for Original Equipment Manufacturer, and ODM means Original Design Manufacturer. Both services let you create custom gift bags that match your brand or event perfectly. You get to choose the design, material, and size. We handle the rest.
Here’s a quick look at the benefits you get with OEM and ODM services:
| Benefit | Description |
|---|---|
| Brand Differentiation | Exclusive designs help your brand stand out and support premium pricing. |
| Cost Efficiency | Larger orders lower the cost per bag, making it more affordable for you. |
| Quality Assurance | We follow strict quality checks, so your bags always meet high standards. |
| Speed to Market | Pre-made designs help you launch new products faster. |
| Lower Initial Investment | ODM lets you start with less money up front, so you take less risk. |
| Access to Supplier Expertise | Our team shares the latest trends and material ideas with you. |
| Flexibility for Small Brands | You can test different styles without spending a lot on design. |
| Resource Optimization | You focus on your business while we handle the bag production. |
You also get to pick from many customization features:
| Customization Feature | Description |
|---|---|
| Printing | Add your logo or special design for branding. |
| Material Selection | Choose from paper, fabric, or eco-friendly materials. |
| Size Options | Select the perfect size for your needs. |
| Personalized Design | Create unique patterns or shapes for your bags. |
| Additional Services | Get help with design, die cutting, laminating, and more. |
Want to make your brand shine? Custom gift bags help you avoid boring, generic packaging and show off your style.
Wholesale & Custom Orders
Ordering custom gift bags is easier than you think. Here’s how the process usually works:
- Research and Selection: Find a trusted manufacturer who offers the options you want.
- Product Customization: Work with our design team to create a mockup of your bag.
- Order Placement: Confirm your order details, like quantity and delivery date.
- Production and Delivery: We make your bags and ship them to you.
- Quality Check and Feedback: Check your bags when they arrive and let us know how we did.
You can order in bulk to save money. Custom bags can start as low as $0.55 each, depending on your choices. Bulk orders often come with discounts, so you get more for less.
Need your bags fast? We offer different turnaround times:
| Service Type | Turnaround Time |
|---|---|
| Standard | 10–12 Business Days from Art Approval |
| Rush | 6–7 Business Days from Art Approval |
| Super Rush | 3–5 Business Days from Art Approval |
Ready to create your own custom gift bags? Reach out to us for a quote or to talk about your ideas. We love helping you make every gift extra special!
Conclusion
You now know how to put tissue paper in a gift bag like a pro. Just follow the steps: fluff your tissue, line the bag, place your gift, and add those finishing touches. Give it a try—your next gift will look amazing! Practice helps you get better every time. Want to make your gifts stand out even more? Custom gift bags add a personal touch and show you care.
- They make your gift feel special.
- Personalization, like names or photos, makes the bag unique.
- A thank you note can turn a simple bag into a keepsake.
Ready to impress? Start wrapping and have fun!
FAQ
How many sheets of tissue paper should I use for a gift bag?
You usually need 3–6 sheets for a medium bag. Use more for bigger bags or if you want extra fluff. Try mixing colors for a fun look.
Can I reuse tissue paper from old gift bags?
Yes, you can reuse tissue paper if it looks clean and smooth. Just flatten it out and fluff it up again. Reusing helps save money and reduces waste.
What if my tissue paper keeps tearing?
Tissue paper tears easily. Handle it gently and use a flat surface when unfolding. If it rips, layer another sheet on top to hide the tear.
Should I match the tissue paper color to the gift bag?
Matching colors looks neat, but you can mix shades for a bold style. Pick colors that fit the occasion or the recipient’s favorite colors.
How do I keep the tissue paper from falling into the bag?
Fan out the edges and tuck them around the sides. You can use a sticker or ribbon to hold the tissue in place. This keeps everything looking tidy.
Is tissue paper safe for wrapping food gifts?
Tissue paper is not food-safe. Wrap food in plastic or foil first, then use tissue paper for decoration. This keeps your gift safe and stylish.
Can I use other materials instead of tissue paper?
You can use fabric, shredded paper, or even colored napkins. These options add texture and personality to your gift bag.
What’s the best way to make my gift bag look professional?
Fluff the tissue paper, line the bag neatly, and add a ribbon or tag. Small details make your gift stand out and look polished.