A tote bag becomes way more practical the moment you add a zipper. Your laptop stays put, your wallet stops peeking out, and a drizzle on the walk home is no longer a panic moment. The good news is you don’t need couture skills to do it. With a basic zipper foot, some interfacing, and a bit of patience, you can install a neat, durable zipper that looks factory made.
There isn’t just one right way. You can set the zipper slightly below the top edge for a clean recessed finish, stitch it right across the top with tidy tabs at each end, or insert a dedicated zipper panel that turns your tote into a fully closed carryall. We’ll walk through all three so you can pick the style that fits your bag and your confidence level.
Understand the Tote and the Zipper
Before you cut anything, look at how your tote is built.
- Lined vs unlined
A lined tote is easier for zipper installs because the lining hides seams and zipper tape ends. For unlined totes, you’ll bind the top seam allowances or add facing strips. - Seam allowance
Most tote patterns use 1.3 cm or 1.5 cm seam allowances. Knowing this helps you calculate strip heights and panel widths correctly. - Zipper types
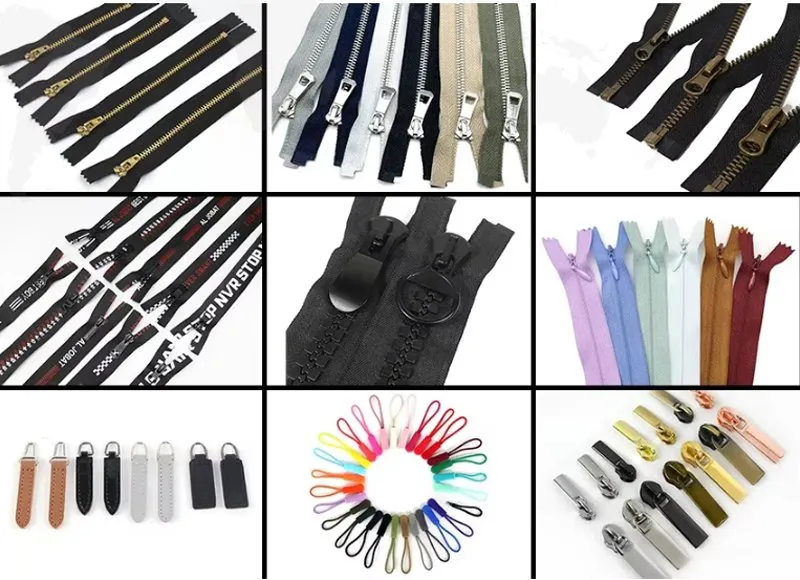
- Nylon coil: flexible, easy to sew, beginner friendly.
- Metal: crisp look, great for fashion totes; trim with care.
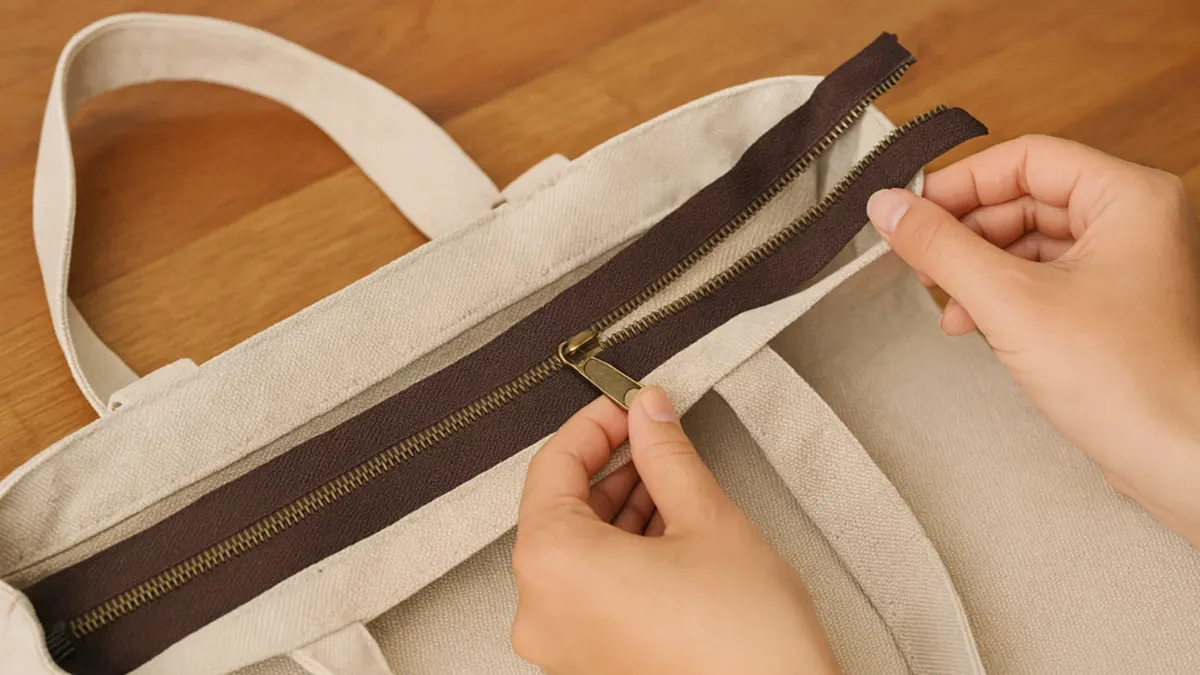
- By-the-yard: continuous zipper tape plus a separate slider; ideal for custom lengths and extra-wide openings.
- Zipper tabs: small fabric caps at each end to cover the stop area, making edges squared and professional.
Pick a Zipper Style
- Recessed zipper
The zipper sits a little below the top edge, attached to two facing strips. Clean, minimal, works beautifully on lined totes. - Top zipper with end tabs
The zipper lays across the top opening, stitched to the bag and lining at the edge. Fast and polished, great when you want the zipper right at the top. - Zipper panel gusset
A dedicated panel with a zipper runs across the opening and joins the side seams. Most secure and luggage like; a bit more cutting and joining, but very pro.
Tools and Materials
- Tote bag body and lining pieces ready to assemble
- Zipper 5 mm nylon coil or metal; length notes below
- Fusible woven interfacing for zipper areas
- Sewing machine with zipper foot
- Universal or denim needle size 90/14 for canvas
- Polyester thread, fabric clips, fabric marker or chalk
- Iron and pressing surface, ruler, scissors or rotary cutter
- Optional: double sided sewing tape for zipper placement, seam ripper
Measurements and Cutting Guide

Use both imperial and metric so you can work however you like.
Bag example
Opening width: 40 cm (15.75 in)
Seam allowance: 1.5 cm (5/8 in)
Zipper length
- Recessed or top zipper: cut zipper to opening width minus 2 to 3 cm (about 1 in) then add tab caps to reach the exact finished width. Example: for a 40 cm opening, trim zipper to 37–38 cm and add 1 cm tabs on each end for a clean fit.
- Panel gusset: zipper equals panel width minus seam allowances on both ends; tabs still help square the ends.
Facing strips for recessed zipper
- Cut 2 strips: Width = bag opening width
- Height per strip: 6 to 7 cm including 1.5 cm seam allowance. That gives about a 2 to 3 cm recess below the top edge after joining.
End tabs
- Cut 2 pieces 4 x 6 cm each; fold short ends to center, press, then fold in half to make a neat cap.
Zipper panel gusset
- Cut 2 long rectangles for the panel top and bottom: Width = opening width; Height = 6 to 8 cm each.
- Interfacing mirrors these pieces.
Method A: Recessed Zipper Closure
This is the most forgiving method and gives a boutique finish.
- Prep the strips
Fuse interfacing to the wrong side of both facing strips. Mark a center notch on the strip and the zipper. - Add zipper tabs
Trim the zipper tape so the metal or molded stop is a few cm from each end. Encase each end with a folded tab cap. Stitch across to secure, keeping the tape flat. - Attach zipper to strips
Place one strip right side up. Center the zipper right side down along its top edge. Clip in place. Stitch with the zipper foot about 6–7 mm from the teeth. Press the seam away from the zipper, then topstitch 2–3 mm from the edge. Repeat with the other strip on the opposite side of the zipper. You now have a neat zipper bridge. - Join zipper bridge to lining
With the lining pieces right side up, align the long raw edge of each facing strip to the top of each lining piece. Stitch. Press seams toward the lining. Topstitch if you like a crisp look. - Assemble bag and lining
Sew the exterior tote as usual, leaving the top open. Sew the lining, but leave a 10–12 cm turning gap in the bottom seam. - Marry lining and exterior
With the exterior right side out and the lining wrong side out, place the exterior inside the lining so right sides touch. Match side seams and clip around the top. Stitch around the top edge. The zipper bridge should sit a bit below the edge. - Turn and finish
Turn the bag right side out through the lining gap. Press the top edge carefully, making sure the lining rolls slightly to the inside. Stitch closed the lining gap. Give the top edge a gentle topstitch if desired. You now have a recessed zipper that glides under a clean edge.
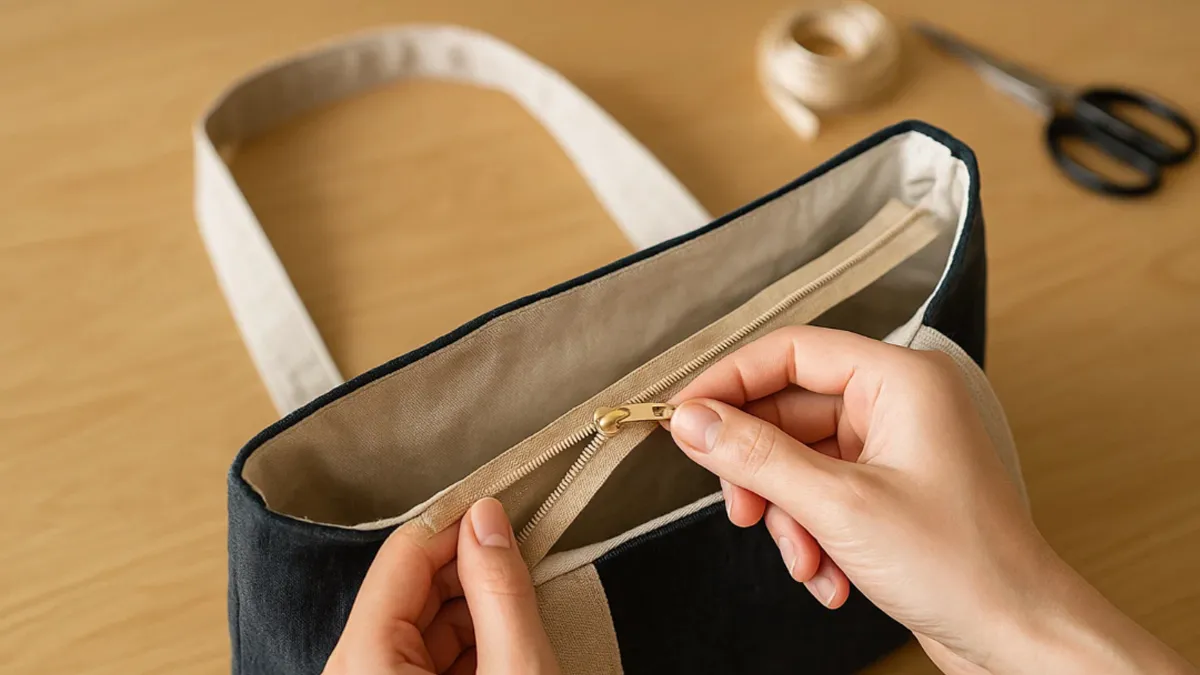
Method B: Top Zipper with End Tabs
Fast, tidy, and perfect when you want the zipper right at the top opening.
- Prep zipper and tabs
Make end tabs as above and trim the zipper to reach exact opening width once tabs are attached. - Sandwich zipper
Lay the exterior right side up. Center the zipper right side down along the top edge, puller facing inward. Lay the lining right side down on top, making a zipper sandwich. Clip. - Stitch and flip
Sew with a zipper foot along the zipper. Flip layers away from the zipper and press. Topstitch through all layers close to the edge for a crisp, no-roll finish. - Repeat for the other side
Attach the remaining top edges to the other side of the zipper the same way. - Sew side seams
Open the zipper halfway. Match exterior right sides together and lining right sides together. Stitch around the sides and bottom, leaving a gap in the lining to turn. Box the corners if your tote uses boxed corners. - Turn and close
Turn through the lining gap, press, stitch the lining closed, and give the top another press. The zipper sits flush at the top with squared ends thanks to the tabs.
Method C: Zipper Panel Gusset
A structured, luggage-like closure that fully seals the top.
- Build the zipper panel
Fuse interfacing to both panel rectangles. With one panel piece right side up, center the zipper right side down along the top long edge. Stitch, flip, press, and topstitch. Repeat with the second panel on the other side of the zipper, forming a flat panel. - Attach panel to exterior
Sew the exterior tote body together at the sides and bottom, leaving the top open and raw. Pin the panel around the top opening, matching centers and side seams. Clip curves carefully if your bag has shaped sides. Stitch the panel to the bag opening. - Add lining
Build the lining the same way and drop it inside, right sides together with the exterior at the panel seam. Stitch around, leaving a turning gap in the lining bottom. Turn, press, and close the gap. - Finish
Topstitch around panel seams to lock everything in place. This gives the strongest, most secure closure.
Comparison Table: Which Method Should You Choose
| Method | Look and feel | Difficulty | Time | Best for |
|---|---|---|---|---|
| Recessed zipper | Clean, minimal | Easy | Moderate | Lined totes, everyday carry |
| Top zipper with tabs | Flush at the top edge | Easy | Fast | Quick upgrades, gifts, small shops |
| Zipper panel gusset | Structured and secure | Medium | Longer | Travel totes, premium retail pieces |
Troubleshooting and Pro Tips
- Wavy zipper tape
Interface the attachment area and avoid pushing or pulling the fabric as you sew. A few clips and a warm press after stitching calm waves. - Puckers at ends
Use zipper tabs to square off the ends. They hide the hard stop and give a clean seam-to-zipper transition. - Needle and thread
For canvas, a 90/14 needle and polyester thread keep stitches even and strong. - Pressing is magic
Press after every seam. A quick press plus a narrow topstitch makes your zipper look pro. - Trim metal zippers safely
Remove teeth where you plan to cut and add a new bar tack. Or choose nylon coil if you want easy trimming. - By-the-yard zipper
Slide the pull on after cutting the length you need. It’s fantastic for wide bags and matching colorways. - No lining option
Add narrow facing strips to hide the zipper seam, or bind the inside seam allowances with bias tape.
Care and Durability
Wash on gentle or hand wash, reshape while damp, and air dry. Avoid high heat on metal teeth and keep the iron away from nylon coils unless covered with a pressing cloth. A quick zipper wax or a rub of candle wax keeps pulls moving smoothly over time.
DIY vs Manufacturer
If you’re making a handful of gifts, DIY is fun and cost-effective. If you need consistent results across dozens or hundreds of totes, a manufacturer can stitch the zipper into the production line so every top edge, tab, and topstitch matches perfectly. You also unlock options like custom zipper colors, branded pulls, hidden security pockets, and production-grade interfacings that hold their shape for years.
FAQ
What zipper length should I buy
Measure the bag opening. Trim the zipper 2 to 3 cm shorter, then add small fabric tabs to reach the exact width. Tabs make the ends square and easy to sew.
Which method is easiest for beginners
The recessed zipper is very forgiving and looks polished on lined totes. The top zipper with tabs is just as simple and a bit faster.
Can I add a zipper to an already finished tote
Yes. Unpick the top seam, attach a recessed zipper bridge or a top zipper with tabs, then resew and topstitch.
Do I need special feet or machines
A standard machine with a zipper foot is enough. Interfacing, clips, and an iron are what make the difference.
Metal or nylon coil
Nylon coil is easiest to trim and sew. Metal looks sharp and wears well but needs careful cutting and sometimes tooth removal.
How do I avoid the zipper catching the lining
Topstitch close to the zipper teeth and keep the lining slightly rolled to the inside when pressing.
Conclusion
Adding a zipper to a tote bag is one of those upgrades that pays off every single day. Pick a style that matches your bag and your comfort level, interface the area so it stays crisp, and take your time with pressing and topstitching. The result feels secure, looks professional, and makes your tote a better everyday carry.
If you want zipper-top totes produced at scale, we’ve got you. We manufacture and customize canvas, PVC, and blended fabric totes with recessed or panel zippers, branded pulls, interior pockets, and retail-grade finishing. From sampling to bulk production, we handle the details so your line ships consistent and on time. Reach out for a quick quote and sample timeline.