You want to learn how to make organza gift bags but worry it might be tricky. Relax! This step-by-step tutorial will show you just how easy and fun diy projects can be. Imagine creating beautiful bags that you can use for gifts, parties, or special events. You get to pick your favorite colors and add your own style. Grab your materials, and let’s dive into this creative tutorial together!
Key Takeaways
- Get the main materials like organza fabric, scissors, and ribbon before you begin.
- Pick the right organza fabric for your style and event. Use silk for a fancy look or nylon if you want it to last longer.
- Measure and cut the fabric with care. Make the bag bigger than the gift so it looks tidy.
- Use small pins or pattern weights to hold the slippery organza while you sew.
- Make a drawstring channel by folding and sewing the top edge. This helps you close the bag easily.
- Add ribbons, beads, or write messages to decorate your bags. This makes each bag special.
- Try neat finishing steps like French seams to make your organza bags look better.
- Use your organza bags again for different events. This helps the environment and saves money.
Materials for DIY Organza Bags
Before you start making diy organza gift bags, you need to gather your supplies. Picking the right materials makes the process smoother and more enjoyable. Let’s break down what you need and how to choose the best options for your project.
Choosing Organza Fabric
You have many choices when it comes to organza fabric. Each type has its own look and feel. Here are some of the most popular options:
- Silk Organza – This fabric feels soft and looks shiny. It gives your bags a fancy touch.
- Nylon Organza – This one costs less and lasts a long time. It’s a good pick for beginners.
- Polyester Organza – This fabric stays crisp and strong. It holds its shape well.
- Crystal Organza – This type sparkles and shines. It’s perfect for parties or weddings.
- Mirror Organza – This fabric has a glossy surface. It stands out and looks dramatic.
- Shot Organza – This one changes color in the light. It uses two different colored threads.
- Embossed Organza – This fabric has raised patterns. It adds texture to your bags.
- Embroidered Organza – This one has pretty designs sewn in. It looks elegant.
- Crushed Organza – This fabric has a wrinkled look. It feels unique and fun.
- Printed Organza – This one comes with colorful designs. It’s great for themed events.
You can pick any type that matches your style or the occasion. If you want something simple, go with nylon or polyester. If you want something special, try crystal or embroidered organza.
Essential Tools
You don’t need a lot of fancy tools to make diy organza gift bags. Here’s a list of what you should have on hand:
- Organza fabric – The main material for your bags.
- Scissors – Use sharp ones for clean cuts.
- Thin needle – This helps you sew without snagging the fabric.
- Double-faced satin ribbon – This works well for the drawstring closure.
- Thread – Pick a color that matches or contrasts with your fabric.
- Pins – These keep your fabric in place while you sew.
- Sewing machine or hand-sewing needle – You can use either, depending on what you have.
Tip: Keep all your tools in a small box or tray. This helps you stay organized and saves time.
Decorative Options
Now comes the fun part—decorating your bags! You can make each bag unique with a few simple touches. Here are some popular ways to customize your organza bags:
- Fabric paints and markers let you draw or write messages.
- Embroidery adds delicate designs and a handmade feel.
- Beads and sequins bring sparkle and shine to your bags.
- Charms and tags give a personal touch. You can add names or special notes.
You can mix and match these ideas or come up with your own. That’s the best part about diy—you get to be creative and make something special.
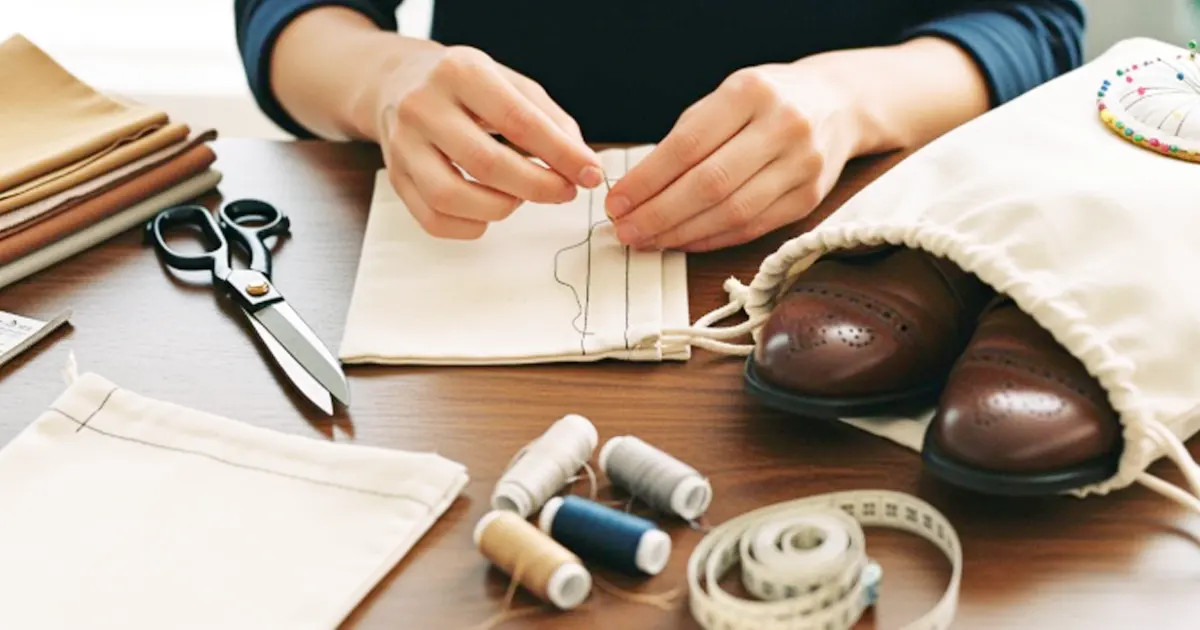
Preparation Tutorial
Before you start sewing, you need to get your organza fabric ready and set up your workspace. This step helps you avoid mistakes and makes the whole process smoother.
Measuring and Cutting
Selecting Bag Size
Think about what you want to put inside your organza gift bag. Pick a size that fits your gift, but remember to make the bag about 50% larger than the item. This extra space gives your gift a nice, roomy look and makes it easy to close the bag. For example, if your gift is 4 inches wide and 6 inches tall, you should plan for a finished bag that is about 6 inches wide and 9 inches tall.
Cutting Organza
Now, you need to cut your organza fabric. Lay the fabric flat on your table. Measure a rectangle for each bag. The width should be twice the finished width of your bag, plus 1 inch for seams. The height should be the finished height, plus 2 inches for hemming. For example, if you want a 6-inch wide and 9-inch tall bag, cut a piece that is 13 inches wide (6 x 2 + 1) and 11 inches tall (9 + 2).
Tip: Use a rotary cutter instead of scissors for a straight edge. Cut the organza in a single layer and try not to move the fabric too much. This helps keep the edges neat.
You can also place a sheet of tissue paper under the organza. This keeps the fabric from sliding around while you cut. If you want more control, layer the organza between two sheets of tissue paper.
Workspace Setup
A good workspace makes sewing organza much easier. Here are some tips to help you get started:
- Work on a flat, clean table. This keeps your fabric smooth and easy to handle.
- Use tissue paper under the organza to stop it from slipping.
- Secure the fabric with fine pins or clips. This keeps everything in place.
- Try a non-stick or roller sewing machine foot if you have one. These tools help feed the organza evenly.
- Spray a little starch on the organza for extra grip. This makes the fabric less slippery.
- Handle the organza gently. Move it as little as possible to keep it from shifting.
Note: Organza can be slippery, so take your time. A calm, organized space helps you avoid mistakes and makes the project more fun.
Now you have your organza fabric measured, cut, and your workspace ready. You’re all set for the next step—sewing your beautiful gift bags!
How to Make Organza Gift Bags Step-by-Step
Ready to start making your own organza string bags? This sewing tutorial will walk you through every step. You don’t need to worry if you’re new to sewing. You’ll find that how to make organza gift bags is easier than you think. Let’s get started!
Folding and Pinning
First, you need to fold your organza fabric to create the basic shape of your pouch. Lay your cut piece of organza flat on your workspace. Fold the fabric in half, matching the short edges together. This fold forms the bottom of your pouch. Make sure the shiny or pretty side faces inside.
Now, it’s time to pin the sides. Organza can be slippery, so you want to keep everything in place. Here are some tips to help you:
- Use fine silk pins or glass-head pins. These won’t leave big holes in your fabric.
- Try pattern weights if you don’t want to use pins. They hold the fabric without marking it.
- Pin the selvedges together. This keeps the grainline straight and your pouch even.
- Spray a little starch on the organza. This makes the fabric less slippery and easier to handle.
- Hand baste the seams if you want extra control. This means sewing long, loose stitches by hand to hold the edges together before you use your machine.
Tip: Place your pins perpendicular to the edge. This makes it easier to remove them as you sew.
Sewing an Organza Pouch
Now you get to sew the sides of your pouch. This step brings your organza string bags to life!
Stitching Sides
Set up your sewing machine with a thin needle and matching thread. If you prefer, you can sew by hand. Start at the bottom folded edge and sew up each side. Leave about a 1cm seam allowance. This helps stop the organza from fraying. For a neat finish, use French seams. Sew the sides with the fabric wrong sides together first, trim the seam, then turn the pouch inside out and sew again. This hides the raw edges and makes your pouch look professional.
Note: Go slow and steady. Organza is delicate, so gentle handling works best.
Leaving Top Open
Don’t sew the top edge! You need this opening for your drawstring. When you finish both sides, you’ll see your pouch take shape. The bottom is folded, the sides are sewn, and the top is open. That’s exactly what you want for organza string bags.
Creating Drawstring Channel
The next step in how to make organza gift bags is making a channel for your ribbon. This channel lets you pull the pouch closed and keeps your gift safe inside.
Folding Top Edge
Lay your pouch flat with the open edge at the top. Fold the top edge down about 1 inch (2.5 cm) toward the inside. This fold creates the space for your drawstring. Pin the fold in place with fine pins or use pattern weights.
Tip: Make sure your fold is even all the way across. This helps your ribbon slide smoothly later.
Sewing Channel
Sew along the bottom edge of your fold, close to the raw edge. This creates a tunnel for your ribbon. Don’t sew the sides of the channel shut—leave both ends open. You’ll thread your ribbon through these openings in the next step.
If you want to see this process in action, you can check out a video tutorial online. Watching a video tutorial can help you understand each step even better.
You’ve now finished the main part of your pouch! You’ve learned how to fold, pin, and sew organza to create a beautiful bag. The next part of the tutorial will show you how to add the drawstring and finish your organza string bags.
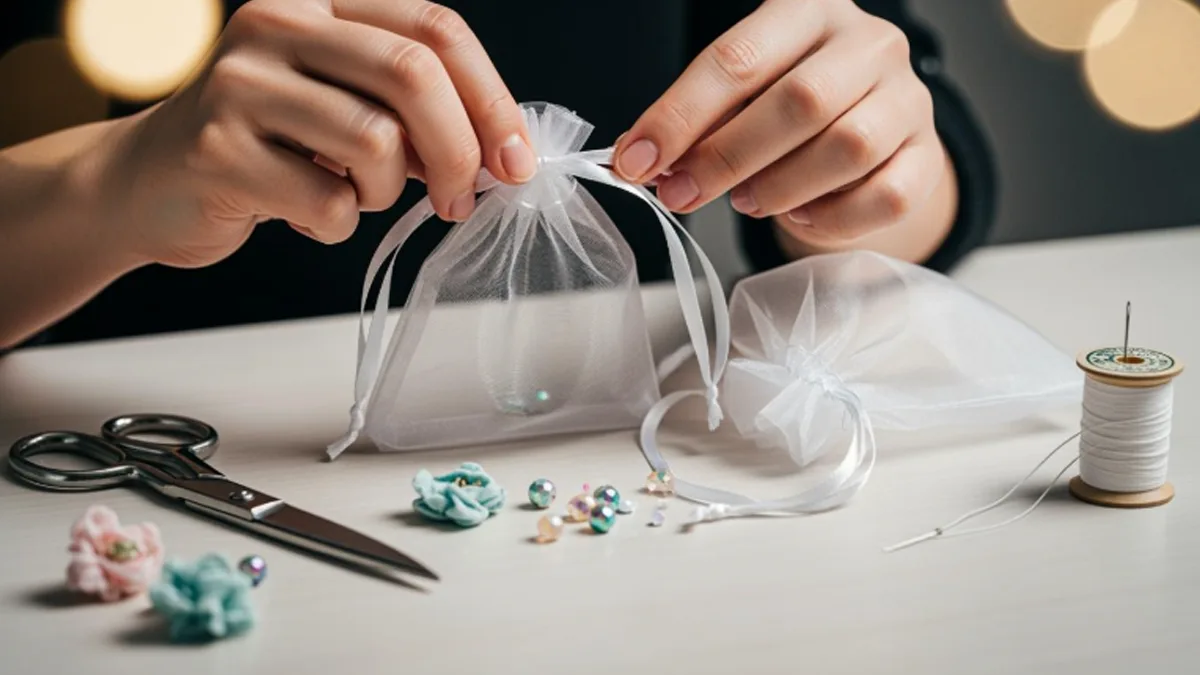
Adding Drawstring
Now comes the exciting part—adding the drawstring! This step turns your pouch into a real gift bag. You get to choose a ribbon that matches your style or the occasion. Let’s walk through how to thread the ribbon and secure the closure so your bag looks polished and works perfectly.
Threading Ribbon
You need a ribbon that fits easily through the channel you sewed. Double-faced satin ribbon works best because it feels smooth and looks shiny. Cut a piece of ribbon about twice as wide as your bag plus a few extra inches for tying.
Here’s how you can thread the ribbon:
- Grab a safety pin and attach it to one end of your ribbon.
- Push the safety pin into one opening of the channel at the top of your bag.
- Slide the pin through the channel, gently bunching the fabric as you go.
- Pull the pin out the other side. The ribbon will follow right behind.
- Remove the safety pin and straighten the ribbon.
Tip: If you don’t have a safety pin, you can use a blunt needle or even a paperclip. Just make sure it’s smooth so it doesn’t snag the organza.
You can use one long ribbon or two shorter ribbons. If you want a double drawstring, repeat the threading process from the opposite side. This lets you pull both ends to close the bag evenly.
Securing Closure
You’ve got your ribbon in place. Now you need to secure the closure so your bag stays shut and looks neat.
- Pull both ends of the ribbon until the top of the bag gathers together.
- Tie the ribbon in a bow or a simple knot. A bow looks pretty and makes it easy to open the bag later.
- Trim the ribbon ends at an angle. This stops fraying and gives a finished look.
Here’s a quick table to help you choose the best ribbon length:
| Bag Width | Ribbon Length (Single) | Ribbon Length (Double) |
|---|---|---|
| 4 inches | 10 inches | 20 inches |
| 6 inches | 14 inches | 28 inches |
| 8 inches | 18 inches | 36 inches |
Note: If you want to add beads or charms to the ribbon ends, thread them on before you tie the knot. This adds a special touch and keeps the ribbon from slipping back through the channel.
You did it! Your organza gift bag now has a beautiful drawstring closure. You can open and close it easily, and your gift stays safe inside. Ready to decorate and personalize your bag? Let’s move on to the next creative step!
Decorating and Customizing DIY Bags
You have made your organza gift bag. Now comes the fun part—decorating and making it your own! You can add simple touches or go all out. Let’s look at some easy ways to make your bag stand out.
Adding Ribbons
Ribbons can turn a plain organza bag into something special. You can use bright colors for a playful look or soft shades for a classic style. Try these ideas:
- Tie a big bow at the top for a fancy finish.
- Layer two ribbons together for extra color.
- Use a thin ribbon and curl the ends with scissors.
- Add a ribbon rose or small flower for a sweet touch.
Tip: Mix and match ribbon textures. Satin, velvet, or lace ribbons all look great with organza.
Personal Touches
You can make your bag unique with a few simple tricks. Here are some ways to add your own style:
- Write a name or message with fabric markers.
- Sew on beads, sequins, or tiny charms.
- Glue on small felt shapes or stickers.
- Add a tag with a special note or drawing.
You don’t need to follow any rules. Try new things and see what you like. If you make a mistake, just call it your own style!
Occasion Ideas
Organza gift bags work for many events. You can change the look to fit the occasion. Here’s a quick table to help you match your bag to the right event:
| Occasion | Description |
|---|---|
| Weddings | Use for holding favors and small gifts. |
| Birthdays | Great for packaging gifts and party favors. |
| Holidays | Perfect for candies and small surprises. |
You can use white or gold organza for weddings. Pick bright colors for birthdays. Try red, green, or silver for holidays. You can even add themed stickers or charms to match the event.
Remember: There are no limits with diy projects. You can try new ideas every time you make a bag. Have fun and let your creativity shine!
Troubleshooting and Tips
Making organza gift bags can feel tricky at first, but you can handle any problem with a few smart tips. This part of the tutorial will help you avoid common mistakes and get the best results from your organza projects.
Common Mistakes
You might run into a few bumps when you sew with organza. Here are some mistakes people often make and how you can avoid them:
- Skipping the seam finish: If you leave raw edges, organza will fray fast. Always finish your seams.
- Using dull scissors: Dull blades make jagged edges. Sharp scissors or a rotary cutter give you clean cuts.
- Sewing too fast: Rushing can cause puckering or uneven seams. Go slow and steady.
- Not pinning enough: Organza slips around. Use plenty of fine pins or pattern weights to keep it in place.
- Forgetting to test stitches: Always try your stitch on a scrap first. This helps you set the right tension and length.
Tip: If you make a mistake, don’t worry. You can always trim the seam and try again. Practice makes perfect!
Working with Organza
Organza can be slippery and delicate, but you can manage it with a few tricks:
- Cut your fabric on the bias. This helps reduce fraying and gives your bag a nice drape.
- Use Fray Check or a little clear acrylic paint on the cut edges. This keeps threads from coming loose.
- Place tissue paper under the organza when you cut or sew. This stops the fabric from sliding.
- Handle the fabric gently. Try not to stretch or pull it.
- Pin or clip your pieces before sewing. This keeps everything lined up.
If you follow these steps, you’ll find that organza is easier to work with than you think.
Neat Finishes
You want your organza gift bags to look beautiful inside and out. Here are two easy ways to finish your seams:
| Finish Type | How It Works |
|---|---|
| French Seam | Sew wrong sides together with a narrow seam. Trim the seam, press, then fold right sides together and sew again. This hides all raw edges. |
| Zigzag Stitch | Sew your seam as usual. Set your machine to a medium zigzag stitch and sew along the raw edge. This catches any fraying threads. |
Most professional seamstresses use French seams for sheer fabrics like organza. This method gives your bag a luxury look and keeps the inside neat. If you want a quick finish, try a zigzag stitch. Both options work well for this tutorial.
Note: Take your time with the finishing step. A neat seam makes your organza bag look store-bought!
If you ever feel stuck, just remember that every crafter learns by doing. Each bag you make will look better than the last. Keep these tips handy, and you’ll master organza in no time.
Finishing and Presentation
Packing Gifts
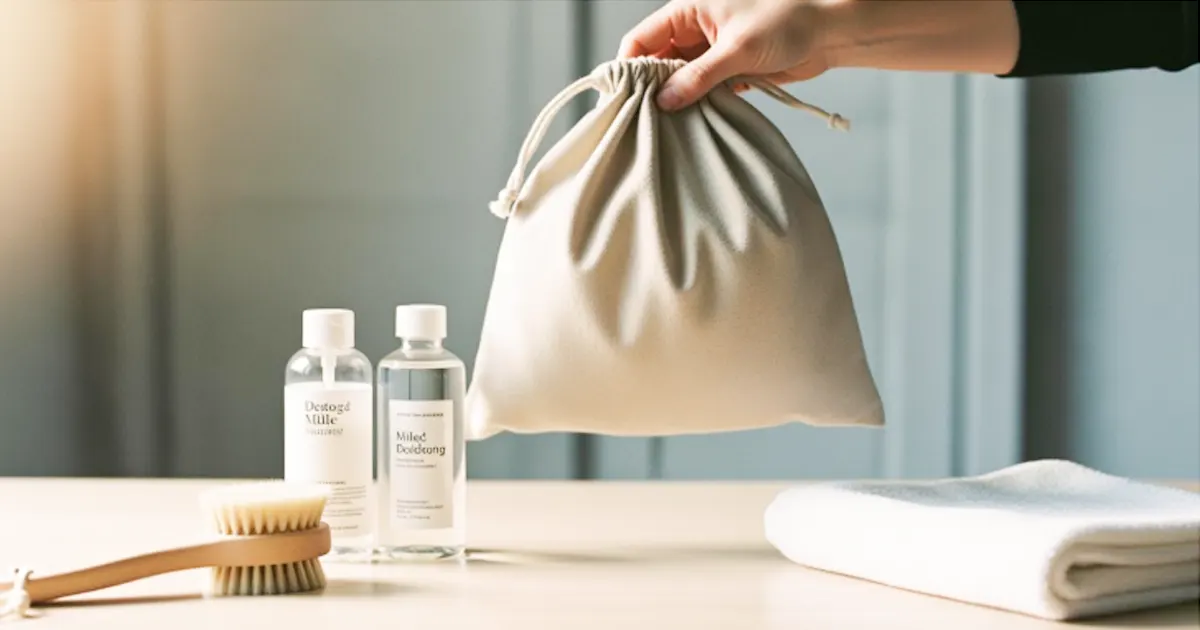
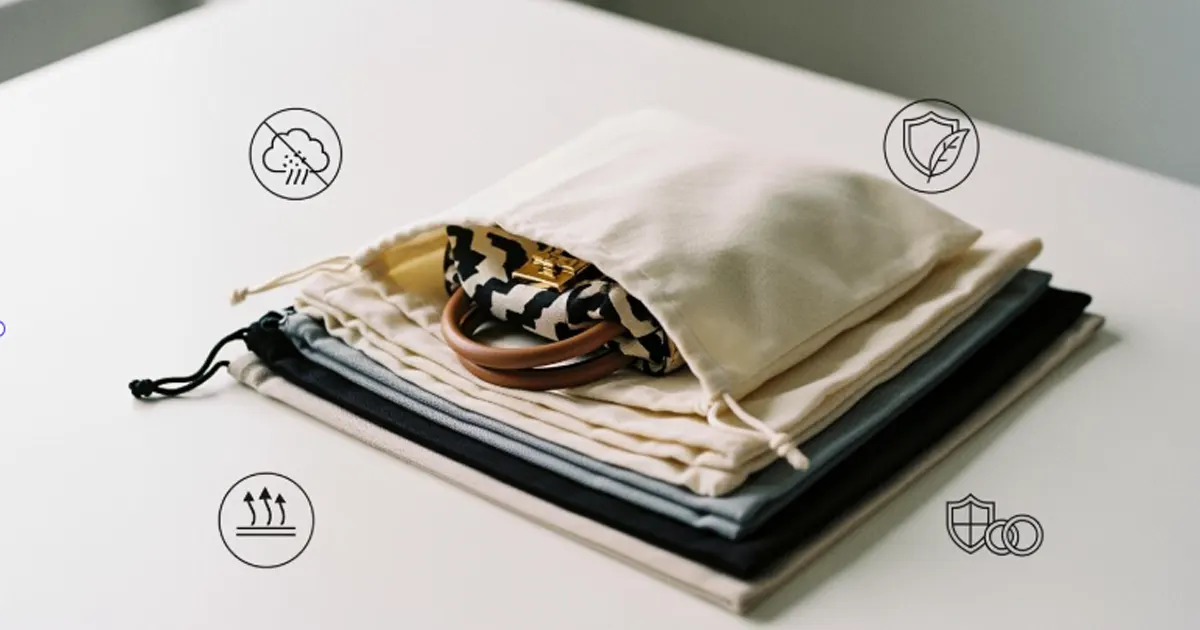
You’ve finished your organza gift bag, and now it’s time to pack your present. Organza makes any gift look special. You can use these bags for many things. They work great for wedding favors. You can fill them with candies, mints, or chocolates. The see-through fabric lets the treats show through, which adds a touch of elegance.
Jewelry looks amazing in organza. Place a bracelet, necklace, or earrings inside. The soft fabric keeps everything safe and adds a little sparkle. Small trinkets or keepsakes also fit well. You can even use these bags for bath salts or scented soaps.
Here are some ideas for packing gifts in organza:
- Place a small piece of tissue paper inside for extra color.
- Add a sprinkle of confetti for a fun surprise.
- Tie the drawstring tight and finish with a bow.
- Attach a tiny tag with a name or message.
Tip: If you want your gift to stand out, choose a ribbon that matches the event or season.
Storing Bags
You might want to make several organza bags at once. Keeping them neat is easy. Lay each bag flat and smooth out any wrinkles. Stack them in a box or drawer. You can also hang them on a hook to keep them from getting crushed.
If you want to reuse your bags, just untie the ribbon and shake out any dust. Organza stays fresh and pretty for a long time. You can wash the bags by hand if they get dirty. Let them air dry to keep their shape.
A simple table can help you remember how to store your bags:
| Storage Method | Best For |
|---|---|
| Flat in a box | Keeping bags wrinkle-free |
| Hanging | Saving space and shape |
| Drawer | Easy access |
Note: Organza does not take up much space, so you can keep lots of bags ready for any occasion.
Sharing Creations
You worked hard on your organza gift bags, so why not show them off? Take a photo of your finished bags and share it with friends or family. You can post your creations on social media. Use hashtags like #DIYOrganza or #GiftBagIdeas to connect with other crafters.
You can also give extra bags as gifts. People love handmade items. If you have a crafting group, bring your bags to the next meeting. You might inspire someone else to try making organza bags too.
Remember: Every bag you make is unique. Sharing your work spreads joy and creativity!
Conclusion
You now know that making organza gift bags at home is simple and fun. You can use these bags again, which is good for the planet and saves you money. Organza bags let you be creative with things like paint, embroidery, or beads. They are great for holding gifts, storing things, or taking items when you travel. Look at the table below to see more reasons why organza bags are awesome:
| Benefit | Description |
|---|---|
| Customization | You can make every bag special for any event. |
| Versatility | Use them for jewelry, makeup, or party treats. |
| Eco-friendly | Use them many times so you make less trash! |
If you need a lot of organza bags or want your name on them, we can help you make custom bags for anything you want. Contact us if you need ideas or want to start your own project!
FAQ
How do I stop organza from fraying?
You can use Fray Check or clear nail polish on the edges. Try sewing a zigzag stitch along the raw edge. French seams also work well. These tricks help keep your bag looking neat.
Can I make organza bags without a sewing machine?
Yes! You can sew organza bags by hand. Use a thin needle and small stitches. It takes more time, but you still get a pretty bag. Hand sewing works great for beginners.
What size ribbon should I use for the drawstring?
Pick a ribbon that fits easily through the channel. Most people use 1/4-inch or 3/8-inch wide ribbon. Make sure it slides smoothly and matches your bag’s style.
How do I clean organza gift bags?
Hand wash your organza bags in cool water with mild soap. Rinse gently and lay flat to dry. Avoid wringing or twisting the fabric. This keeps your bags looking fresh.
Can I iron organza fabric?
Yes, but use a low heat setting. Place a thin cloth between the iron and organza. Move the iron quickly to avoid burning. Never use steam, as it can leave water spots.
What can I put inside organza gift bags?
You can fill organza bags with candies, jewelry, soaps, or small gifts. They also work for party favors, potpourri, or keepsakes. Get creative and match the contents to your event!
How do I personalize my organza bags?
Try fabric markers, embroidery, or adding charms. You can glue on beads or sew on patches. Write names or messages for a special touch. Personalizing makes each bag unique.
Are organza bags reusable?
Yes! You can use organza bags many times. Just untie the ribbon and refill them. They are great for gifts, storage, or organizing small items. Reusing helps the environment too.