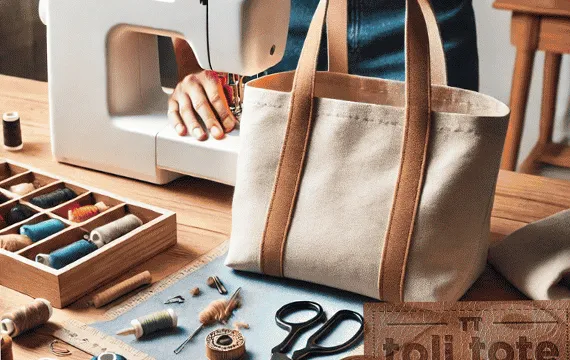
If you are like me and you use tote bags for just about everything from groceries to books to beach trips, you have probably run into this problem. You toss everything in, and it all falls into one messy pile. The bag sags in the middle and it becomes impossible to find anything quickly.
That is because most tote bags are flat in design with no structured base, so everything simply slides and pools at the bottom. The good news is that there is a simple solution. A tote bag with a flat bottom. This style stands up on its own, has more usable space, and keeps your belongings more organized.
In this guide, I will walk you through exactly how to make one, even if you are just starting out with sewing. We will go through choosing fabric, sewing the base, adding handles, and giving it finishing touches that make it look neat and professional. I will also share optional upgrades like adding lining, plus tips to care for your tote bag so it lasts for years.
Why a Flat Bottom Tote Bag is a Game Changer
Regular tote bags are fine for quick errands, but when you want to carry heavier items like books, files, or groceries, they often lose their shape and become awkward to carry.
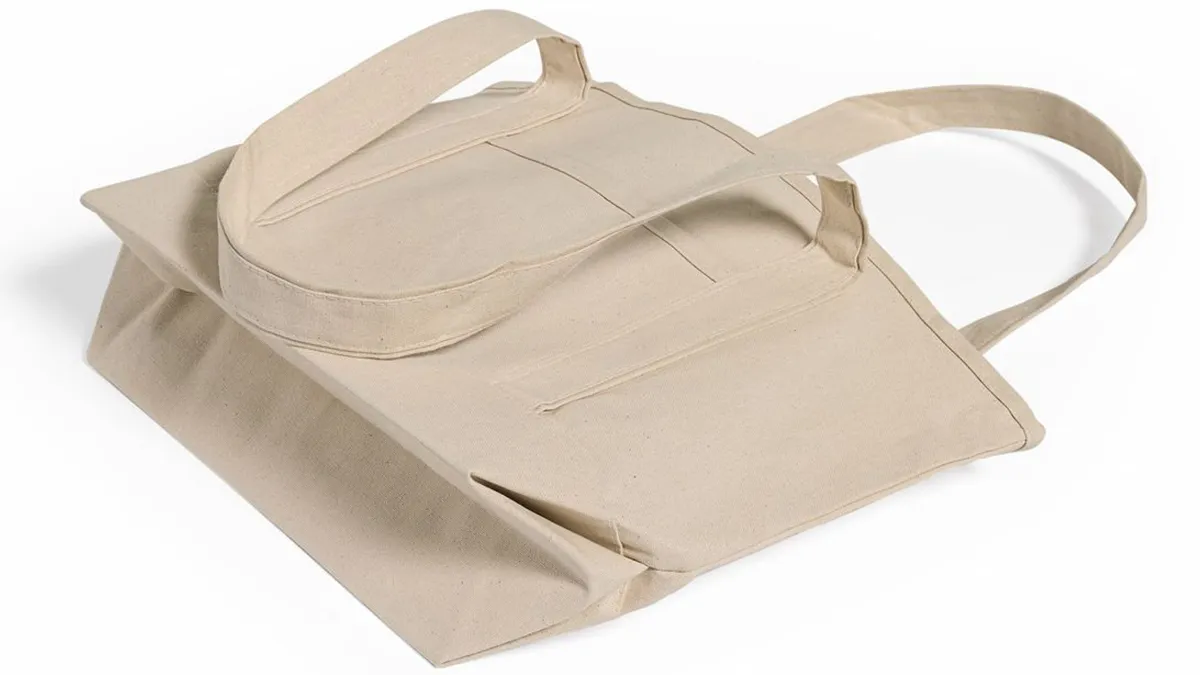
A flat bottom tote bag solves this problem. The boxed corners give the base more structure, which:
- Helps the bag stand upright
- Adds more interior space without making the bag taller
- Keeps items from piling awkwardly at the bottom
- Looks more polished and stylish
Even with soft cotton or linen fabrics, the flat bottom adds a structured look without needing stiff interfacing unless you choose to use it.
Materials You Will Need
Let us start by gathering everything.
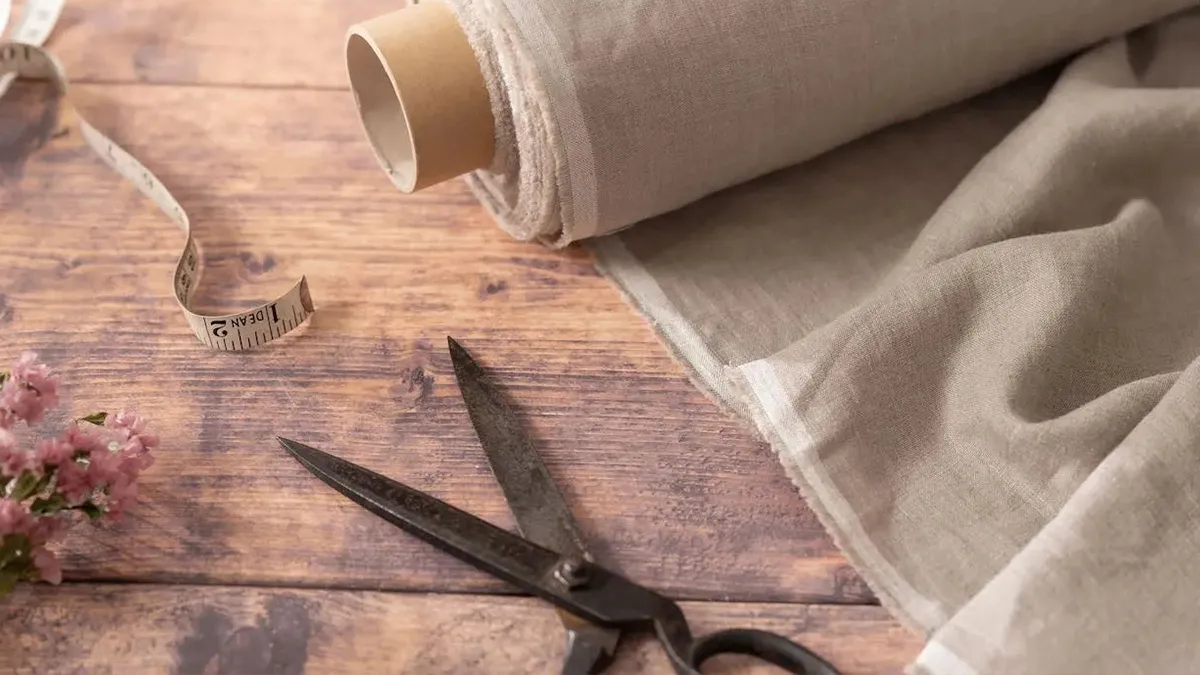
- Fabric – Medium to heavy weight cotton, canvas, denim, or linen blends are ideal. They are durable and hold shape better than light fabrics. Wash and iron before cutting to avoid shrinkage later.
- Thread – All purpose polyester thread works for most projects. Use heavy duty thread for thicker fabrics.
- Scissors or rotary cutter – A rotary cutter with a self healing mat makes cutting faster and cleaner.
- Pins or clips – Clips are great for thicker fabrics while pins are fine for lighter ones.
- Ruler or measuring tape – Accuracy is important.
- Sewing machine – A basic home sewing machine is enough for this project.
- Iron – Pressing seams after each step will give a neat professional look.
Cutting the Fabric – Measurements Guide
You can adjust your tote bag size depending on your needs, but here is a good all purpose size.
- Main body panels – Two pieces, each 16 inches wide by 18 inches tall
- Straps – Two pieces, each 22 inches long by 2 inches wide
- Seam allowance – Half an inch on all sides
If you want a larger shopping tote, add two or three inches to both height and width. For a smaller book bag, reduce by two or three inches. The key is to keep the two main panels identical in size.
Sewing the Main Body
- Place the two main fabric pieces with right sides together.
- Pin or clip along the left, right, and bottom edges, leaving the top open.
- Sew these three sides using a half inch seam allowance.
- Press the seams open with an iron. This will help the fabric lay flat and make the next step easier.
At this point, you have a flat tote shape. Now it is time to transform it into a flat bottom tote bag.
Creating the Flat Bottom – The Boxing Corners Method
This step is what gives your tote its structure.
- Keep the bag inside out.
- Take one bottom corner and flatten it so the side seam lines up exactly with the bottom seam. This will create a triangle shape.
- Measure two inches down from the triangle tip and draw a line across, making sure it is perpendicular to the seam.
- Sew along this line.
- Trim the extra fabric about half an inch from the seam you just made.
- Repeat the process for the other bottom corner.
When you turn your bag right side out, the bottom will be rectangular. It can now stand on its own and hold more without collapsing.
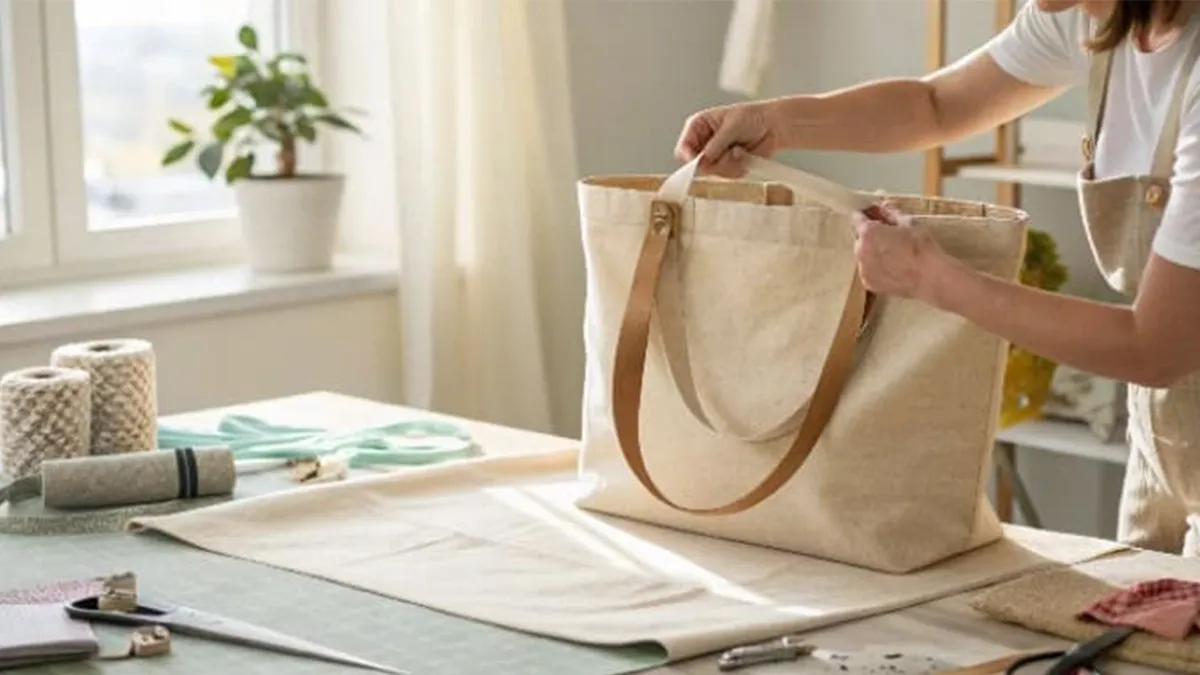
Making the Handles
- Take each strap piece and place it wrong side up. Fold it in half lengthwise and press to create a center crease.
- Open it up, then fold each long edge toward the center crease. Press again.
- Fold in half along the original crease so the raw edges are enclosed.
- Stitch close to both long edges. This adds strength and keeps the handles flat.
- Position the handles on the outside of your bag, about four inches in from each side seam.
- Pin in place and sew a reinforced box with an X inside where each handle meets the bag. This distributes weight and prevents the handles from pulling loose.
Finishing the Top Edge
- Fold the top edge of the bag to the inside by half an inch and press.
- Fold again by about one inch and press to enclose the raw edge.
- Stitch all the way around the top edge. This secures the handles and gives a neat finish.
Optional Upgrade – Adding a Lining
If you want a more polished and durable interior:
- Cut lining pieces the same size as your main body pieces.
- Sew them together in the same way, but leave a small opening in the bottom for turning.
- Place the lining inside the outer bag, right sides together, matching the side seams.
- Sew around the top edge, then turn everything right side out through the opening in the lining.
- Sew the opening closed and tuck the lining inside the bag.
Care Tips for Your Tote Bag
- Washing – If your fabric is pre washed, you can machine wash in cold water with gentle detergent.
- Drying – Air dry to maintain shape and avoid high heat.
- Storage – Store flat or hang on a hook to keep handles from creasing.
- Decorated totes – If you have painted or printed on your bag, spot clean to preserve the design.
Final Thoughts
Making a tote bag with a flat bottom is easier than it seems. Once you understand the steps which are cutting, sewing, boxing the corners, and adding handles, you can start experimenting with different sizes, fabrics, and decorations to make each one your own.
If you have time, making your own tote can be a fun and satisfying project. But if you prefer to skip the sewing and go straight to having a well made, durable tote bag, or you need a larger quantity for your shop, event, or business, we can help.
We are a professional tote bag manufacturer with experience in producing all types of flat bottom tote bags, lined totes, and custom printed designs. Whether you need one perfect piece or a large bulk order, we make sure each bag is high quality and built to last.
Contact us today and let us bring your tote bag ideas to life.
FAQs
Is a flat bottom tote bag hard to make
Not at all. It may look advanced, but the boxing corners method is easy once you try it.
What is the best fabric for a sturdy tote
Canvas, denim, and heavy cotton are ideal for structure and durability.
How deep should the flat bottom be
Two to four inches works well for most bags. Larger shopping totes can go up to five inches.