Ever wondered how to decorate a felt bag and make it truly yours? You can start this diy project with just a few supplies and simple directions. Felt bags let you play with color and texture in a way that’s both fun and easy.
Felt is a wonderful material that is made by rolling and pressing sheep’s wool together so the fibers fuse together to create a smooth, unfurling surface. This last bit is especially important: it doesn’t unfurl at the ends! Its like magic! This means that you could cut it in any direction or distance and the ends will not fray or come apart because there’s no threads involved!- Just wool. This makes for an outstanding sewing experience! With all the characteristics of fabric, but with the added benefit of extreme durability.
You don’t need to worry about perfection when learning how to decorate a felt bag. This tutorial will help you explore how to make felt bags with your own style. Let your imagination lead the way as you discover how to decorate a felt bag in a way that’s totally unique.
Key Takeaways
- Get the supplies you need like felt sheets, glue, and scissors. These will help you start your decorating project.
- Pick a theme or pattern that shows your style. You can use seasonal designs or shapes you like.
- Plan your layout by drawing ideas or marking spots with chalk. Do this before you put on decorations.
- Use sewing or glue to attach decorations so they stay on. This helps them last when you use your bag every day.
- Try fun options like needle-felting, fabric paint, or appliqué. These can make your bag look special.
- Make your bag personal by adding initials or charms. This helps you know it is yours.
- Take care of your felt bag by cleaning it gently. Store it the right way to keep its shape and look.
- Try new things and do not worry about mistakes. Mistakes can help you find new ideas and make your design unique.
Materials and Tools for Decorating
Decorating a felt bag starts with gathering the right materials. You do not need a lot of fancy tools. You just need a few basics and some fun extras to make your bag stand out.
Essential Supplies
Here are the main supplies you will need to get started:
- Felt sheets: These are easy to find and do not cost much. You can pick any color you like.
- Felt balls: These come in different sizes. Bigger ones cost more, but they add a bold look to your bag.
- Fabric Mod Podge: This glue helps stick decorations to your bag and keeps them in place.
- Clear liquid vinyl: This adds a shiny finish and protects your designs.
- Needle-felting tools: These tools help you add shapes and patterns right onto the felt.
- Scissors: You will need sharp scissors to cut felt and other materials.
- Needles and thread: These are for sewing on decorations or adding embroidery.
Tip: You can use regular craft glue if you do not have fabric Mod Podge, but Mod Podge works best for fabric projects.
Optional Embellishments
Want to make your bag even more special? Try adding some of these extras:
- One-dimensional felt designs: Cut out shapes like stars, hearts, or flowers and glue them on.
- Buttons, beads, or sequins: Sew or glue these on for sparkle and texture.
- Ribbons or lace: Add a soft touch to the handles or edges.
- Fabric paint or markers: Draw your own designs or write your name.
- Double-sided tape or heat applications: These make it easy to attach decorations without sewing.
- Soft, colorful textures: Layer different pieces of felt for a fun look.
You can mix and match these ideas to create a bag that shows off your style.
Where to Find Materials
You can find felt bag supplies in many places. Here are some good options:
- Craft stores: Most local craft shops have felt sheets, balls, glue, and other basics.
- Online shops: Many websites sell felt bags and kits. For example, you can find easy-to-decorate felt medium tote bags in lots of colors. Some sites even offer same-day shipping if you order early.
- Specialty stores: Some stores sell felt ornament kits for making gift bags. You can also find jumbo gray felt totes if you want a bigger bag to decorate.
Shopping online gives you more choices. You can pick the size, color, and style that fits your project. If you want to start right away, check your local craft store for supplies.
Now that you know what you need, you are ready to start decorating your felt bag. Gather your materials and get creative!
How to Decorate a Felt Bag: Design Choices
Choosing a Theme or Pattern
You get to decide how your bag will look. Start by thinking about what you like. Do you want something bright and playful? Maybe you prefer a simple, classic style. You can pick a theme that matches your favorite season, a holiday, or even your favorite animal. Some people love stars and hearts. Others like flowers or geometric shapes. You can also choose a pattern that means something special to you.
Tip: If you want your bag to stand out, try mixing different shapes and colors. You can layer felt pieces or add fun details like buttons and beads.
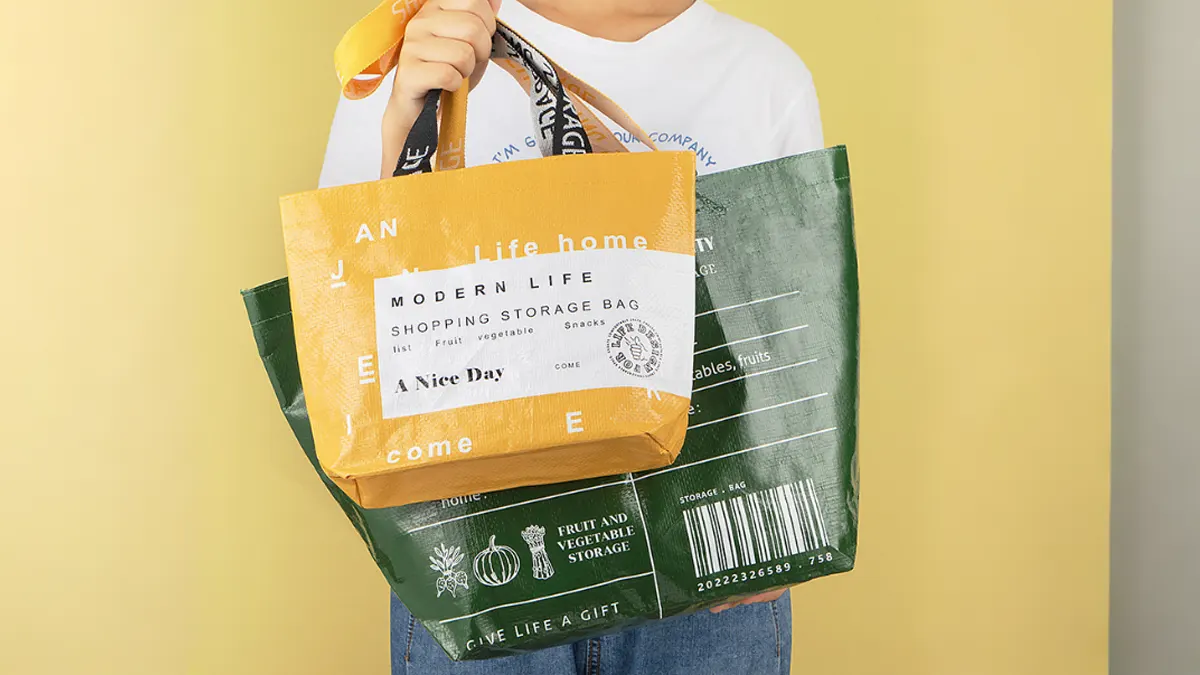
Felt Market Bag Inspiration
Looking for ideas? Many crafters use felt market bag designs as a starting point for their own projects. These bags often have simple shapes and bold colors. You can find tutorials that show how to make a felt market bag for shopping or carrying food. These designs are easy to change and make your own.
Here are some ideas that have inspired recent DIY projects:
- Add a big pocket on the front for your phone or keys.
- Use felt cutouts to create fruit or vegetable shapes.
- Try a color block style with two or three bright colors.
- Decorate with felt flowers or leaves for a spring look.
You can use these ideas or come up with your own twist. The best part about this project is making a bag that fits your style.
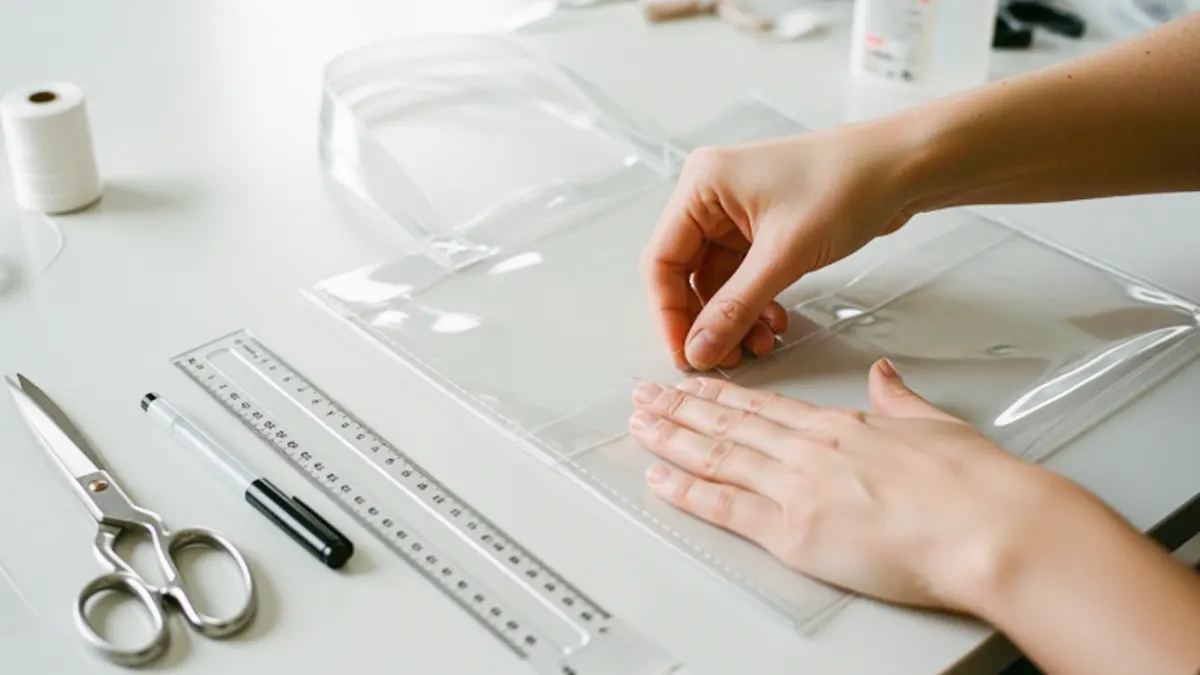
Sketching Your Ideas
Before you start gluing or sewing, it helps to plan your design. Grab a piece of paper and sketch your ideas. You can draw the whole bag or just the parts you want to decorate. If you feel brave, use chalk to draw right on the felt. This lets you see how your design will look before you make it permanent.
Here are some ways to plan your project:
- Sketch your design on paper first.
- Try drawing stars, hearts, or custom shapes that mean something to you.
- Use chalk to mark where you want pockets, decorations, or extra layers.
- Move pieces around until you find a layout you love.
Planning helps you avoid mistakes and makes your project more fun. You get to see your ideas come to life step by step.
Preparing the Bag for Decoration
Cleaning and Prepping Felt
Before you start adding any decorations, you need to get your felt bag clean and ready. This step helps your designs stick better and last longer. If you want to learn how to make felt bags that look neat, follow these simple steps:
- Take a soft bristle brush and gently sweep away any dust. Don’t press too hard. You want to keep the felt smooth.
- If you see stains, mix a little water with mild detergent. Dab the spot with a soft sponge and rub gently. Rinse with clean water.
- For tiny stains, grab a wet wipe. Rub the area softly and let it dry all the way.
- If you notice lint or dust that won’t come off, try using a piece of adhesive tape. Press it on the felt and lift it up. The dirt should stick to the tape.
- For bigger messes, use a soft sponge with detergent. Stroke over the stain until it disappears.
Tip: Always let your felt bag dry completely before you start decorating. Wet felt can stretch or lose its shape, and your pattern might not look right.
When you know how to make felt bags clean and smooth, your decorations will look even better. You can also avoid problems with glue or paint not sticking.
Reinforcing and Prepping Structure
A strong bag holds its shape and makes your decorations stand out. If you want your bag to last, you should reinforce it before you start. You have a few good options for this step.
You can use interfacings, which are special fabric layers that you attach to the inside of your bag. These give your felt more stability and help it keep its shape. Some people use stabilizers, which are thicker materials that add even more support. Foam stabilizers, like byAnnie’s “Soft but Stable,” work well because they make your bag sturdy but not stiff. This is important if you want to sew on a pattern or add heavy decorations.
If you want to know how to make felt bags that stay strong, try adding these materials before you decorate. You can sew or glue them in place, depending on your design. This step helps your bag hold up to everyday use and keeps your pattern looking sharp.
Note: Reinforcing your bag is a smart move if you plan to carry heavier items or use lots of layers in your pattern.
Now your felt bag is clean, strong, and ready for your creative touch. You can move on to arranging your decorations and planning your unique pattern.
Planning Your Layout
Arranging Decorations
Now comes the fun part—laying out your decorations! You get to play with all your pieces before you glue or sew anything down. This step helps you see how your bag will look when it’s finished. You can move things around as much as you want.
Here’s how you can arrange your decorations for the best results:
- Place all your felt shapes, buttons, or beads on the bag without attaching them.
- Step back and look at your design from different angles.
- Spread your decorations across the bag. Try not to put everything in one spot. This keeps your bag balanced and stops it from feeling too heavy on one side.
- Mix big and small pieces for a more interesting look.
- Leave some space between decorations. Your bag will look less crowded and each piece will stand out.
Tip: Take a quick photo of your layout with your phone. If you move something by accident, you can check the photo and put it back.
You don’t have to rush. Try a few different layouts until you find one that makes you smile.
Using Templates or Stamps
Templates and stamps can help you create neat shapes and patterns. If you want stars, hearts, or letters that look the same, templates make it easy. You can buy ready-made templates or make your own from cardboard.
To use a template, just place it on your felt and trace around it with chalk or a fabric marker. Cut out the shape and you’re ready to add it to your bag. Stamps work well for adding designs with fabric paint or ink. Press the stamp onto the felt and lift it straight up for a clean print.
Here’s a quick list to help you use templates and stamps:
- Choose a template or stamp that fits your theme.
- Test your stamp on a scrap piece of felt first.
- Trace or stamp your design where you want it on the bag.
- Let any paint or ink dry before moving on.
Note: Templates and stamps help you keep your design neat, but you can always add your own twist. Try mixing hand-cut shapes with stamped designs for a unique look.
Marking Placement
Marking where your decorations will go makes the next steps easier. You don’t have to guess or worry about making mistakes. Use chalk, a fabric marker, or even small pins to mark each spot.
Here’s how you can mark your placement:
- Lightly draw around each decoration with chalk.
- Use pins to hold pieces in place if you want to check the look.
- Double-check your layout before you start gluing or sewing.
If you change your mind, just brush off the chalk or move the pins. You stay in control of your design.
Remember: Planning your layout helps you avoid surprises and makes decorating your felt bag a lot more fun. Take your time and enjoy the creative process!
Decoration Techniques for Felt Bags
Sewing and Embroidery
Decorating with sewing and embroidery gives your felt bag a classic, handmade look. You can use simple stitches or try more advanced ones if you feel adventurous. Both hand-felted and machine-felted wool work well for embroidery. Hand-felted wool gives a rustic feel, while machine-felted wool looks more polished. You get to choose the style that fits your project.
Basic Stitches
You don’t need to be an expert to sew on felt. Start with these durable stitches:
- Backstitch: This stitch is strong and perfect for outlining shapes or adding details.
- Whipstitch: Use this to join two pieces of felt together. It’s easy and holds up well.
- French knots: These add texture and look great as flower centers or tiny accents.
If you want to know how to make felt bags that last, try using a blanket stitch for the seams. This stitch keeps the edges neat and helps your bag stay strong, even with daily use. Adding a stabilizer under your embroidery also keeps the felt from stretching or sagging.
Tip: Practice your stitches on a scrap piece of felt before working on your bag. You’ll feel more confident and your designs will look better.
Attaching Buttons and Beads
Buttons and beads bring sparkle and personality to your bag. You can sew them on by hand. Here’s a simple way to do it:
- Thread your needle and tie a knot at the end.
- Push the needle through the back of the felt to the front.
- Slide on your button or bead.
- Stitch through the holes a few times to secure it.
- Tie off the thread on the inside of the bag.
Mix different colors and sizes for a playful look. You can create patterns or just add a few for a subtle touch. If you want to know how to make felt bags with extra flair, buttons and beads are a great choice.
Gluing and Mod Podge
Not everyone likes sewing. Glue works well for attaching decorations to felt bags, especially if you want a quick project. You have several adhesive options, each with its own benefits.
Choosing the Right Adhesive
Here are some top choices for gluing decorations to felt:
- Tacky Glue: Non-toxic, dries clear, and stays flexible. Great for kids and beginners.
- Super Glue: Bonds fast and strong, but not safe for kids.
- Hot Glue: Works quickly and sticks well to felt, but can be messy and hot.
- Fabric Glue: Waterproof and flexible, perfect for fabric-to-fabric bonding.
Aleene’s Tacky Glue is a favorite for felt projects. It’s easy to use and holds decorations in place. Hot glue is another good option if you need a fast, permanent bond, especially for felt-to-felt pieces.
Note: Super glue and hot glue can get very hot or stick skin together. Always ask an adult for help if you’re not sure.
Using Fabric Mod Podge and Liquid Vinyl
Fabric Mod Podge is a special glue that works well for felt. You can use it to attach flat decorations like felt shapes, paper, or fabric. Just brush a thin layer on the back of your decoration, press it onto the bag, and let it dry. It dries clear and keeps everything in place.
Clear liquid vinyl adds a shiny, protective finish to your bag. It helps seal your designs and makes your bag more durable. Brush it over your finished decorations and let it dry completely. This step is perfect if you want to know how to make felt bags that can handle everyday use.
Tip: Always let glue and Mod Podge dry all the way before using your bag. This keeps your decorations from peeling off.
Needle-Felting
Needle-felting lets you add soft, 3D designs right onto your felt bag. You use a special barbed needle to poke wool roving into the felt. This technique creates shapes, patterns, or even little animals.
Simple Needle-Felting Tips
Needle-felting is fun, but you need to stay safe. The needles are sharp! Here’s how you can protect yourself:
- Use finger guards or thimbles to keep your fingers safe from needle pricks.
- Keep your free hand away from the needle while you work.
- Always work on a stable, flat surface like a foam pad or felting mat.
- Keep your workspace tidy to avoid accidents.
“Use a Felting Pad. It might seem obvious, but don’t attempt to felt on your thigh or chest. Always use a foam block or felting pad to protect your work surface and your skin.”
When you finish, cover or lock your needle tools. Take breaks to rest your hands and shoulders. If you want to learn how to make felt bags with needle-felted designs, start with simple shapes like hearts or circles. You’ll get the hang of it quickly.
Needle-felting adds a unique touch to your bag. You can create anything you imagine, from flowers to animals. Try it out and see what you can make!
Felt Stamps and Appliqué
Creating Unique Designs
You can turn your felt bag into a true work of art with felt stamps and appliqué. These techniques let you add bold shapes, fun patterns, and even a bit of texture. You don’t need to be an expert to get great results. Just follow a few simple steps and let your imagination lead the way.
Here’s how you can use felt stamps and appliqué to make your bag stand out:
- Cut Shapes from Felt
Start by picking out a few colors of felt. Use small shape dies or scissors to cut out stars, hearts, flowers, or any shape you like. Try mixing big and small pieces for more interest. - Arrange Your Pieces
Lay your felt shapes on your bag. Move them around until you find a design you love. You can make a pattern, spell out a word, or create a picture. There are no rules—just have fun! - Add Embroidery (Optional)
Want to make your shapes pop? Grab some embroidery thread and add simple stitches. Outline your shapes, add little details, or sew on a few French knots for texture. This step gives your design a handmade touch. - Attach with Whip Stitch
Use a whip stitch to sew your felt pieces onto the bag. This stitch is easy and strong. It keeps your shapes in place and adds a nice border. If you don’t want to sew, you can use fabric glue instead. - Make Functional Stamps
For a fun twist, glue two felt shapes together and add a small magnet inside. Now you have a felt stamp that sticks to your bag or fridge! You can swap out designs whenever you want.
Tip: Try layering different shapes and colors. A yellow star on top of a blue circle looks bright and cheerful. You can even add a button or bead in the center for extra flair.
| Tool/Material | What It Does | Why Use It? |
|---|---|---|
| Shape Dies/Scissors | Cut felt into neat shapes | Easy, clean edges |
| Embroidery Thread | Add detail and texture | Makes designs pop |
| Fabric Glue | Attach pieces without sewing | Quick and simple |
| Magnets | Make removable stamps | Change designs easily |
You can create a bag that’s as simple or as wild as you want. Try making a rainbow, a garden of flowers, or even your initials. The best part? Every bag you decorate will be one-of-a-kind—just like you.
Remember: There’s no right or wrong way to use felt stamps and appliqué. If you like your design, that’s what matters most.
Personalizing and Finishing Your Bag
Adding Initials or Charms
You can make your bag truly yours by adding initials or charms. These little touches show off your personality and make your bag easy to spot. Try making your own initial keychains or bag charms. You only need a few supplies and a bit of creativity. Here are some ideas to get you started:
- Cut your initials from faux leather and attach them to a key ring or swivel clip.
- Use a cutting machine like a Cricut maker for perfect shapes.
- Stitch your initials with embroidery floss and a large-eyed needle for a handmade look.
- Stuff small felt shapes with polyfill to create puffy charms.
- Snap hooks make it easy to swap out charms whenever you want.
You can assemble and sew these charms quickly. They work great as gifts or just for fun.
Tip: Mix different colors and materials for a playful effect. Your bag will stand out in any crowd.
Using Fabric Paint or Markers
Fabric paint and markers let you add bold designs, doodles, or even your name to your bag. You can draw freehand or use stencils for neat shapes. Choose paints and markers that work well on felt. The best ones have features that make decorating easy and long-lasting. Check out this table for what to look for:
| Feature | Description |
|---|---|
| Dual-Tip | Offers a 1mm fine tip for details and a flexible brush tip for broader strokes. |
| Vibrant, Long-Lasting Colors | Delivers bold colors that resist fading and withstand washing. |
| Quick-Drying & Non-Bleeding Ink | Dries quickly to ensure crisp lines without smudging. |
| Permanent | Becomes permanent once heat-set, ensuring designs stay intact through washes. |
| Easy-to-Use | Simple application process, suitable for all users including kids. |
You can heat-set your design with an iron to make sure it stays put. Try layering colors or adding highlights for extra flair.
Note: Always let paint or marker dry completely before touching or using your bag.
Securing and Final Touches
You want your decorations to stay on your bag for a long time. Secure everything before you start using your bag. Here are some ways to make sure your designs last:
- Sew decorations onto the felt with a line of stitching.
- Attach buttons, embroider designs, or add felt or fabric appliques for extra strength.
- Use glue for decorations at the end of your project, but sew or embroider before you assemble the bag.
Check each piece to make sure it feels sturdy. Tug gently on charms and decorations to test them. If anything feels loose, add a few stitches or a dab of glue.
Your bag is now ready to show off! You’ve added personal touches and made sure everything is secure. Enjoy carrying your one-of-a-kind creation wherever you go.
Bag Care and Maintenance Tips
Taking care of your decorated felt bag keeps it looking fresh and helps it last longer. You don’t need fancy products or complicated routines. Just a few simple habits will do the trick.
Cleaning Decorated Felt Bags
Decorated felt bags can pick up dust and dirt, but you can clean them without ruining your designs. Here’s an easy way to wash your bag and keep it looking great:
- Fill a basin with cool water and add a small amount of mild soap.
- Gently submerge your bag in the soapy water. Let it soak for a few minutes.
- Move the water with your hands to help clean the felt. Don’t scrub or twist.
- Rinse the bag in clean, cool water until all the soap is gone.
- Press the bag between two clean towels to remove extra water. Don’t wring or twist.
- Lay the bag flat on a dry towel and let it air dry completely.
Tip: Always let your bag dry flat. This keeps it from losing its shape or stretching out.
You can also keep your bag looking neat by dusting it with a lint roller or a soft brush. Try to keep it away from high humidity. This helps prevent mold and mildew from forming on the felt.
Storing and Repairing
Proper storage keeps your bag safe from damage. Here are some easy tips:
- Store your bag in a cool, dry place. Use a breathable bag to protect it from dust.
- Avoid moisture, heat, and pests. These can damage the felt and decorations.
- Keep the storage area clean, dark, and cool. This helps prevent mildew and pests.
- Store your bag flat if possible. If you need to fold it, avoid sharp creases.
Note: Airtight containers work well for keeping pests away, but make sure your bag is completely dry before sealing it up.
Sometimes, your bag might get a small hole or tear. You can fix it at home with a few simple tricks:
- Use felting needles to fuse yarn into small holes.
- For bigger holes, knit a small patch, felt it, and stitch it in place.
- Try covering holes with decorative felted flowers if they’re in a good spot.
- Create a ‘spider web’ with yarn across a hole before refelting for extra strength.
Taking a few minutes to repair your bag keeps it looking new and ready for your next adventure. With these tips, you can enjoy your decorated felt bag for years to come!
Conclusion
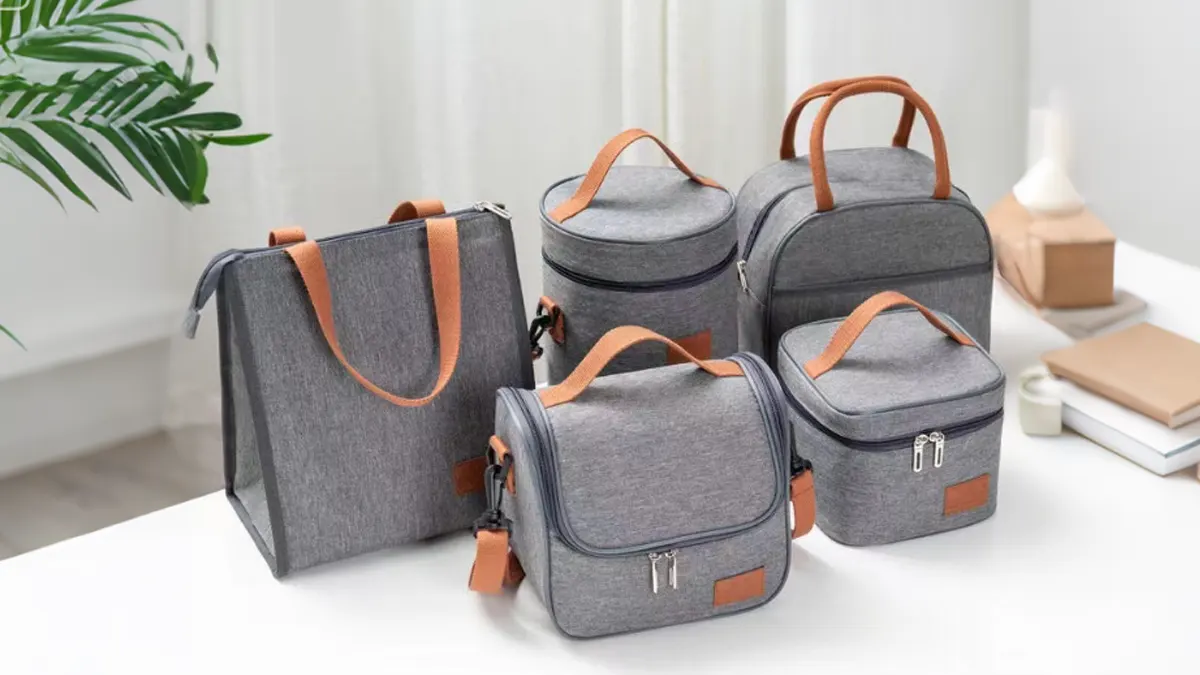
You now know how to decorate a felt bag. Try your own ideas and show your style. Many people like custom felt bags. Some favorites are tote bags with handles, laptop sleeves, purse organizers, and big zippered totes. If you’re looking for something truly unique, working directly with a manufacturer makes all the difference.
As a felt bag manufacturer, we design and produce custom felt bags tailored to your needs—from materials and sizes to colors, logos, and special features. Compared with trading companies or resellers, manufacturing directly with us means better quality control, flexible customization, and more competitive pricing.
If you want reliable production, custom designs, and consistent supply, we’re here to support your project from idea to finished product. Reach out to us to create felt bags that match your brand and market needs.
FAQ
How do I keep decorations from falling off my felt bag?
You should use strong fabric glue or sew decorations in place. Always let glue dry fully before using your bag. For heavy items, stitching works best.
Can I wash my decorated felt bag?
You can hand wash your bag in cool water with mild soap. Avoid scrubbing the decorated areas. Lay the bag flat to dry. Never use a washing machine.
What if I make a mistake with my design?
Don’t worry! You can gently peel off glued pieces before they dry. If you sew something in the wrong spot, just snip the thread and try again. Mistakes help you learn.
Which paint works best on felt?
Fabric paint or permanent fabric markers work best. They stick to felt and do not bleed. Always let paint dry completely before touching your design.
Can kids decorate felt bags too?
Yes! Kids can decorate felt bags with adult help. Use safe supplies like tacky glue, felt shapes, and fabric markers. Avoid hot glue or sharp needles for young children.
Where can I find inspiration for my felt bag design?
You can look at craft blogs, Pinterest, or Instagram. Try searching for “felt bag ideas” or “DIY felt crafts.” You can also sketch your own ideas or ask friends for suggestions.
How do I fix a hole in my felt bag?
You can patch small holes with a felt shape and fabric glue. For bigger holes, sew on a patch or use needle-felting to blend in new wool. Your bag will look good as new!