Making your own drawstring pouch bag pattern brings a lot of joy and creativity to your sewing space. You can finish an easy drawstring bag in just about ten minutes, which makes it perfect if you want a quick win. Many beginners pick this project because it’s simple, doesn’t need zippers, and helps you organize things while traveling or wrapping gifts. If you’re looking for a bag tutorial or a step-by-step guide, you’ll find a tutorial that matches your style and skill. You don’t need much to get started, so let’s dive in and create something fun together!
- Quick to sew and finish
- Great for storing crafts, gifts, or travel items
- Beginner-friendly and stress-free
Key Takeaways
- Making a drawstring pouch bag is fast and simple. It takes about ten minutes to finish.
- This project is good for beginners. It is great for organizing things or giving gifts.
- Look at sewing blogs, forums, and Pinterest for free patterns and guides.
- When you download templates, use the right file types. Check your printer settings to make sure the size is correct.
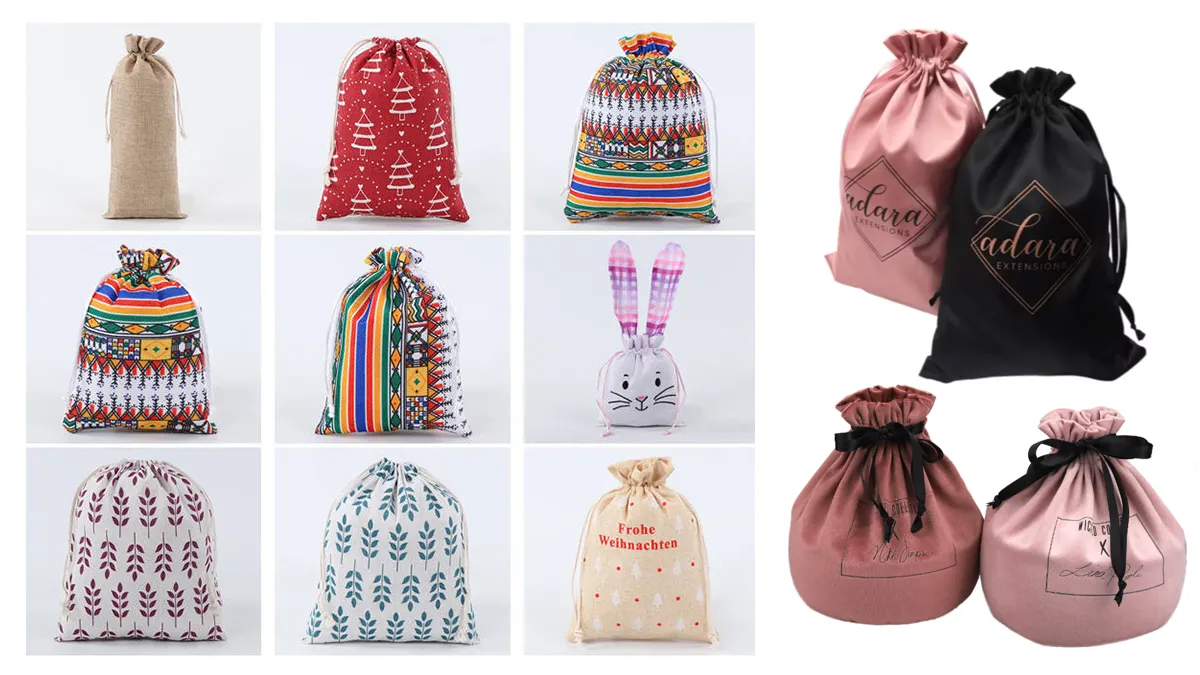
- Pick the best fabric for your pouch. Cotton is a good choice for beginners because it is easy to use.
- Think about changing your bag’s size and shape. This helps it fit your needs and style.
- Use important tools like fabric scissors, pins, and a sewing machine. These tools help make sewing easier.
- Add special touches like lining or decorations. This makes your drawstring bag look better and last longer.
Free Patterns
Drawstring Pouch Bag Pattern Resources
Looking for a drawstring pouch bag pattern you can trust? You have plenty of options online, and you don’t need to spend hours searching. Let’s break down the best places to find a bag tutorial that fits your style and skill level.
Sewing Blogs
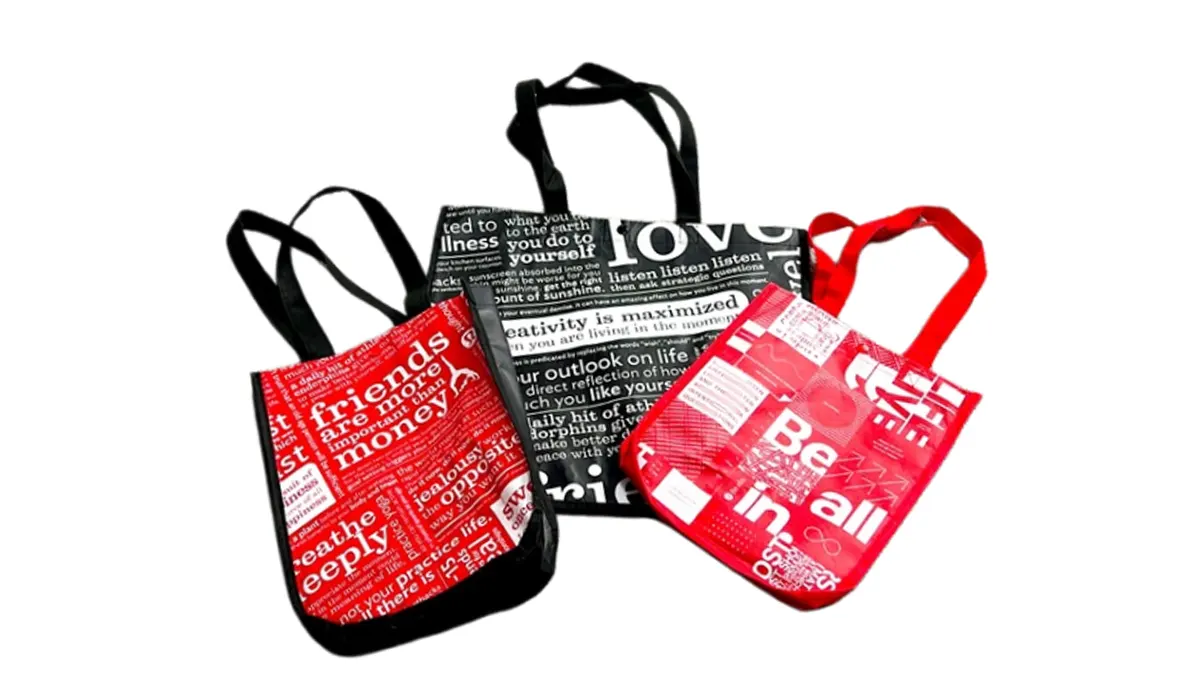
Sewing blogs are a goldmine for free patterns and step-by-step tutorials. You’ll find bloggers who share their favorite bag tutorial, complete with photos and tips. The Ashley Drawstring Pouch stands out as a beginner-friendly project. It comes in three sizes, so you can make a pouch for jewelry, small gifts, or even travel storage. The instructions are easy to follow, and you’ll feel proud when you finish your first pouch. If you want more choices, AllFreeSewing.com offers 26 free drawstring bag patterns and tutorials. You can pick a simple design or try something with a little flair.
Forums & Communities
You can join sewing forums and online communities like Reddit’s r/sewing. Members love sharing their favorite drawstring pouch bag pattern and answering questions. If you get stuck, you’ll find someone who has already solved the problem. You can ask for advice, swap bag tutorial links, or show off your finished project. These spaces are friendly and welcoming, especially for beginners.
Pinterest & Social Media
Pinterest is packed with creative ideas. You can search for a drawstring pouch bag pattern and see hundreds of photos, tutorials, and inspiration boards. Many users pin their favorite bag tutorial, so you can save what you like and come back later. Instagram and Facebook groups also feature quick video tutorials and tips from makers around the world. You’ll never run out of ideas!
Downloading Templates
You’ve found a pattern you love—now what? Downloading templates is easy, but you should know a few tricks to make the process smooth.
File Types
Most free drawstring pouch bag pattern templates come as PSD files. You’ll like PSD files because they let you use smart object layers. This means you can quickly add your own design or tweak the template without fuss. Many users prefer PSD files for their flexibility and ease of use.
- PSD files are the most common for drawstring pouch bag templates.
- Smart object layers make design changes fast and simple.
Printing Tips
When you print your template, check the scale. Make sure your printer settings match the actual size listed in the bag tutorial. Use plain paper for your first print, so you can test the fit. If you want a sturdy template, print on cardstock. Always double-check that your pattern lines are clear and easy to cut.
Tip: If your printer shrinks the template, set it to “actual size” or “100%” before printing.
Quality Check
Not all free patterns are created equal. Before you start your project, look for clear instructions and sharp images. A good drawstring pouch bag pattern will show you each step, so you don’t get lost. If the bag tutorial includes photos or diagrams, you’ll find it easier to follow. Check reviews or comments to see if other makers had success. If you see lots of positive feedback, you’re on the right track!
Paid Patterns
Do you want to improve your bag tutorial skills? Paid patterns give you many new choices for your next drawstring pouch bag pattern. You get more than a template. You also get a full tutorial with special details that make your project look great.
Where to Buy
You can buy paid patterns from different places online. Let’s see the most popular choices.
Etsy
Etsy is a great place for people who love sewing. You will find designers who put lots of effort into each bag tutorial. Many sellers let you download patterns right away. You can start your project fast. You will see clear photos and easy instructions. Some patterns even have video tutorials. If you want something special or need extra features, Etsy is a good place to look.
Pattern Marketplaces
Pattern marketplaces like Makerist, Creative Fabrica, and LoveCrafts have designers from all over the world. You can look at many bag tutorials and compare styles. You can read reviews from other people who sew. These sites often have sales or bundles. You can save money and get more patterns. There are choices for beginners and advanced makers.
Why Choose Paid
You may wonder why you should pay for a pattern when there are free ones. Paid patterns give you lots of helpful things. You get step-by-step instructions that are easy to follow. Many paid tutorials have drawings, sewing tips, and advice for fixing problems. Some patterns have extra features like lining, pockets, or sizes you can change. If you want your project to look nice and last longer, a paid pattern is a good idea.
Tip: Paid patterns often come with help from the designer. If you have trouble, you can ask for help.
What to Look For
Picking the right paid drawstring pouch bag pattern makes sewing easier. Here are some things to check before you buy:
- Patterns that use strong materials, like grosgrain ribbon, help your bag last longer.
- Clear instructions for top stitching make your pouch look neat.
- Templates that fit different fabric sizes, like fat quarters or half-yard cuts, let you use fabric you already have.
- Step-by-step photos or diagrams make the tutorial simple to follow.
- Good reviews from other makers show the pattern works well.
If you remember these tips, you will choose a bag tutorial that fits your style and skill. You will feel sure as you sew, and your finished pouch will look great.
Size Guide
Choosing the right size for your drawstring pouch bag pattern makes your project easier and more fun. You want your bag to fit your needs, whether you’re making a tiny pouch for jewelry or a roomy backpack for school. Let’s look at the most common sizes and how you can pick the best one for your next bag tutorial.
Common Sizes
You’ll see drawstring bags in all shapes and sizes. Here’s a handy table to help you compare the most popular options and their uses:
| Size | Dimensions (inches) | Typical Uses |
|---|---|---|
| Mini | 4″ x 5″ | Storing jewelry, coins, party favors |
| Small | 6″ x 8″ | Gift bags, small cosmetics, chargers |
| Medium | 14″ x 18″ | Gym trips, outdoor gatherings |
| Large | 17″ x 20″ | Carrying thick books, camping gear |
| Extra-Large | 20″ x 24″ | Laundry, sports equipment, travel |
You can also check out this table for specific bag types and their usual sizes:
| Bag Type | Dimensions (inches) | Uses |
|---|---|---|
| Drawstring Backpacks | 16″ x 20″ | Textbooks, travel essentials |
| Drawstring Shoe Bags | 12″ x 15″ | Shoes for travel or sports |
| Drawstring Gift Bags | 6″ x 8″ to 12″ x 16″ | Gifts, party favors |
Mini
Mini bags work great for tiny treasures. You can use them for jewelry, coins, or party favors. Kids love them because they’re easy to carry and fun to decorate.
Small
Small drawstring bags make perfect gift bags. You can tuck in small cosmetics, phone chargers, or even snacks. These bags add a personal touch to any present.
Medium
Medium-sized bags fit gym clothes or picnic supplies. You can grab one for outdoor gatherings or quick trips. They’re roomy but still easy to carry.
Large
Large bags hold thick books, camping gear, or sports equipment. You’ll find them handy for school, travel, or weekend adventures.
Extra-Large
Extra-large drawstring bags handle laundry, sports gear, or bulky travel items. You can use them when you need lots of space and a sturdy design.
Choosing Dimensions
Picking the right size depends on what you want to carry. Here are some tips to help you decide:
- Think about the bag’s purpose. Will you use it for gifts, travel, or sports?
- Check the size of your items. Jewelry needs a small pouch, but gym clothes need a bigger one.
- Consider your fabric. Thicker materials work better for larger bags. Lighter fabrics suit mini or small bags.
Tip: Lay out your items before you start your tutorial. This helps you see which size fits best.
Customizing Size
You don’t have to stick to standard sizes. You can adjust your drawstring pouch bag pattern to fit your project. If you want a bag for a special item, measure it first. Add a little extra space for seams and drawstring channels. You can also change the shape—make it taller, wider, or even square. Your bag tutorial will guide you through these steps, so don’t be afraid to experiment.
Note: Customizing your bag lets you create something unique. You can match colors, fabrics, and sizes to your style.
Materials & Tools
Ready to start your drawstring pouch bag? Let’s talk about what you’ll need. Picking the right materials and tools makes your tutorial smoother and your finished pouch look amazing. You don’t need fancy supplies—just a few basics and a little creativity.
Fabric Options
Choosing fabric is one of the most fun parts of any bag tutorial. You get to decide how your pouch feels, looks, and even how long it lasts. Here’s a quick guide to help you pick the best fabric for your project:
| Fabric Type | Pros | Cons |
|---|---|---|
| Cotton & Canvas | Natural, breathable, soft, eco-friendly | May not be water-resistant |
| Jute | Strong, biodegradable, rustic look | Can be rough to the touch |
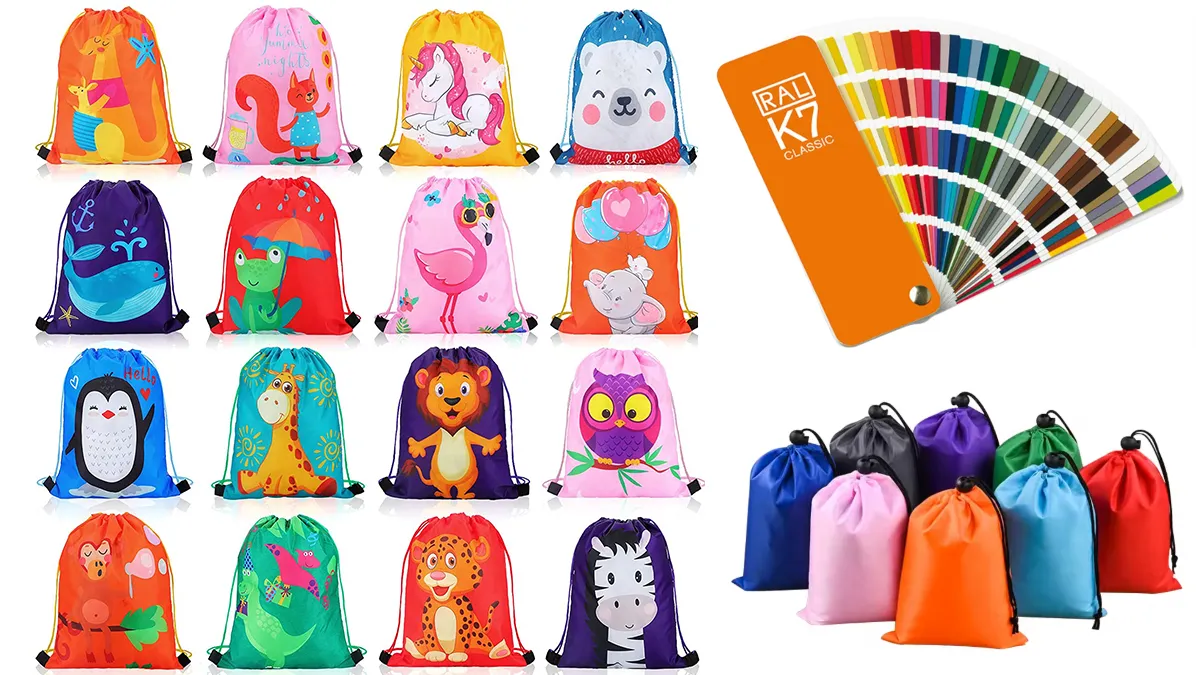
| Non-Woven Polypropylene | Affordable, lightweight, water-resistant | Less durable than others |
| RPET | Durable, eco-friendly, made from recycled materials | May be less breathable |
Cotton and canvas are favorites for beginners. They’re easy to sew and feel soft in your hands. If you want a pouch with a rustic vibe, jute gives you that look, but it can feel scratchy. Non-woven polypropylene works well for lightweight bags, especially if you want something water-resistant. RPET is a cool choice if you care about the environment and want a sturdy pouch.
Tip: If you’re not sure which fabric to use, try cotton for your first tutorial. It’s forgiving and easy to handle.
Drawstring Choices
The drawstring is more than just a closure—it adds style and strength to your pouch. You have lots of options, and each one changes how your bag looks and feels. Take a look at this table to compare popular drawstring materials:
| Material | Durability | Appearance |
|---|---|---|
| Cotton | Moderate | Soft, natural look |
| Nylon | High | Smooth, shiny finish |
| Polyester | Moderate to High | Various textures |
| Canvas | High | Sturdy, textured |
| Jute | Moderate | Rustic, eco-friendly |
| RPET | Moderate | Recycled, versatile |
Cotton drawstrings feel gentle and match cotton bags perfectly. Nylon and polyester give you extra strength and a polished look. Canvas is tough and works well for larger bags. Jute brings an earthy, handmade vibe. RPET is a smart pick if you want something recycled and versatile.
Note: Make sure your drawstring fits the channel in your pouch. If it’s too thick, it won’t slide easily.
Essential Tools
You don’t need a huge toolbox for this project. Here’s a simple list to get you started:
- Fabric scissors or rotary cutter
- Sewing machine (or needle and thread for hand sewing)
- Pins or clips to hold fabric in place
- Measuring tape or ruler
- Safety pin or bodkin (for threading the drawstring)
- Iron (for crisp seams)
If you want your pouch to look extra neat, press your seams with an iron before you sew. A safety pin helps you pull the drawstring through the channel without fuss. You’ll find that these basic tools make your tutorial easier and more enjoyable.
Callout: Gather your materials before you start. You’ll save time and avoid searching for tools in the middle of your bag tutorial.
Using Templates
Getting ready to use your drawstring pouch bag template is an exciting step. You want your fabric pieces to look crisp and fit together perfectly. Let’s walk through the best ways to prepare, cut, and mark your fabric so your bag turns out just right.
Preparation
Before you even touch your scissors, a little prep work goes a long way. Here’s a simple checklist to help you get started:
- Pre-wash your fabric. This step removes any chemicals and helps prevent shrinking later. Toss your cotton or canvas in the wash with cold water, then tumble dry on low or air dry. Give it a quick press with a steam iron so it’s smooth and ready to go.
- Set up your workspace. Clear a flat surface and gather your supplies. You’ll need your printed template, fabric, scissors or rotary cutter, pins, and a marking tool.
- Check your fabric grain. Lay your fabric so the threads run straight. This helps your bag keep its shape and makes cutting easier.
- Batch preparation. If you plan to make more than one pouch, stack your fabric and cut several layers at once. This saves time and keeps your pieces consistent.
Tip: Pink the edges of your fabric or use a seam sealant to stop fraying before you start sewing.
Cutting Fabric
Cutting fabric with a template is easy when you follow a few simple steps. Here’s how you can get clean, accurate pieces every time:
- Choose your template material. You can print your bag tutorial template on cardstock, posterboard, or even template plastic. Sturdier templates last longer and make tracing easier.
- Lay out your template. Place the template on your fabric, making sure it lines up with the grain. Use a ruler to double-check your measurements.
- Mark your cut lines. Trace around the template with chalk or a water-soluble pen. Add extra space for seam allowances and the drawstring channel—usually about 1¼ inches to the width and 2 inches to the height.
- Cut carefully. Use sharp fabric scissors or a rotary cutter for smooth edges. Take your time so your pieces match up perfectly.
Callout: Double-check your measurements before you cut. It’s much easier to fix a mistake now than after you start sewing!
Marking & Pinning
Marking and pinning your fabric pieces helps everything line up when you sew. Here’s how to keep your project neat and stress-free:
- Use a ruler to mark straight lines for seams and drawstring channels. This keeps your stitching even.
- Pin at the seams and halfway points. This stops the fabric from shifting while you sew.
- Place pins near the folded edge, but only go through two layers at a time. This avoids bulky spots.
- Pin all the way around the edges for stability, but leave a gap at the top for threading the drawstring later.
- Always check that your seams aren’t twisted before you start sewing.
Note: The more carefully you mark and pin, the easier your tutorial will be. You’ll thank yourself when your pouch comes together smoothly!
With these steps, you’re ready to move on to the sewing part of your bag tutorial. Careful prep makes the rest of your project a breeze!
Sewing Steps
Ready to sew your easy drawstring bag? You’re about to see how simple and fun this project can be. I’ll walk you through each step, so you can follow along with your bag tutorial and finish your pouch in no time. Grab your supplies and let’s get started!
Easy Drawstring Bag
Assembling
Let’s put your fabric pieces together. You already cut and marked everything, so now you can start sewing.
- Place your fabric pieces right sides together. Line up the edges and pin them in place.
- Sew along the sides and bottom, leaving the top open. Use a straight stitch and keep your seam allowance even.
- If you want a quick gift bag, you can finish this step in about 15 minutes or less. Choose simple materials and follow these straightforward sewing instructions to speed things up.
- Trim the corners so your bag turns out neat. Turn your pouch right side out and press the seams flat with an iron.
Tip: If you want to make several bags fast, batch your steps. Sew all the sides first, then move on to the next step for each pouch.
Making the Channel
The channel is where your drawstring will go. This part is easy and makes your bag look polished.
- Fold the top edge of your bag down about ½ inch and press it flat.
- Fold it down again, this time about 1 inch, to create the channel. Pin it in place.
- Sew around the folded edge, keeping close to the bottom of the fold. Leave a small gap at each side seam so you can thread the drawstring through later.
- Double-check that your channel is even. This helps your drawstring slide smoothly.
Callout: If you want a super-fast project, skip fancy finishes and stick to a simple folded channel. You’ll have a 5-minute gift bag ready in no time!
Inserting Drawstring
Now you get to add the finishing touch—your drawstring!
- Attach a safety pin or bodkin to one end of your drawstring.
- Push it through the channel, starting at one side seam and working your way around.
- Pull the drawstring out both ends. Knot the ends or add a stopper if you want extra security.
- Give your bag a gentle tug to see the channel cinch up. Your easy drawstring bag is ready to use!
Note: Make sure your drawstring fits the channel. If it’s too thick, it won’t slide easily.
Finishing Touches
Want your pouch to look professional inside and out? You can add a few upgrades to make your easy drawstring bag stand out.
Lining
Adding a lining gives your bag a smooth, finished look. It hides raw edges and makes the inside feel soft.
- Cut a second set of fabric pieces for your lining.
- Sew the lining just like you did the outer bag, but leave a small gap at the bottom for turning.
- Slip the lining inside your pouch, wrong sides together.
- Sew the top edges together before you make the channel.
- Turn everything right side out through the gap in the lining, then sew the gap closed.
Using lining improves the interior look and helps your bag last longer. Many people say their drawstring bag looks absolutely perfect when they finish with a lining.
Embellishments
You can customize your easy drawstring bag with fun extras. Here are some ideas:
- Add drawstring stoppers for a secure closure.
- Sew on pockets for extra storage.
- Try ruffles or decorative trims for a playful touch.
- Use organza or other special materials for a fancy finish.
- Make your own DIY twisted cords for the drawstring.
Tip: If you want your bag to hold its shape, consider adding interfacing to the exterior main pieces. This gives your pouch more structure and a polished appearance.
You can finish your easy drawstring bag in less than 15 minutes if you keep things simple. If you want a professional look, take a little extra time for lining, interfacing, or embellishments. Your bag tutorial gives you all the sewing instructions you need, so you can make a pouch that fits your style and needs.
Troubleshooting
Even the best sewing days can bring a few hiccups. If you run into trouble during your bag tutorial, don’t worry—you’re not alone! Let’s look at some common issues and how you can fix them, so your project turns out just the way you want.
Common Issues
Uneven Seams
Uneven seams can make your pouch look a little wonky, but you can fix this with a few simple tricks. Many sewists notice seams don’t line up or the fabric puckers. Here’s what you can do:
- Align and Pin: Always line up your seams before you sew. Use pins to keep everything in place.
- Slow Down: Sew at a steady pace. Rushing can cause the fabric to shift.
- Check Tension: If your fabric puckers, try loosening the tension on your sewing machine and increase the stitch length.
- Trim and Clip: After sewing, trim the seam allowance and clip the curves. This helps the fabric lay flat and keeps the bag’s shape neat.
- Press Seams: Use an iron to press your seams. This step makes a big difference in how your pouch looks.
“Always reinforce your seams, particularly at stress points like the top casing where the drawstring will be threaded. This extra attention to detail will enhance the longevity of your bag and prevent any tearing or fraying over time.” — Weiming Tao
Drawstring Problems
Sometimes the drawstring just won’t slide, or the channel feels too tight. Here’s how you can solve these problems:
- Choose the Right Cord: Make sure your drawstring fits easily through the channel. If it’s too thick, it will get stuck.
- Thread Carefully: Use a safety pin or bodkin to guide the cord through. If you’re using two cords, thread one from each side so the bag closes tightly.
- Tie and Trim: Once the cords are in, tie the ends together and trim any loose threads for a clean finish.
- Press the Channel: Give the top of your bag a good press. This helps the drawstring move smoothly.
Tips for Beginners
If you’re new to sewing, a few extra tips can make your tutorial much easier:
- Grade the Seams: Cut the seam allowance in layers to reduce bulk. This helps your pouch look smooth and professional.
- Turn Carefully: When you turn your bag right side out, go slowly. Make sure all seams are pushed out and the shape looks even.
- Close Openings: Don’t forget to sew up any openings left from turning the bag. This keeps everything secure.
- Press Everything: Pressing isn’t just for looks—it helps set your stitches and gives your bag a crisp finish.
- Batch Your Steps: If you plan to make more than one pouch, do each step for all bags at once. This saves time and keeps your workflow smooth.
Tip: If you ever feel stuck during your bag tutorial, take a break and come back with fresh eyes. Sometimes a little patience is all you need to solve the problem.
With these troubleshooting tips, you’ll feel more confident tackling any bumps in your sewing journey. Every project teaches you something new, and soon you’ll breeze through each tutorial with ease!
Conclusion
You’ve learned how to make an easy drawstring bag from start to finish. Here’s a quick recap of the steps you’ll follow in any bag tutorial:
- Press and fold your seams for a neat finish.
- Create a folded hem at the top.
- Stitch the casing for your drawstring.
- Add a decorative seam if you want extra flair.
- Thread and knot your cord.
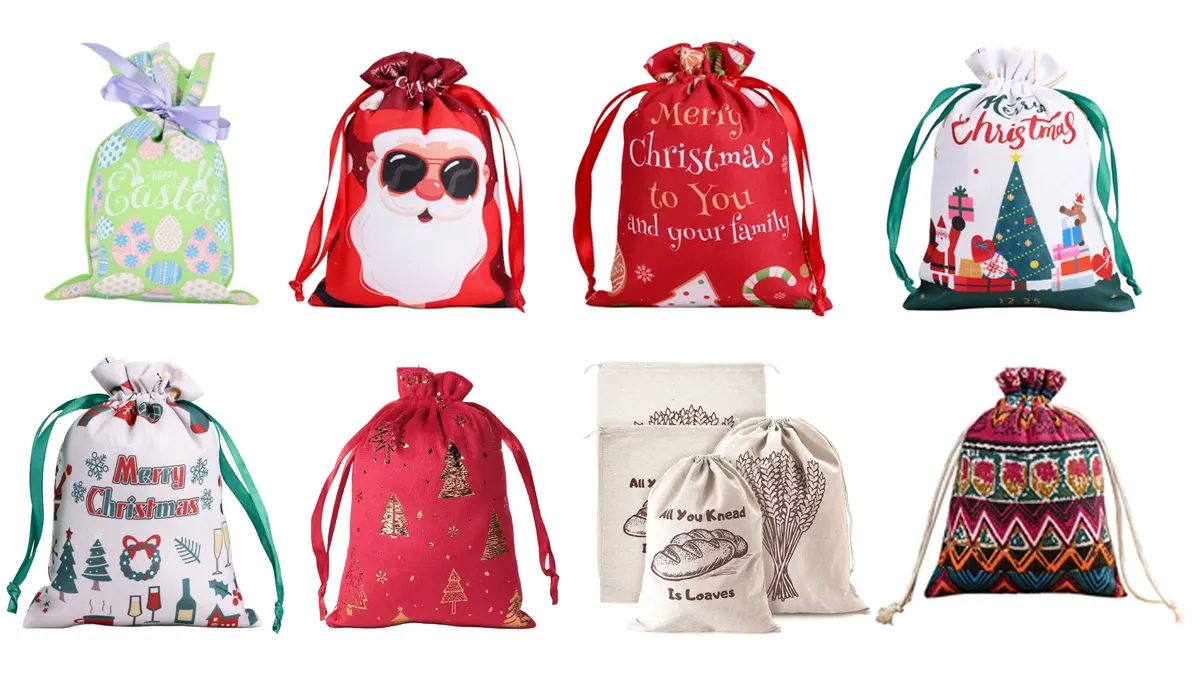
You can use free or paid patterns to create a drawstring bag that fits your style. We love seeing your finished projects, so share your pouch or ask questions below. If you are curious about materials or sizing, every tutorial helps you learn something new. And when you are ready to turn your idea into a real product for your brand, our factory can help. We customize drawstring bags in any size, material, and print, and we support OEM and ODM.
FAQ
How do I choose the best fabric for my drawstring pouch bag?
You want a fabric that matches your project. Cotton works great for beginners. Canvas adds durability. If you need something eco-friendly, try RPET. Always pick a fabric that feels good and suits your style.
Tip: Test a small piece before you start sewing!
Can I sew a drawstring pouch bag without a sewing machine?
Absolutely! You can sew your pouch by hand using a needle and thread. It takes a bit longer, but you’ll get a cozy, handmade feel. Just use small, tight stitches for strong seams.
What size should I make my drawstring bag?
Think about what you’ll store. Jewelry fits in a mini pouch. Gym clothes need a medium bag. For laundry or sports gear, go extra-large. Measure your items first, then add space for seams and the drawstring channel.
How do I keep my drawstring from getting stuck?
Choose a cord that slides easily through the channel. If it’s too thick, it won’t move well. Use a safety pin or bodkin to guide it through. Press the channel with an iron for a smoother finish.
Can I customize my drawstring pouch bag pattern?
You sure can! Adjust the size, shape, or add pockets and lining. Try different fabrics or embellishments. Your bag can match your personality and needs. That’s the fun of DIY sewing!
Where can I find free drawstring pouch bag patterns?
You’ll find free patterns on sewing blogs, Pinterest, and forums like Reddit. Search for “easy drawstring bag tutorial” or “drawstring pouch bag pattern.” Many sites offer printable templates and step-by-step guides.
How do I make my drawstring bag look professional?
Press your seams, use neat stitching, and add a lining. Topstitch around the edges for a crisp finish. If you want structure, add interfacing. Small details make your pouch look polished and store-bought.
What’s the fastest way to sew a gift bag?
Pick a simple pattern, use cotton fabric, and skip fancy finishes. Fold, sew, and add the drawstring. You can finish a basic gift bag in about 10 minutes. Batch your steps if you’re making several at once!