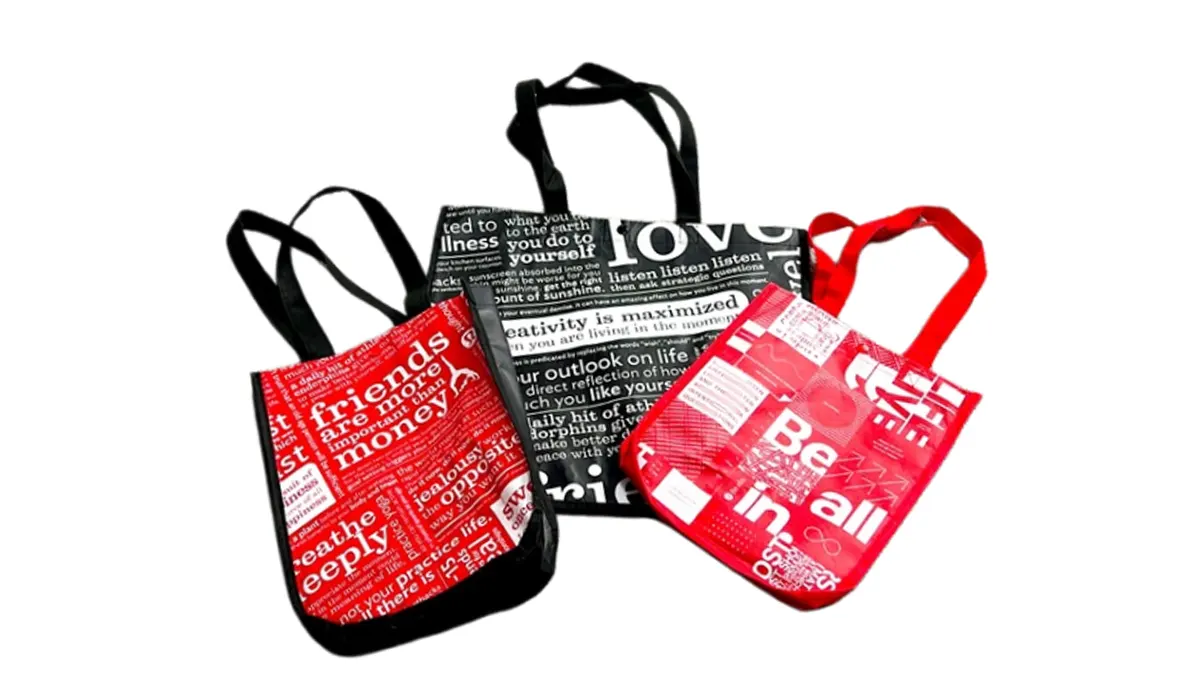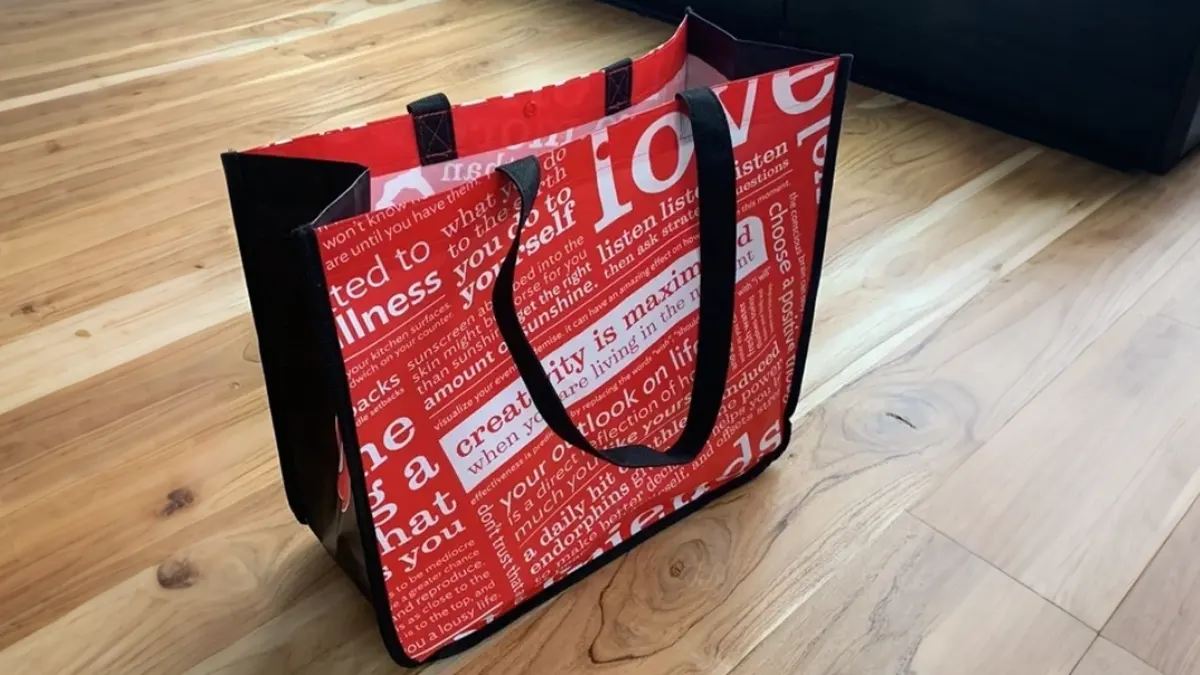
You can make a diy linen tote bag with just a few simple steps. This project feels easy and fun, even if you have never tried sewing before. You get to choose the size, color, and style. Your creativity makes each bag unique. Want to add a pocket or a cool patch? Go for it!
Tip: Try using your favorite fabric scraps for a personal touch!
Key Takeaways
- Making a DIY linen tote bag is simple and fun. Even beginners can do it. Pick your favorite fabric and use your imagination.
- Pick good quality linen for your bag. Linen is strong and light. It also fights germs naturally.
- Gather basic tools like scissors, rulers, and a sewing machine. You do not need special tools to begin.
- Measure your fabric with care. Mark on the wrong side to keep the front clean.
- Use sewing methods like backstitching and box stitching. These make the seams strong. Strong handles help carry heavy things.
- Add a lining and pockets to your bag. This makes the bag more useful and looks better. Pick bright fabrics for extra color.
- Take time to iron and shape your bag. This step helps your tote look neat and finished.
- Clean your linen bag by spot cleaning and hand washing. Taking care of it keeps it looking nice and lasting longer.
DIY Linen Tote Bag Materials
You’re about to start your diy linen tote bag, so let’s talk about what you’ll need. Picking the right materials makes your project easier and helps your bag last longer. You don’t need fancy equipment, just a few basics and maybe some fun extras.
Choosing Linen Fabric
Linen is a favorite for tote bags because it’s strong, light, and looks great. You can find linen in different weights and finishes. Some linen feels soft and smooth, while others have a crisp texture. If you want your diy linen tote bag to look fancy, go for linen with a subtle sheen. Linen also fights off bacteria and mildew, which keeps your bag fresh.
Here’s a quick look at what makes linen special:
| Characteristic | Description |
|---|---|
| Luxurious Luster | Subtle sheen and drape elevate premium tote lines. |
| Lightweight Strength | Comparable tensile strength to cotton but with half the weight. |
| Antimicrobial Properties | Naturally resistant to bacteria and mildew. |
| Trade-off | Prone to wrinkles and higher material cost—best suited for boutique or luxury applications. |
You can choose plain linen or pick a color that matches your style. If you want a bag that stands out, try patterned linen or even dye your own fabric.
Essential Tools
You don’t need a huge toolbox to make a diy linen tote bag. Most of these items might already be in your home. Here’s what you’ll use:
- Cutting Tools: Rotary cutter or utility knife, plus a self-healing cutting mat to protect your table.
- Measuring and Marking Tools: Fabric chalk or markers, rulers, and measuring tape help you get straight lines.
- Sewing Equipment: A heavy-duty sewing machine works best, but you can use a hand stitching kit if you like sewing by hand.
- Pressing Tools: An iron and ironing board keep your seams crisp. Edge bevelers or burnishers help smooth out rough edges.
Tip: If you’re new to sewing, ask a friend or family member to help you set up your machine. It’s easier with a buddy!
Optional Extras
Want to make your diy linen tote bag even cooler? Try adding some extras. These little touches can turn a simple bag into something special.
- Dyeing and stenciling: Marbling and tie-dyeing give your bag a custom look.
- Embellishments: Add fabric appliques, buttons, patches, or embroidery for personality.
- Function upgrades: Sew in pockets or reinforce the seams for extra strength.
You can mix and match these extras. Maybe you want a pocket for your phone or a patch with your initials. The choice is yours!
Now that you know what you need, you’re ready to start making your own diy linen tote bag. Gather your supplies and get creative!
Cutting and Preparing Fabric
Getting your fabric ready is a big step in making your linen tote bag. You want your pieces to fit together perfectly, so take your time here. Let’s break it down into easy steps.
Measuring and Marking
Start by deciding how big you want your tote bag. Most people like a medium size for everyday use. Here’s a quick guide to common tote bag sizes:
| Tote Bag Size | Width (inches) | Height (inches) | Depth (inches) |
|---|---|---|---|
| Small | 5 – 7 | 7 – 10 | N/A |
| Medium | 14 – 15 | 15 – 16 | N/A |
| Large | 18 – 20 | 14 – 15 | 3 – 5 |
| Oversized | 20 – 23 | 15 – 17 | 5 – 7 |
| Standard (Medium) | 15 | 16 | 1 – 3 |
Pick the size that fits your needs. Use a ruler or measuring tape to mark out the width and height on your linen. Always mark on the wrong side of the fabric so the right side stays clean and neat.
Tip: Test your marking tool on a scrap piece of linen first. Some pens or chalks can leave stains.
Here are some best practices for marking linen:
| Best Practice | Description |
|---|---|
| Test on scrap fabric | Try your marking tool on a leftover piece to check for damage or stains. |
| Use appropriate tools | Pick markers or chalks that wipe off easily and won’t harm the linen. |
| Mark on the wrong side | Keep all marks on the inside so your bag looks polished on the outside. |
You can also use dressmaker’s tracing paper that matches your fabric color. If you plan to add a lining, mark only the lining material.
Cutting Bag Pieces
Once you finish marking, grab your scissors or rotary cutter. Cut slowly and follow your lines. Linen can fray, so you want clean edges. Here are some ways to keep your fabric from unraveling:
- Use pinking shears to cut a zigzag edge.
- Serge the edges after cutting if you have a serger.
- Run a zigzag stitch along the raw edges with your sewing machine.
- Wrap long threads with a bit of beeswax to keep them tidy.
Note: If you don’t have a serger, a zigzag stitch works just as well for most home projects.
Cut out your main bag panels, plus any extra pieces for pockets or straps. Double-check your pieces before moving on.
Pressing Edges
Pressing your fabric makes sewing much easier. Set your iron to 180-190°C (about 355-375°F). Use medium pressure and hold for 60-80 seconds. This helps flatten the linen and sets your folds.
- Always press on the wrong side to avoid shiny spots.
- Let the fabric cool before moving it to keep the shape.
- Press seams and edges before you start sewing for crisp, professional results.
Taking time with these steps gives you a strong start. Your bag will look neat, and sewing will go smoothly. Ready to sew? Let’s move on!
Sewing the Bag Body
You’re ready to bring your diy linen tote bag to life. This part feels exciting because you get to see your project take shape. Let’s walk through each step so you can sew a sturdy, stylish bag.
Assembling Panels
Lay out your cut fabric pieces on a flat surface. Make sure the right sides face each other. Line up the edges so everything matches. If you added pockets or extra panels, pin them in place first.
Here’s a quick checklist to help you avoid common mistakes:
- Always use interfacing for extra shape and stability.
- Pick high-quality linen or canvas so your bag lasts longer.
- Prewash your fabric to prevent shrinking and puckering.
- Use a strong needle that can handle thick layers.
- Start with a simple pattern to keep things easy.
- Clean and oil your sewing machine before you begin.
Tip: Double-check your panel alignment before sewing. This helps you avoid uneven seams.
Stitching Seams
Now it’s time to sew the panels together. Use a straight stitch for the main seams. Start at the bottom edge and work your way up the sides. Keep a 1cm seam allowance for best results.
Here’s a table showing the best stitch types for linen tote bags:
| Stitch Type | Description | Key Applications |
|---|---|---|
| Box Stitch | Dense pattern for heavy-duty reinforcement. | Handles, pocket corners, weight-bearing seams |
| Triple Straight Stitch | Three parallel rows for extra strength. | Straps, bottom panel attachments |
| Back Stitch | Locks stitches in place to prevent unraveling. | Seam starts and ends |
| Topstitch | Adds a professional finish and extra strength. | Straps, finishing edges |
If you want a professional look, try the box corner method. Beginners love this technique because it’s quick and gives good results.
| Method | Skill Level | Time Required | Professional Look | Best For |
|---|---|---|---|---|
| Box Corner | Beginner | Quick | Good | Most projects |
Note: Always backstitch at the beginning and end of each seam. This keeps your stitches from coming loose.
Reinforcing for Durability
You want your diy linen tote bag to last a long time. Reinforcing the seams and stress points makes a big difference. Focus on the areas that carry the most weight, like the bottom corners and where the handles attach.
Here are some top reinforcement techniques:
- Box stitching spreads stress and adds strength.
- Backstitching or bar tack secures attachment points.
- Add small patches or tabs to prevent fraying.
- Use lining and interfacing for hidden support.
- Rivets and hardware boost durability and style.
Callout: Weak handles are the first thing to break on most tote bags. Spend extra time making them strong. This shows you care about quality.
Handle Attachment Points
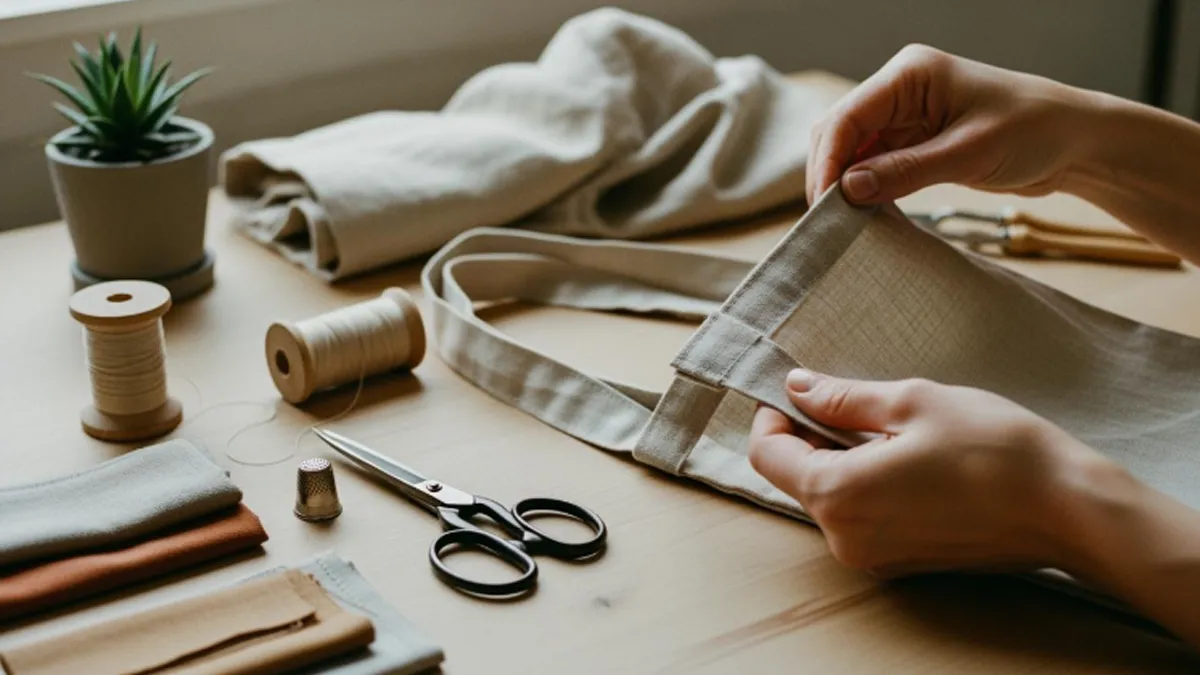
Handles need special attention. Sew them on with box stitches or triple straight stitches. This keeps them from tearing away when you fill your bag. You can add reinforcement patches under the handles for extra protection.
- Always double-stitch the handle seams.
- Use a dense stitch pattern for heavy-duty strength.
- If you want a stylish touch, add rivets or decorative hardware.
Strong handles mean your bag can carry books, groceries, or anything else you need. You’ll feel proud every time you use your diy linen tote bag.
Making and Attaching Straps
You’re almost done with your diy linen tote bag. The straps are the finishing touch that make your bag easy to carry. Let’s walk through each step so your handles look great and feel strong.
Cutting Strap Pieces
Start by deciding how long you want your straps. Most people like handles that fit comfortably over the shoulder or in the hand. You can use these standard measurements as a guide:
| Strap Type | Length (inches) | Length (inches) |
|---|---|---|
| Standard Tote | 10-12 | 10-12 |
If you want longer handles, try cutting them between 21 and 26 inches. This gives you plenty of room to swing your bag over your shoulder.
Cut two strips of linen for your straps. Make each strip about 3 to 4 inches wide. This width lets you fold and sew the straps easily. If you want extra comfort, add a little padding inside the straps.
Tip: Always cut your straps a little longer than you think you’ll need. You can trim them later if they’re too long.
Sewing and Turning Straps
Now you’re ready to sew the strap pieces. Fold each strip in half lengthwise with the right sides facing each other. Pin along the edge to keep the fabric from slipping. Sew down the long edge, leaving the short ends open. Use a 1cm seam allowance for best results. This keeps your straps strong and neat.
- The recommended seam allowance for sewing linen tote bag straps is 3/8 inch (1cm).
- Backstitch at the start and end of your seam to prevent unraveling.
Turning the straps right side out can feel tricky, but you have a few easy options:
- Attach a safety pin to one end of the strap. Push the pin through the tube, pulling the fabric inside out as you go.
- Use a chopstick to poke the fabric through. Insert the chopstick into the sewn end, roll the fabric over it, and push until the strap flips right side out.
Note: Take your time with this step. Smooth out the corners and edges so your straps look crisp.
Once you’ve turned the straps, press them flat with your iron. This helps set the shape and makes them easier to attach.
Securing Straps
Attaching the straps is where your diy linen tote bag gets its strength. You want the handles to hold up to heavy loads, so use strong stitching and good placement.
Here are some best practices for securing your straps:
- Sew the ends of each strap to the top edge of your bag. Place the straps about 4 inches from each side seam for balance.
- Use a box stitch or a square with an ‘X’ inside to anchor the straps. This pattern spreads the stress and keeps the handles from tearing away.
- Backstitch several times at the start and end of your seams. This locks the stitches in place.
- If you want a clean look, insert grommets and thread the straps through. Reinforce the area around the grommets to prevent tearing.
- Add rivets for extra strength, especially if your straps are thick or made from leather.
- Try D-rings or clips for adjustable handles. Make sure you use strong stitching to handle the stress from metal parts.
- Always test the handle placement with a little weight before finishing. This helps you check for comfort and durability.
Callout: Reinforcing your handle seams is the secret to a long-lasting tote. Strong handles mean you can carry books, groceries, or anything else with confidence.
Take a moment to admire your work. You’ve made sturdy, stylish straps that will last for years. Your diy linen tote bag is almost ready for its first adventure!
Adding Lining and Pockets
Adding a lining and pockets to your linen tote bag makes it look polished and keeps your things organized. You can choose a fun fabric for the lining or keep it simple with a solid color. Pockets help you find your keys, phone, or lip balm fast. Let’s walk through each step together.
Sewing the Lining
Start by cutting your lining fabric to match the size of your bag panels. Use the same measurements you used for the outer bag. Place the right sides of the lining together and sew along the sides and bottom, leaving a small gap at the bottom for turning later. Press the seams flat with your iron.
You want your lining to stay put inside the bag. Stitch the shaping seams of the lining and the outer bag together. This step keeps the lining from popping up when you reach inside. Zigzag the seam allowances at the bottom to secure the lining to the main bag. This trick gives your tote a neat, professional look.
Tip: Choose a bright or patterned lining to add a surprise pop of color every time you open your bag!
Attaching Pockets
Pockets make your tote bag even more useful. You can add one big pocket or several small ones. Here’s a simple way to make a pocket:
- Cut a piece of fabric about 9 x 7 inches.
- Serge the edges or leave them raw if you like a relaxed look.
- Iron three edges under by 1/2 inch. Fold the top edge under by 1 inch and sew a hem.
- Want to make it special? Add a label with your name or a fun message.
- Pin the pocket where you want it inside or outside the bag.
- If you want compartments, sew a line down the pocket to divide it.
You can mix and match pocket styles. Try a big pocket for your tablet or a small one for your keys. Decide what works best for you.
Finishing Touches
Now it’s time to put everything together. Slip the lining inside the outer bag with the right sides facing each other. Line up the top edges and sew around the opening. Turn the bag right side out through the gap you left in the lining. Push the lining into the bag and press the top edge flat.
Close the opening in the lining with a small slip stitch or use your sewing machine for extra strength. If you want to add a button, choose one with a shank. This keeps the fabric from puckering and makes your bag look tidy.
- Stitch the lining and outer layer shaping seams together.
- Zigzag the seam allowances at the bottom for a secure finish.
- Use a slip stitch or machine stitch to close the lining gap.
- Attach buttons with shanks for a neat, professional touch.
Callout: These finishing steps make your diy linen tote bag look like it came from a boutique. Take your time and enjoy the process!
Final Assembly and Care
Pressing and Shaping
You want your linen tote bag to look crisp and professional. Pressing and shaping help you get that polished finish. Here’s a simple way to do it:
- Press the Open End: Slide the open end of your bag onto your ironing board. Press the top edge and handles. Use steam for best results.
- Press the Bottom Seams: Reach inside the bag and flatten the corners. Press the seams with steam. This helps the bag hold its shape.
- Shape the Front and Back: Tuck the lining corners into the outer corners. Gently fold the bag to create a neat edge. Press again to set the fold.
- Final Check: Lay the bag flat on the board. Make sure the side seams and front look smooth. Give one last press to lock in the shape.
Tip: Always let the bag cool before moving it. This helps the fabric keep its shape.
Trimming Threads
Loose threads can make your bag look messy. Take a few minutes to trim them for a clean finish. Use sharp scissors or a thread snip. Check all seams, corners, and around the handles. If you see any long threads, snip them close to the fabric.
Sometimes, you might find threads inside the bag. Weave these ends into the stitches or tuck them under a seam. This keeps the inside neat and stops threads from unraveling.
Here’s a quick table of common issues you might see during final assembly and how to fix them:
| Problem | Cause | Solution |
|---|---|---|
| Puckering | Tension too tight | Loosen tension, use stabilizer, dry flat after rinsing |
| Thread breaks | Wrong needle or thread | Use sharp-point needle, high-quality thread |
| Hooping errors | Bag too thick, hoop slips | Use magnetic hoops for better grip |
| Design misalignment | Poor marking, fabric shifts | Use templates, adhesive spray, alignment grids |
| Snagged threads | Unsecured thread ends | Weave ends into stitches, cover with felt backing |
Note: Iron your pieces before assembly and press seams toward the lining. Label each piece to keep things organized.
Care Instructions
Linen bags are strong, but they need a little care to stay beautiful. Here’s how you can keep your tote looking fresh:
- Spot Clean: Wipe away small stains with a damp cloth and mild soap.
- Hand Wash: If your bag gets very dirty, hand wash it in cool water. Use gentle detergent.
- Dry Flat: Lay your bag flat on a towel to dry. This helps it keep its shape.
- Iron as Needed: If your bag gets wrinkled, iron it on medium heat. Use steam for best results.
- Store Properly: Keep your bag in a cool, dry place. Avoid folding it too much to prevent creases.
Callout: Never use bleach or harsh chemicals on linen. These can weaken the fibers and fade the color.
With these steps, your diy linen tote bag will look great and last a long time. Enjoy using your new creation!
Conclusion
You did it! Take a moment to admire your diy linen tote bag and show it off to friends. You can make more bags for gifts or just for fun. Sewing feels easy and rewarding when you see what you create. If you want to take your designs further, working with a professional linen tote bag manufacturer brings big advantages:
- Design ownership and control
- High level of customization
- Cost efficiency
- Access to specialized expertise
The market for wholesale and custom linen tote bags keeps growing as more people choose eco-friendly options. If you want custom, OEM, or ODM services, reach out to us for your next project!
FAQ
How do I keep my linen tote bag from wrinkling?
You can iron your bag on medium heat with steam. Hang it up after each use. Linen wrinkles easily, but pressing helps keep it smooth.
Can I wash my linen tote bag in the washing machine?
Yes, you can. Use cold water and gentle detergent. Wash your bag with similar colors. Lay it flat to dry so it keeps its shape.
What size should I make my tote bag?
Pick a size that fits your needs. Medium bags work for everyday use. Large bags carry groceries or books. Measure before you cut your fabric.
Do I need a sewing machine to make this bag?
No, you don’t. You can sew by hand if you want. A sewing machine makes the process faster and gives stronger seams.
How do I add a pocket to my tote bag?
Cut a small piece of fabric. Fold the edges under and sew it onto the lining or outside of your bag. You can add more pockets for extra storage.
What type of thread works best for linen?
Use strong cotton or polyester thread. These threads hold up well and match linen’s strength. Pick a color that blends with your fabric.
Can I decorate my tote bag?
Absolutely! Try embroidery, patches, or fabric paint. You can add buttons or stencils. Make your bag unique and show off your style.
Is linen eco-friendly?
Yes, linen comes from flax plants. It uses less water and fewer chemicals than cotton. Linen bags are a great choice for the environment.