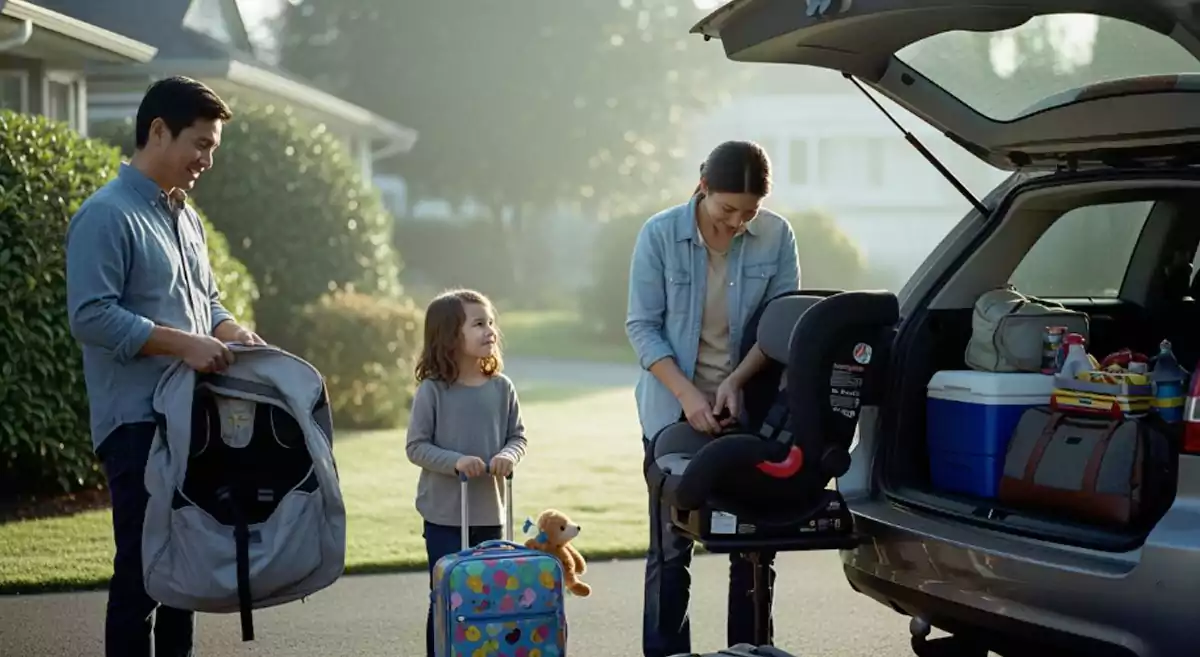
Ready to travel with your child’s car seat? You can make your own diy car seat bag and save money. You pick the materials, so you get a strong, custom bag that fits your needs. You control the design and make it last longer. Choose tough fabrics and check airline rules before you start. This project works for beginners and gives you confidence for your next trip.
Key Takeaways
- Pick strong materials like nylon or tough polyester for your DIY car seat bag. This helps your bag last for many trips.
- Add padding with foam or quilted batting. This protects your car seat from scratches and bumps when you travel.
- Add handles and straps so you can carry it easily. You can also add wheels to roll it at the airport.
- Use zippers to close your bag tightly. Zippers keep your bag shut, especially when you check it at the airport.
- Measure your car seat before you cut the fabric. This helps your bag fit well. Always add extra space for seams.
- Add pockets to your bag for snacks and toys. This helps you stay organized when you travel.
- Check airline size and weight rules before you go. Most airlines let you bring bags up to 62 linear inches.
- Clean and take care of your bag often. This keeps it in good shape for your next trips.
diy car seat bag materials
You want your diy car seat bag to last through many trips. Picking the right materials makes a big difference. Let’s break down what you need and how to choose the best options.
fabric and durability
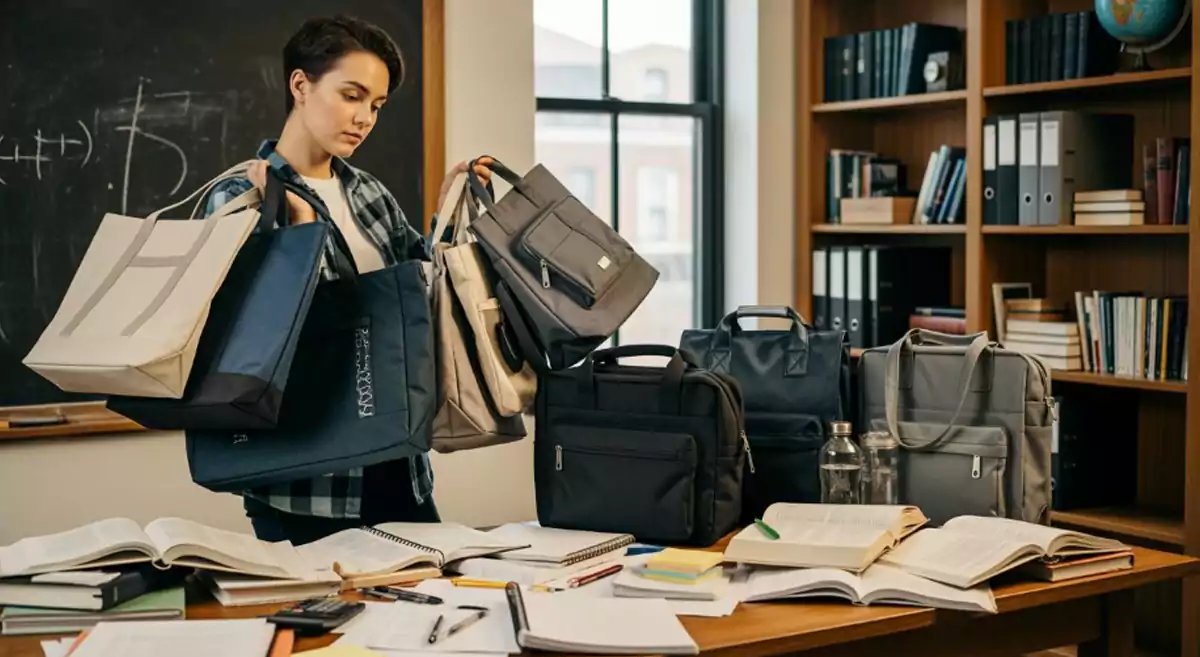
canvas vs. nylon
You have two main choices for fabric: canvas and nylon. Canvas feels tough and gives good protection. Nylon stands out for its strength and light weight. Nylon keeps its shape and resists tearing, even after lots of use. Canvas loses strength over time, so nylon works better if you want a bag that stays strong. Nylon also handles rough surfaces and airport bumps well.
Tip: If you travel often, nylon helps your diy car seat bag stay in good shape longer.
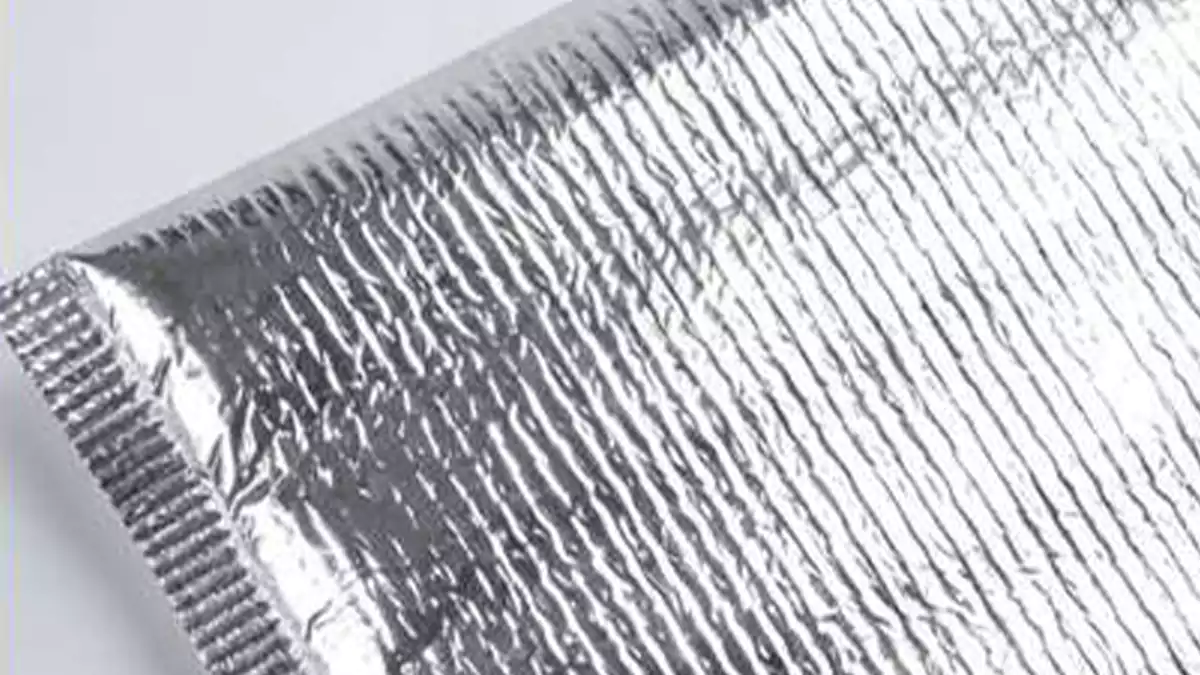
padding options
Padding protects your car seat from scratches and bumps. You can use foam sheets or quilted batting. Some parents add a layer of bubble wrap for extra cushion. Padding keeps your car seat safe when baggage handlers toss it around. You don’t need thick padding—just enough to cover the main parts.
| Fabric Type | Features |
|---|---|
| Heavy-duty padded canvas | Protects car seats during air travel |
| Durable polyester | Withstands rough handling, reinforced with solid stitching and a strong carry handle for comfort. |
| Wipeable polyester | Quick and hassle-free cleanup, ideal for busy parents. |
| Ultra-durable, water-resistant | Protects from weather and rough handling. |
| Water-resistant fabrics | Keeps your car seat dry, suitable for air travel. |
handles and straps

Handles and straps help you carry your diy car seat bag through busy airports. You can sew on backpack straps for hands-free carrying. Some people add wheels or use a cart for easy rolling. Straps let you attach the bag to your suitcase, so you don’t have to carry everything by hand.
- Backpack straps: Carry your bag on your back and keep your hands free.
- Wheeled options: Roll your bag through the airport.
- Car seat straps: Attach your bag to your suitcase for stability.
- Car seat carts: Move one or two seats at once and fold the cart for storage.
placement tips
Put handles where you can grab them easily. Place straps on the sides or top. Make sure you reinforce the stitching so the handles don’t rip off. If you use wheels, attach them to the bottom corners.
Note: Test the placement before sewing. Hold the bag and see if it feels comfortable.
closures
You want your diy car seat bag to stay closed and keep your car seat safe. Zippers work best for security. Drawstrings make opening and closing easy, but zippers keep the bag shut tight. Adjustable straps help fit different car seat sizes.
| Closure Mechanism | Benefits |
|---|---|
| Zippers or dual-fastening systems | Provide stronger security compared to weak Velcro-only closures that degrade over time. |
| Adjustable straps | Ensure a snug fit for various sizes, enhancing ease of use. |
| Anti-slip base material | Prevents movement during travel, ensuring stability and safety. |
| Reinforced mounting system | Offers stability without damaging the seat fabric, enhancing overall usability. |
zipper vs. drawstring
Zippers give you peace of mind. They keep the bag closed, even if you check it at the gate. Drawstrings work well for quick access, but they don’t always stay tight. If you want extra security, use both—a zipper for the main closure and a drawstring for backup.
Tip: Choose a heavy-duty zipper. It won’t break easily and keeps your car seat safe.
What you need
Here’s a quick checklist for your diy car seat bag:
- Durable fabric (nylon, canvas, or polyester)
- Padding (foam, batting, or bubble wrap)
- Heavy-duty zipper or drawstring
- Backpack straps or handles
- Reinforced stitching thread
- Optional: wheels or cart
- Sewing machine and scissors
- Measuring tape and chalk
You can customize your bag with extra pockets or water-resistant lining. Pick materials that fit your travel style and budget. Your diy car seat bag will protect your car seat and make your trip easier.
measuring and cutting
Getting the right fit for your DIY car seat bag starts with careful measuring and cutting. You want your bag to hug the car seat without being too tight or floppy. Let’s walk through the steps so you can get a perfect match.
tracing the car seat
You need to trace your car seat before you cut any fabric. This step helps you avoid mistakes and saves time later. Grab your tools and get ready to outline the shape.
outline and dimensions
Place your car seat on a flat surface. Lay a large piece of paper or fabric underneath. Use fabric chalk or a white fabric marker to trace around the base and sides. Make sure you leave extra space for seams and padding. You can use sewing pins to hold the paper in place if it slips.
Here are some tools that make tracing easier:
- Fabric Chalk
- White Fabric Marker
- Clear Ruler
- Sewing Pins
- Scotch Tape or Clear Tape
- Paper Scissors
- Iron (for smoothing fabric)
- Sewing Machine
- Fabric Scissors
- Rotary Cutters (optional)
- Matching Thread
You want your bag to fit most standard car seats. Check out these recommended dimensions:
| Length | Width | Height |
|---|---|---|
| 21″ | 20″ | 31.5″ |
If your car seat is bigger or smaller, adjust the measurements. Always add a few inches for seam allowance and padding.
Tip: Double-check your outline before you cut. Measure twice, cut once!
cutting fabric
Now you’re ready to cut the fabric. Lay your fabric flat and smooth out any wrinkles. Use your traced outline as a guide. Cut slowly and follow the lines.
layout tips
Arrange your fabric so you waste as little as possible. Place the outline near the edge and use a clear ruler to keep your lines straight. If you want extra pockets or compartments, cut those pieces now.
To keep your edges neat and prevent fraying, try these techniques:
- Use fray check or a quick stitch on the sewing machine for ribbon ends.
- Clip corners and curves to reduce bulk in seams and get straight edges.
Note: Cutting fabric can be tricky. Take your time and use sharp scissors or a rotary cutter for clean cuts.
You’ve finished the measuring and cutting steps. Your pieces are ready for assembly. With careful tracing and cutting, your DIY car seat bag will look professional and last through many trips.
diy car seat bag assembly
sewing the bag
You have your fabric pieces ready. Now it’s time to sew your diy car seat bag together. Start by matching up the edges of your main panels. Use sewing pins or clips to hold everything in place. Set your sewing machine to a strong, straight stitch. Sew along the edges, leaving about half an inch for the seam. Go slow around corners and curves.
stitching for strength
You want your bag to last through many trips. Use a heavy-duty thread for extra strength. Double-stitch the seams that will carry the most weight, like the bottom and sides. If you want even more durability, try a zigzag stitch along the raw edges. This helps stop fraying and keeps your bag looking neat.
Tip: Backstitch at the start and end of each seam. This locks the stitches and stops them from coming undone.
If you add padding, sew it between the layers of fabric before you close up the bag. Make sure the padding stays flat and doesn’t bunch up. You can quilt the padding in place with a few extra lines of stitching.
adding handles and straps
Handles and straps make your diy car seat bag easy to carry. You can use webbing, thick fabric, or padded straps for comfort. Cut your handles to the length you like. Most people use two short handles for carrying by hand and two longer straps for wearing like a backpack.
secure attachment
Place your handles and straps where you can grab them easily. Pin them to the bag before you sew. Make sure the ends of the straps go at least two inches inside the seam. This gives extra strength. Sew a box with an X through it at each attachment point. This pattern spreads out the force and keeps the handles from ripping off.
Note: Test the placement by lifting the bag with the straps before you finish sewing. Adjust if it feels off-balance.
If you want to add wheels or a cart, attach them to the bottom corners. Reinforce these spots with extra fabric or padding.
installing closures
You need a closure to keep your car seat safe inside the bag. The two most popular options are zippers and drawstrings. Each has its own pros and cons.
zipper or drawstring
Zippers give you a tight, secure seal. They last a long time and keep your bag closed, even if you check it at the airport. Drawstrings are quick and easy to use. You can open and close your bag fast, which helps when you’re in a hurry. Some people use both—a zipper for the main closure and a drawstring as backup.
Here’s a quick look at the differences:
| Closure Type | Advantages | Disadvantages |
|---|---|---|
| Zippers | Last longer, secure seal, less risk of breakage, ideal for travel and commercial use. | Can be more complex to use than drawstrings. |
| Drawstrings | Simple and quick to use, provides fast access, adds strength with grommets. | Don’t seal as tightly as zippers, may not be as durable. |
If you choose a zipper, pick a heavy-duty one. Sew it in with a zipper foot on your sewing machine. Make sure the zipper runs the full length of the opening. For drawstrings, use a strong cord and add metal grommets to prevent tearing. Thread the cord through the grommets and tie knots at the ends.
Tip: Try opening and closing your bag a few times before your trip. Make sure the closure works smoothly and feels secure.
You’ve now finished the main assembly steps for your diy car seat bag. With strong stitching, secure handles, and a reliable closure, your bag is ready for travel.
customization ideas
You can make your DIY car seat bag stand out and work better for you. Customizing your bag adds fun and function. Let’s look at some easy ways to upgrade your project.
pockets and compartments
Extra pockets help you stay organized during travel. You can keep snacks, toys, wipes, or even your phone close by. You don’t want to dig through your whole bag at the airport. Add a few smart compartments, and you’ll always know where things are.
Here are some pocket ideas you might like:
| Type of Organizer | Description |
|---|---|
| Mesh Car Storage | Keeps items off the floor with pockets for phone, glasses, etc. |
| Tablet & Toy Holder | Hanging pockets for tablets, books, and snacks, customizable based on needs. |
| Rubbish Receptacle | Versatile pouch for trash or organizing small items, with external and internal pockets. |
| Six Pocket Car Storage | Offers multiple pockets for easy access to items, designed for backseat use. |
| Sun Visor Car Organizer | Features zippered pocket, card slots, and a sunglasses holder to keep essentials organized and accessible. |
You can sew mesh pockets on the outside for quick access. Try a zippered pouch inside for small things like keys or chargers. If you travel with kids, a toy holder pocket can save the day.
Tip: Use bright fabric for pockets so you can spot them fast.
accessory storage
Think about what you always carry. Do you need a spot for wipes? Maybe a pocket for snacks or a water bottle? You can add a rubbish pouch for wrappers or tissues. If you want, sew in a tablet holder for long flights. Custom pockets make your bag fit your family’s needs.
labels and tags
Travel can get busy. You don’t want to lose your car seat bag. Adding a label or tag helps you spot your bag fast and keeps it from getting mixed up with others.
You can use:
- Iron-on name labels
- Sewn-in fabric tags
- Luggage tags with your contact info
- Bright ribbon or a keychain
Write your name and phone number on the tag. You can even add a fun patch or sticker. Make sure the label stays on, even if the bag gets tossed around.
identification tips
Put your label in a spot that’s easy to see. The top handle or a side pocket works well. Use waterproof markers so your info doesn’t fade. If you want extra safety, add a second tag inside the bag.
Note: Some airports check tags before you board. Make sure your info is clear and up to date.
color and design
You don’t have to stick with plain black. Pick colors and designs that show your style and make your bag easy to spot.
Here are some popular choices:
| Color Options | Design Features |
|---|---|
| Neutrals (black, gray, beige) | Carbon fiber accents, diamond stitching |
| Bold colors (red, blue, two-tone) | Textured finishes enhancing luxury |
You can choose a bold color like red or blue. Try two-tone fabric for a cool look. Add diamond stitching or textured finishes for a touch of luxury. If you like simple styles, neutrals with carbon fiber accents look sharp.
personalization
Add your child’s name or a favorite patch. Sew on a fun design or use fabric paint for a custom touch. You can even let your kids help pick the colors or draw a picture on the bag. Personal touches make your DIY car seat bag one of a kind.
Tip: Bright colors and unique designs help you find your bag fast at baggage claim.
With these ideas, your DIY car seat bag will be both useful and unique. You’ll travel with style and stay organized every step of the way.
airline requirements
Traveling with your car seat means you need to follow airline rules. You want your diy car seat bag to fit those guidelines so your trip goes smoothly. Let’s break down what you need to know before you head to the airport.
size and weight
Airlines set limits for checked and gate-checked items. You don’t want your bag to be too big or heavy. Most airlines allow car seat bags up to 62 linear inches (length + width + height). Weight limits usually range from 20 to 50 pounds, but you should check your airline’s website for exact numbers.
common restrictions
Here’s a quick table to help you compare:
| Airline | Max Size (inches) | Max Weight (lbs) | Free Check? |
|---|---|---|---|
| Delta | 62 | 50 | Yes |
| United | 62 | 50 | Yes |
| American | 62 | 50 | Yes |
| Southwest | 62 | 50 | Yes |
Tip: Measure your diy car seat bag after you finish it. Use a tape measure to check length, width, and height. Weigh the bag with the car seat inside to make sure you stay under the limit.
material standards
Airlines want bags that protect your car seat and don’t cause problems during handling. You should use strong, water-resistant fabric. Avoid materials that tear easily or soak up moisture.
compliance tips
Pick nylon or heavy-duty polyester for your bag. These fabrics resist water and rough handling. Reinforce seams and handles so nothing breaks during transit. If your bag has wheels, make sure they roll smoothly and don’t stick out too far.
Note: Some airlines check the bag’s material at the gate. If your bag looks flimsy, they might ask you to gate-check or use a different bag.
packing guidelines
You want your car seat to arrive clean and safe. Airlines and the TSA have a few rules to help you pack right.
TSA and airline rules
- You can check your car seat at the ticket counter or gate-check it before boarding.
- Gate-checking keeps your car seat with you longer and reduces the risk of damage.
- Always tell the airline staff you’re checking a car seat. Most airlines let you check it for free.
- Use a protective bag to shield your car seat from dirt and damage.
- Consider using a less expensive car seat for travel in case of loss or rough handling.
- Make sure your bag closes securely. Zippers or drawstrings work well.
- Attach a label with your name and contact info to the bag.
Callout: If you don’t need the car seat on the plane, checking it can make your trip easier. Airlines often allow free checking for car seats and strollers.
You should check your airline’s website for any special rules. Some airlines have extra requirements for oversized items or certain materials. The TSA may inspect your bag, so keep it easy to open and close.
Your diy car seat bag helps protect your car seat and keeps you organized. When you follow airline requirements, you avoid surprises and make your travel day smoother.
usage and care
packing the car seat
step-by-step packing
Packing your car seat for air travel doesn’t have to feel overwhelming. You can follow these simple steps to make sure your seat stays safe and clean:
- Wipe down your car seat with a gentle cleaner. Let it dry completely before packing.
- Place your car seat inside your DIY bag. Make sure it fits snugly and the padding protects against bumps.
- If you still have the original box, use it for extra protection. You can also add a waterproof layer if you expect rain.
- Tuck in all straps and buckles. This keeps loose parts from getting caught or damaged.
- Label your car seat and bag with your name, contact number, and destination. This helps you find your bag quickly.
- Snap a photo of your car seat before you travel. If anything happens, you have proof for the airline.
Tip: Double-check that the bag closes securely before you head to the airport.
carrying tips
airport navigation
You want to move through the airport with ease. A quality car seat bag makes your trip smoother and protects your gear. You can pack extra items in your bag to reduce strain and keep your hands free.
- Use a car seat cart if you want to roll your bag instead of carrying it. This frees up your hands for tickets or snacks.
- Bring a travel toy bag for your child. It keeps them busy and makes waiting easier.
Here’s a quick look at some popular brands for car seat bags and carts:
| Brand | Star rating | Load capacity | Pros | Cons |
|---|---|---|---|---|
| Samsonite | 4 / 5 | 70 pounds | Compact, Durable, Universal | Handle bends under load |
| Mount-it! | 4.5 / 5 | 77 pounds | Smooth, Sturdy | Intricate webbing |
| GUCHO | 3 / 5 | 90 pounds | Durable strap, Heavy load | Plasticky feel |
Note: Test your bag and cart at home before your trip. Make sure everything feels comfortable and balanced.
cleaning and maintenance
washing and storage
Keeping your DIY car seat bag clean helps it last longer. You can use different cleaning methods based on the material.
| Material Type | Cleaning Method | Notes |
|---|---|---|
| Cloth | Blot with towels, air-dry | Prevents mold |
| Leather | Use fans for airflow, avoid heat sources | Prevents cracking or fading |
| Vinyl | Blot, use air circulation | Less absorbent, needs careful handling |
| General Tips | Use dehumidifiers or DIY desiccants (rice, soda) | Controls moisture in humid conditions |
| Seasonal Tips | Adjust drying methods for the season | Use heaters in winter for drying |
You can follow this cleaning routine:
- Vacuum your bag weekly to remove dirt and crumbs.
- Clean it thoroughly once a month using your preferred method.
- Deep clean every three months, either at home or professionally.
- Apply a fabric protector once a year to repel stains.
Callout: Store your bag in a dry place. Avoid folding it too tightly to keep the fabric strong.
You can use seat covers, floor mats, and a rubbish bin to protect your car seat and bag from wear. Try not to eat in the car to prevent spills. With regular care, your DIY car seat bag will stay fresh and ready for every trip.
troubleshooting
You might run into a few bumps while making your DIY car seat bag. Don’t worry! You can fix most mistakes and keep your bag looking great. Let’s walk through some common problems and easy solutions.
fixing mistakes
Sometimes things don’t go as planned. Maybe you cut the fabric wrong or the stitching looks messy. You can handle these issues without starting over.
quick repairs
Here are some quick fixes for common mistakes:
- Improper Seat Cover Fitting
If your bag looks stretched or wrinkled, check the dimensions. You want the cover to match your car seat’s shape. Try adjusting the seams or adding a small patch to fill gaps. If you made the bag too small, sew in an extra strip of fabric along the sides. - Risk of Damage During Installation
Stretching the fabric too much can cause tears or scratches. Handle the bag gently and use soft tools like a plastic needle or your fingers. If you spot a tear, patch it with a piece of matching fabric and strong thread. You can use fabric glue for small holes. - Difficulty with Headrest and Armrest Covers
These parts can be tricky. Make separate sections for the headrest and armrest. Sew them on after you finish the main bag. This makes installation easier and keeps the fit smooth.
Tip: Keep a sewing kit handy. You can fix small mistakes right away and avoid bigger problems later.
adjusting fit
You want your car seat bag to fit just right. If it feels too tight or too loose, you can make simple adjustments.
solutions for tight/loose bags
Try these steps to adjust the fit:
- Ensure Even Tension on Straps
Grab one hip strap in each hand. Pull side to side until both sides feel even. This helps the bag sit straight and snug. - Check for Proper Threading
Look at the harness straps. Make sure you thread them through the same loop. Different loops can cause unevenness and make the bag feel awkward.
If your bag is too tight, add a small panel of fabric to the sides or bottom. For a loose bag, sew a line of stitches along the edges to take in the extra material. You can also use adjustable straps to tighten the fit.
Callout: Test the fit with your car seat inside the bag. Adjust until you feel comfortable carrying it.
handling wear
Your DIY car seat bag will face lots of travel. You want it to stay strong and last for years.
reinforcement
Here’s how you can reinforce your bag:
- Double-stitch the seams, especially at the handles and bottom.
- Use heavy-duty thread for all repairs.
- Add extra fabric patches to spots that show wear, like corners and edges.
- Sew a box with an X pattern at handle attachment points for extra strength.
If you notice fraying, trim the loose threads and apply fray check. For worn-out zippers or drawstrings, replace them with new ones. You can also add a layer of padding to protect the bag from rough handling.
Note: Regularly check your bag for signs of wear. Fix small issues before they turn into big problems.
With these troubleshooting tips, you can keep your DIY car seat bag in top shape. You’ll feel confident every time you travel!
Conclusion
You now know how to make a diy car seat bag by following each step. You get to choose the materials, measure the size, sew the pieces, and add your own design. Your bag will last longer and work just right for you. Lots of travelers say homemade bags keep car seats safe and make airport trips less stressful.
FAQ
How do I choose the best fabric for my DIY car seat bag?
You want a fabric that is strong and light. Nylon works well for most travelers. Canvas gives extra protection. Pick water-resistant material if you expect rain or spills.
Can I wash my DIY car seat bag in the washing machine?
Most bags made from nylon or polyester can go in the washing machine. Use a gentle cycle and mild soap. Air-dry the bag to keep it in good shape.
What if my bag is too small for my car seat?
Don’t worry! You can add a strip of fabric to the sides or bottom. This gives you more room. Always measure your car seat before you cut your fabric.
Do airlines let me check a DIY car seat bag for free?
Most airlines let you check a car seat bag for free. You should check your airline’s website for their rules. Some airlines have size or weight limits.
How can I make my bag easier to carry at the airport?
Add backpack straps or handles. You can also use a car seat cart with wheels. Test your bag at home to see what feels best for you.
Will TSA open my DIY car seat bag?
TSA may open your bag for inspection. Use a zipper or drawstring that is easy to open and close. Keep the bag simple so you can repack it quickly.
Can I add extra pockets for storage?
Yes! You can sew on mesh or zippered pockets. These help you organize snacks, toys, or wipes. Bright colors make pockets easy to spot.