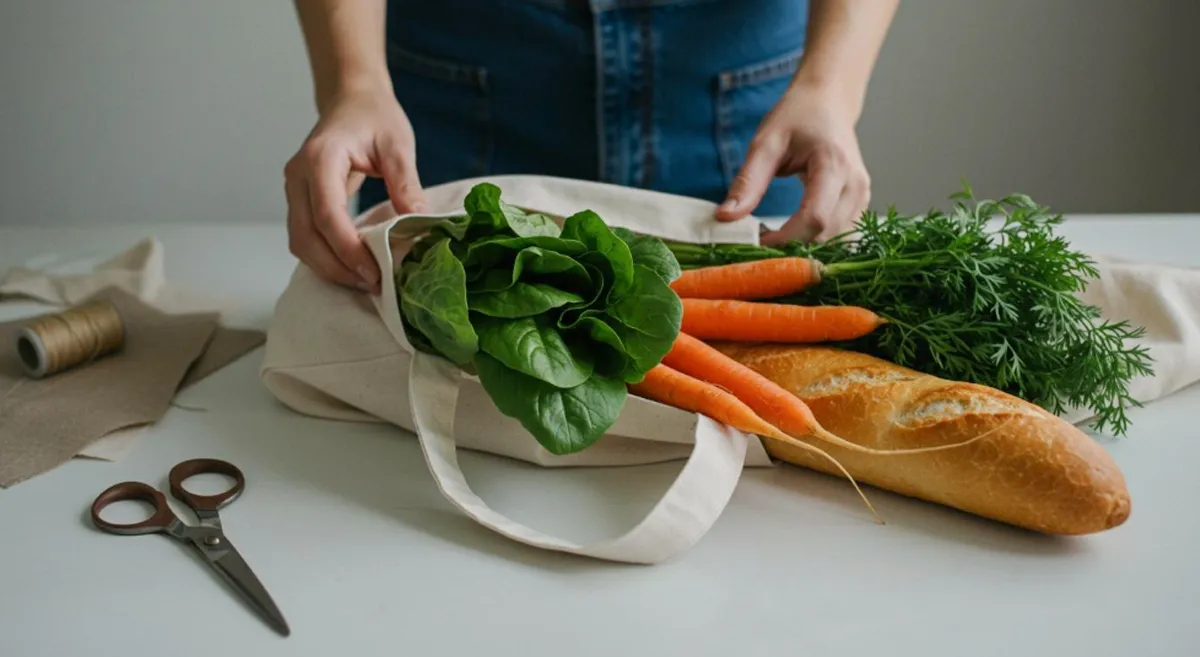
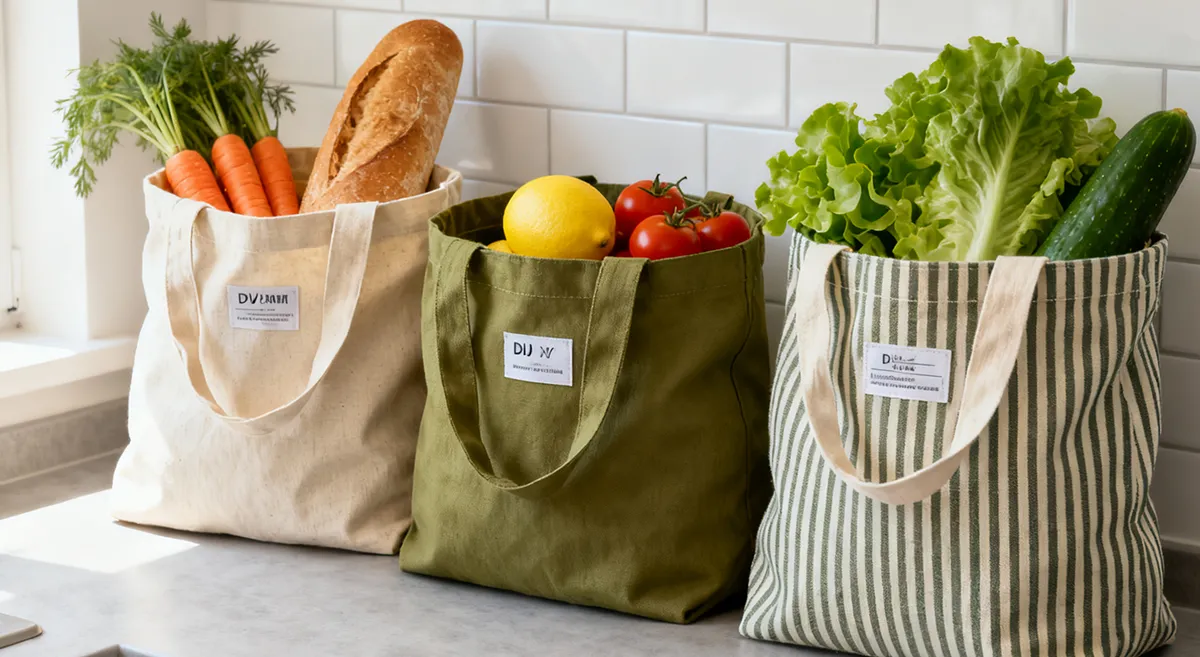
You want to make sturdy, reusable grocery bags at home. You can do this with a step-by-step tutorial for diy canvas grocery bags. This project works for beginners and experienced sewists. Canvas bags help you cut down on plastic waste, show off your style, and last for years. Get your materials ready and jump in. You will learn everything you need, from picking supplies to fixing small mistakes.
Key Takeaways
- Get all your materials ready before you begin. This helps you save time and make fewer mistakes. Pick canvas that is not too heavy or too light. This makes the bag strong and easy to sew. Measure your fabric carefully. Cut it so the seams look neat and the bag looks nice. Use strong stitches like box stitches. These help the handles and seams stay strong. Add gussets to make the bag hold more things. Gussets also help the bag stand up straight. Decorate your bag with fabric paint, patches, or embroidery. This makes your bag special and unique. Wash your bag gently and let it air dry. This keeps the bag in good shape. Fix problems like fraying or uneven seams with easy solutions.
Materials Needed
Get all your supplies before you begin. This helps you work faster and make fewer mistakes. You need canvas fabric, sewing tools, and some extras for a nice finish.
Canvas Fabric
Types
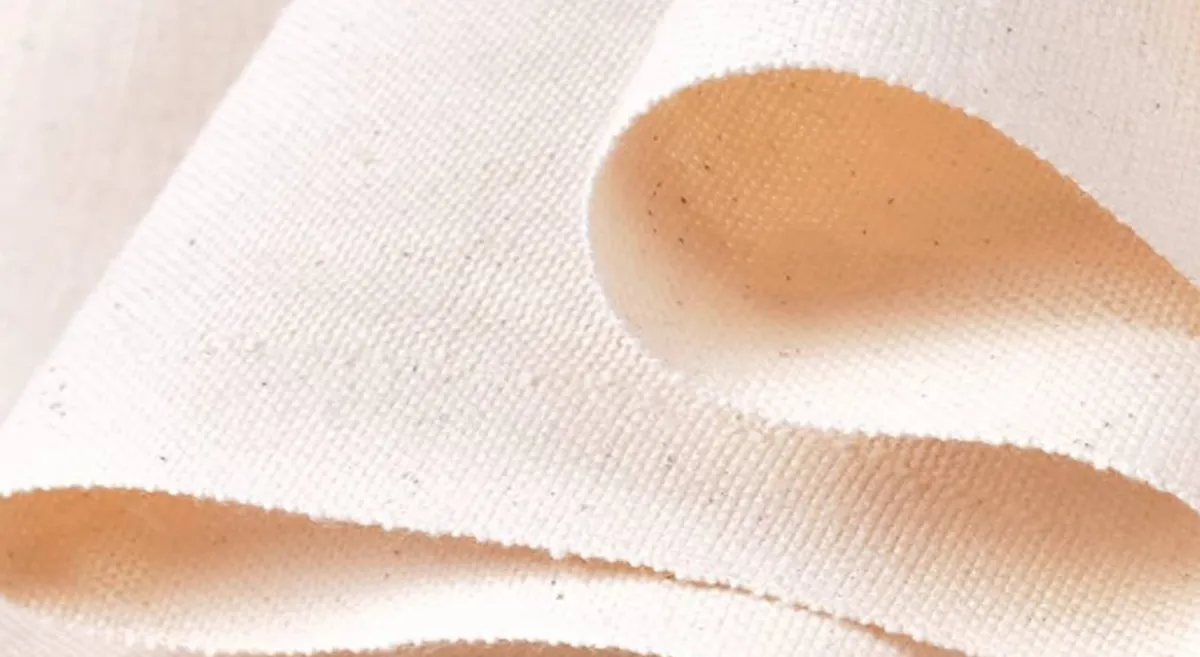
Picking the right canvas fabric is important. It makes your grocery bag strong and reusable. You want fabric that holds heavy things and lasts a long time. Here is a table showing strong canvas types:
| Canvas Type | Weight Range | Water Resistance | Recommended Use |
|---|---|---|---|
| Heavyweight Canvas | 450–800+ gsm | High | Outdoor & Travel Duffels |
| Waxed Canvas | 250–600 gsm | High | Outdoor duffels, field gear |
| Silicone-Coated Canvas | 200–400 gsm | High | Weatherproof bags |
| PU-Coated Canvas | 300–500 gsm | Very High | Industrial, medical totes |
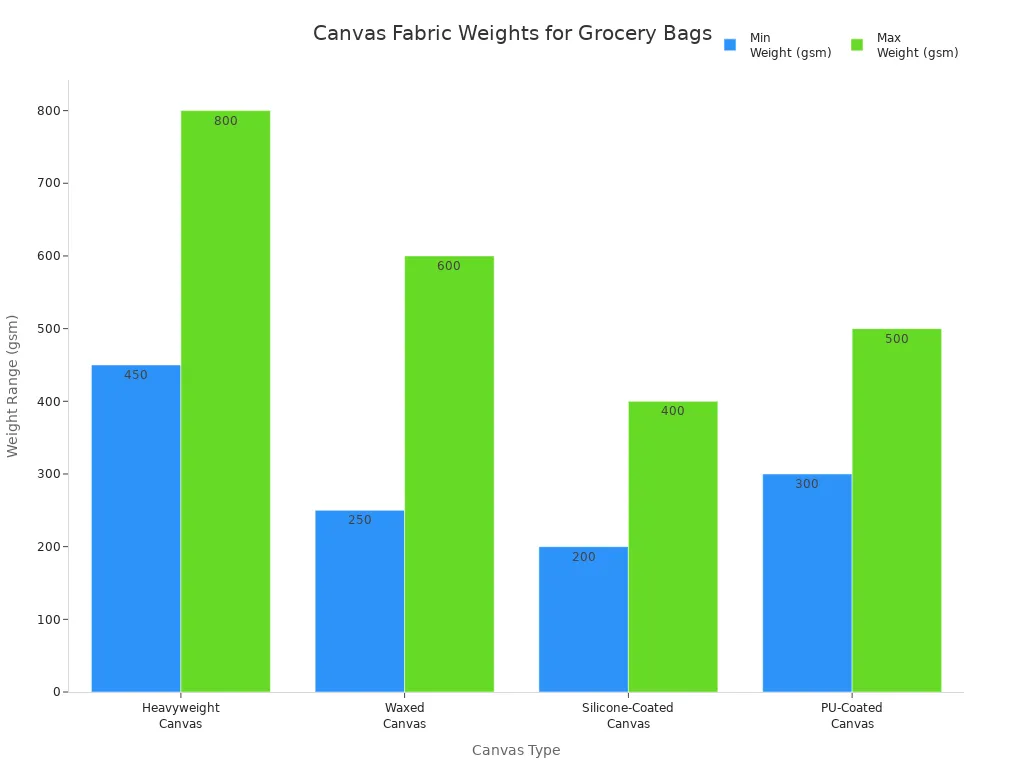
Medium weight canvas is best for most diy canvas grocery bags. It is strong but still easy to sew. Heavyweight canvas is good if you want to carry heavy things.
| Canvas Weight Category | Weight Range (oz) | Primary Applications |
|---|---|---|
| Medium Weight Canvas | 12-15 | Medium-duty bags and totes, backpacks, outdoor cushions and covers, general crafting projects, workwear applications |
| Heavy Weight Canvas | 18-22 | Industrial tarps and covers, heavy-duty equipment protection, outdoor structures and awnings, military and marine applications |
Recommended Size (17½” × 17½”)
Cut two pieces of canvas. Each piece should be 17 and a half inches square. This size gives you a roomy bag for groceries or books. Change the size if you want a bigger or smaller bag.
Tools
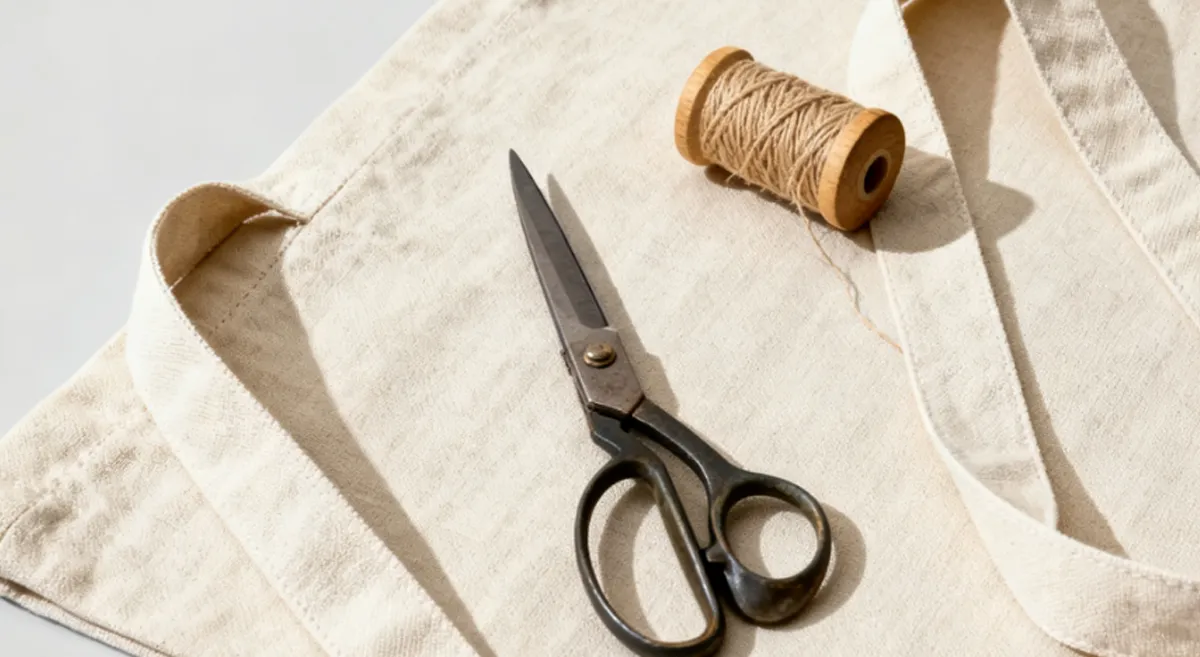
You do not need fancy tools to make a grocery bag. Basic sewing tools work well and help you get neat results.
Sewing Machine or Hand Sewing
A sewing machine helps you sew faster and makes strong seams. If you sew by hand, use a tough needle and strong thread. Both ways work for diy canvas grocery bags.
Needles, Thread, Scissors
Use sharp scissors to cut fabric. Pick heavy-duty needles and polyester thread for strength. These tools help your bag look neat and last longer.
Extras
Extras help your bag look better and last longer.
Measuring Tape, Marker
A measuring tape helps you measure fabric. Use a marker or chalk to draw lines before cutting. This keeps your seams straight and your edges even.
Pins, Clips
Pins and clips hold fabric together while you sew. They keep pieces in place and make sewing easier.
Optional: Interfacing, Decorations
You can add interfacing or decorations to make your bag stronger and cooler. Here are some choices:
| Interfacing Type | Description |
|---|---|
| Pellon SF-101 Shape Flex | Adds sturdiness and a canvas-like feel when fused. |
| 520 Deco-Fuse Firm | Makes the bag very stiff without a fused look. |
| Peltex 70 Sew-in | Thick and stiff, can combine with Shape Flex to reduce bulk in seams. |
| Base inserts | Use template plastic, plastic canvas, or flexible cutting boards for extra rigidity. |
| Lining | Improves appearance, structure, and hides interfacing or inserts. |
Tip: You can make your bag special by adding patches, embroidery, or fabric paint. These extras make your diy canvas grocery bags fun and unique.
Now you have everything you need to start. Each supply helps your bag stay strong and look good. Get your canvas tote bag supplies and get ready to sew a grocery bag that works for you.
Cutting and Preparing Fabric
Ready to start making your diy canvas grocery bags? This part is all about measuring, marking, and cutting your canvas fabric. You want your bag to look neat and last a long time, so accuracy matters. Let us walk through each step together.
Measure and Mark
Getting your measurements right is the first step. You want straight lines and sharp corners, so take your time here.
Main Panels
Lay your canvas flat on a large cutting surface. Fold the fabric selvage to selvage and line it up with the grid lines on your cutting mat. This gives you a stable base and helps you keep everything straight. Square up a corner by making a 90-degree angle. Use a ruler and a marker or chalk to draw your cutting lines. Hold the ruler firmly so it does not slip.
Here is a quick look at the recommended sizes for your bag panels:
| Panel Type | Dimensions |
|---|---|
| Front and Back | 18 inches by 15.5 inches (2 pieces) |
| Side Panel | 51.5 inches by 6 inches |
| Handles | 12 inches by 3 inches |
You can adjust these sizes if you want a bigger or smaller bag. Just keep your lines straight and your corners sharp.
Handles
Handles need to be sturdy and comfortable. Measure out two strips of canvas, each 12 inches long and 3 inches wide. Mark your lines with chalk or a washable marker. Make sure both handles match in length and width.
Tip: Use pattern weights or clips to keep your fabric from shifting while you mark and cut. This helps you get clean, straight edges.
Cut Pieces
Now you are ready to cut your fabric. Clean cuts make sewing easier and help your bag look professional.
Body
Use sharp fabric scissors or a rotary cutter with a cutting mat. If you have a rotary cutter, you can cut multiple layers at once. This saves time and keeps your pieces even. Always follow the grain line of the fabric. This keeps your bag in shape and helps it last longer.
Here is a quick guide to the best tools for cutting canvas:
| Tool | Purpose |
|---|---|
| Fabric Scissors | Clean cuts on heavy canvas |
| Rotary Cutter + Mat | Faster cutting for multiple layers |
| Pattern Weights | Keep patterns stable during cutting |
Straps
Cut your handle strips carefully. Hold your ruler steady and use a rotary cutter for straight lines. If you want extra strength, cut a third strip for a crossbody strap or reinforcement.
After a test run, I started to do an overcast stitch on all of the raw edges to prevent fraying. I highly recommend you do the same if your machine allows, especially on the bottom edge.
You can also use pinking shears to help stop fraying if you do not have a machine that does overcast stitches.
Cutting your canvas tote bag supplies with care sets you up for success. Precise measuring and cutting mean straighter seams and a bag that holds up to everyday use. Take your time, use the right tools, and enjoy the process. Your diy canvas grocery bags will look great and last for years.
How to Sew a Tote Bag

Ready to dive into how to sew a tote bag? This is where your diy canvas grocery bags start to take shape. You will sew the main body, add gussets for space, and make strong handles. Let us walk through each step together.
Sew Bag Body
Stitch Panels
Start by placing the two main panels of your bag right sides together. Line up the edges so everything matches. Use pins or clips to hold the panels in place. Set your sewing machine to a straight stitch or use a sturdy hand stitch if you do not have a machine.
Sew along both sides and the bottom edge, leaving the top open. Use a seam allowance of about half an inch. Go slow and keep your lines straight. This helps your bag look neat and last longer.
Tip: Use a triple straight stitch for extra strength. This stitch goes forward, backward, and forward again, making a thick and tough seam. It works great for heavy canvas.
Reinforce Seams
You want your bag to hold up to heavy groceries. Reinforcing the seams is key. After you sew the main seams, go back and sew another line just inside the first one. This double stitching adds strength.
For the areas that will carry the most weight, like where the handles attach, use a box stitch. This is a square or rectangle with an X inside. It keeps the handles from tearing away from the bag.
Here is a quick table to help you pick the best stitches:
| Stitch | Description | Best For |
|---|---|---|
| Box Stitch | Square or rectangle with an X inside. | Attaching handles and straps |
| Triple Straight Stitch | Forward, backward, then forward again for each stitch. | Reinforcing seams, topstitching |
Add Gussets
Create Depth
If you want your bag to hold more, you need to know how to sew a tote bag with gussets. Gussets give your bag extra space and help it stand up on its own. They make a big difference in how much you can carry.
Gussets work by adding width to the sides and depth to the bottom. This lets your bag open wide and hold bulky items. You will love how much more you can fit inside.
Sew Sides and Bottom
Here is how to sew gussets step by step:
- Turn your bag inside out so the seams are on the outside.
- Fold the sides of the bag toward the center. This will create little triangles at the bottom corners.
- Pin the bottom corners to keep them from slipping.
- Make sure the handles are folded just shy of the halfway point. This keeps the inside corners neat.
- Sew across the bottom of each triangle. Use a finishing stitch, like a zig-zag or a serger, to keep the edges from fraying.
Note: Adding gussets is one of the best tricks for how to sew a tote bag that holds a lot and keeps its shape.
Make Handles
Fold and Stitch
Handles need to be strong and comfy. Cut two strips of canvas for your handles. Fold each strip in half lengthwise, then fold the raw edges in toward the center. Press the folds flat.
Sew down both long edges of each handle. This gives you a finished look and extra strength. Wide handles (at least one inch) help spread the weight and make carrying easier.
- If you want even more comfort, add a bit of padding inside the handles before you sew them closed.
Attach Securely
Now it is time to attach the handles to your bag. Place each handle end about three inches from the side seams. Make sure the handles do not twist. Pin them in place on the inside of the bag.
Sew a box stitch at each end of the handle. This means you sew a square or rectangle, then sew an X inside the box. This method keeps the handles from pulling loose, even when you fill your bag with heavy groceries.
Tip: If you carry lots of bags at once, try using a tool to group the handles together. This spreads the weight and makes carrying easier.
You have now learned how to sew a tote bag with strong seams, roomy gussets, and sturdy handles. Each step helps your diy canvas grocery bags last longer and work better for everyday use.
Finish Edges
Hem Top
You want your canvas grocery bag to look neat and last a long time. Hemming the top edge is a key step. This part gives your bag a clean finish and keeps the raw edge from unraveling. Let us walk through a simple way to hem the top.
Start by folding the top edge of your bag over about half an inch. Press the fold flat with your fingers or an iron. Fold it over again, this time about three-quarters of an inch. This double fold hides the raw edge inside and makes the hem strong. Use pins or clips to hold the fold in place.
Now you are ready to sew. Set your machine to a straight stitch. Sew close to the inner edge of the fold, moving slowly so your line stays straight. If you want extra strength, sew another line near the outer edge of the fold. This double hem works well for canvas and gives your bag a professional look.
Tip: If you want to add fasteners or grommets, a double hem gives you enough thickness to hold them securely.
You can also use a zigzag stitch along the edge before folding. This helps prevent fraying and adds a decorative touch. Try different fold widths if you want a unique style or need extra strength.
Prevent Fraying
Canvas is tough, but the raw edges can fray over time. You want your bag to stay strong, so finishing the edges is important. There are several ways to keep those edges neat and durable.
Here are some popular methods you can use:
- Sew the seams twice for extra strength. This double stitching keeps the fabric from pulling apart.
- Use a zigzag stitch over the raw edges. This locks the threads in place and stops fraying.
- Try heavy-duty lockstitching for stress points. This stitch holds up well under weight.
- Use bound seams if you want maximum durability. You wrap the edge with tape and sew it down. This method works great for tool bags and structured carriers.
- French seams are another option. You sew the seam twice, hiding the raw edge inside. This gives your bag a clean look and extra strength.
Here is a quick table showing some edge finishing techniques:
| Stitch Type | Description | Strength Level | Common Use |
|---|---|---|---|
| Double Stitch | Two rows of lockstitch in parallel | High | Handles, stress points |
| Bound Seam | Edges bound with tape for protection | Very High | Tool bags, structured carriers |
| Zigzag Stitch | Zigzag over raw edge | Medium | General edge finishing |
| French Seam | Seam sewn twice, raw edge enclosed | High | Inside seams, neat finish |
Pro Tip: If your machine has an overcast stitch, use it on all raw edges. This stitch wraps the thread around the edge and gives your bag extra protection.
When you sew your canvas grocery bag, take time to finish every edge. You will notice your bag holds up better and looks more polished. These steps are easy to follow and make a big difference in how long your bag lasts.
If you ever feel unsure, just remember this sewing instruction: fold, press, pin, and sew. Repeat for every edge, and your bag will stay strong for years.
DIY Canvas Grocery Bags Tips
Reinforced Straps
You want your diy canvas grocery bags to handle heavy loads without worry. Strong straps make all the difference. Here are some ways you can reinforce your bag handles for extra durability:
- X-box Stitch Reinforcement: Sew a square with an X inside where the handle meets the bag. This spreads out the weight and keeps the strap from tearing.
- Multiple Backstitching: Go back and forth over the seam several times. This creates a thick line of thread that holds up under stress.
- Reinforcement Patch or Bar Tack: Add a small patch of fabric at the base of each handle. You can also use bar tacks, which are short, tight stitches that lock the strap in place.
- Double or Triple Stitching: Sew two or three parallel lines where the strap attaches. This gives your bag extra strength.
- Using Rivets or Metal Studs: Attach hardware like rivets for a tough, stylish finish. These not only look cool but also make the handles super secure.
Tip: If you carry heavy groceries often, try combining two or more of these methods. Your bag will last longer and feel safer to use.
Boxed Corners
Want your bag to stand up and hold more? Boxed corners give your tote a flat bottom and extra space. You can make boxed corners by folding the bottom corners of your bag and sewing straight across. This creates a roomy base that helps your bag sit upright.
Here is a quick guide to making boxed corners:
| Step | What You Do |
|---|---|
| 1 | Turn your bag inside out |
| 2 | Flatten one bottom corner so the side seam lines up with the bottom seam |
| 3 | Measure about 2 inches from the tip of the corner and mark a line |
| 4 | Sew straight across the marked line |
| 5 | Trim off the excess fabric and finish the raw edge |
Boxed corners make your diy canvas grocery bags more spacious and easier to pack. You will notice how much more you can fit inside.
Customization
You can turn your canvas tote into something truly unique. There are so many ways to add your own style. Here are some fun ideas you can try:
- Appliqué Designs: Cut shapes or letters from fabric scraps and sew them onto your bag for a pop of color.
- Fabric Markers: Draw, doodle, or write your favorite quotes right on your tote.
- Fabric Dye: Use tie-dye or dip-dye techniques for a bold, trendy look.
- Embroidery: Stitch your own patterns or initials for a handmade touch.
- Hand-Painted Tote Bags: Paint anything from simple stripes to detailed artwork.
- Stenciling Tote Bags: Use stencils to create clean, repeatable designs.
- Adding Patches: Iron-on or sew patches to show off your interests or hobbies.
Note: Customizing your bag makes it one of a kind. You can match it to your style, give it as a gift, or even make a set for your family.
You have plenty of options to make your diy canvas grocery bags stronger, roomier, and more personal. Try out these tips and see what works best for you. Your bag will stand out and last for years.
Easy Cloth Tote Bag Care
Taking care of your easy cloth tote bag keeps it looking fresh and strong for years. You do not need fancy products or complicated steps. Just a few simple habits will help your bag stay clean and ready for every grocery run.
Washing
You might wonder how to wash your easy cloth tote bag without ruining it. Canvas is tough, but it still needs gentle care. Here is how you can keep your bag clean and bright:
- Wash your bag by itself or with other canvas items. This helps prevent colors from bleeding onto your tote.
- Use cold or lukewarm water with a mild detergent. Hot water can shrink the fabric or fade the colors.
- Spot clean stains with a soft brush or cloth. Rub gently so you do not damage the fibers.
- Avoid bleach or harsh chemicals. These can weaken the canvas and make it look old.
- Rinse your bag well to remove all soap.
Tip: Always check for care labels or special instructions if your bag has decorations or a lining.
Drying
Drying your tote the right way makes a big difference. You want to keep the shape and color looking great. Here are some easy steps:
- Air-dry your bag after washing. This keeps the fabric strong and helps it last longer.
- Reshape your bag while it is still damp. Smooth out the corners and seams so it dries in the right form.
- Hang your bag in a spot with good airflow. Avoid direct sunlight, which can fade the colors over time.
- Never use a dryer. High heat can shrink the canvas and change the shape of your bag.
Pro Tip: If your bag feels stiff after drying, give it a gentle shake or roll it between your hands to soften it up.
Storage
Storing your tote bag the right way helps it keep its shape and stay clean. Here are some quick tips:
- Fold your bag neatly when you are not using it. This saves space and keeps the fabric from wrinkling.
- Store your bag in a dry place. Damp spots can cause mold or mildew.
- Keep your bag away from sharp objects that could snag or tear the canvas.
- If you have more than one tote, stack them or hang them on hooks for easy access.
Taking a little time to care for your easy cloth tote bag means you will always have a reliable, eco-friendly bag ready for shopping, school, or travel. Simple habits go a long way in keeping your tote looking and working its best.
Troubleshooting
Uneven Seams
Sewing straight seams can feel tricky, especially when you work with thick canvas. If you notice your seams look wavy or do not line up, you are not alone. Many people run into this problem when making diy canvas grocery bags. Here are some common reasons why seams turn out uneven:
- Misalignment of stitching lines: Sometimes, the raw edges match up, but the stitching lines do not. This can happen when you sew diagonal seams or rush through the process.
- Inadequate seam allowance: Using a seam allowance that is too large can make it harder to keep everything straight. The extra fabric may shift as you sew.
- Lack of marking: Skipping the step of marking your stitching lines can lead to seams that wander or do not match up when pressed.
To fix uneven seams, try these tips:
- Always mark your stitching lines with chalk or a washable marker before you start sewing.
- Use a ruler to double-check your seam allowance. Stick to the same width for every seam.
- Pin or clip your fabric pieces together to keep them from shifting.
- Go slow and guide the fabric gently. Let the machine do the work.
If you make a mistake, do not worry. You can always use a seam ripper to remove the stitches and try again. Practice makes perfect.
Fraying
Canvas is a strong fabric, but the edges can fray if you do not finish them. Fraying can make your bag look messy and even cause small rips over time. Here is what you can do to prevent and fix fraying:
- Use a zigzag stitch along all raw edges. This locks the threads in place and keeps the fabric from unraveling.
- If you spot a small rip or frayed area, grab your sewing kit. Trim away any loose threads, then use a needle and thread to sew short, tight stitches over the spot.
- For bigger tears, fabric repair patches work well. Cut the patch to fit, stick it over the damaged area, and follow the instructions. Some patches need heat to bond.
Tip: Always check the edges after you finish sewing. If you see any fraying, fix it right away to keep your bag looking neat.
Handle Issues
Handles take a lot of stress, so problems can pop up here. You might see fraying at the ends or feel like the handles are not strong enough. Here are some ways to solve common handle issues:
- Stop fraying by sewing a zigzag stitch along all raw edges of the handles before you attach them.
- Make your handles last longer by attaching them to a thick hem at the top of the bag. This gives extra support and helps the handles stay put.
- If a handle starts to come loose, sew it back on with a box stitch or add a small patch of canvas for extra strength.
Handles are the part you grab every time you use your bag. Take a few extra minutes to reinforce them, and your bag will stay strong for every grocery run.
With these troubleshooting tips, you can fix most problems that come up while making or using your canvas tote. Your diy canvas grocery bags will look better and last longer when you know how to handle these common issues.
Shape Problems
Have you ever finished sewing your DIY canvas grocery bags and noticed they look a little lopsided or floppy? Maybe the corners do not sit flat, or the bag does not stand up the way you hoped. Shape problems can pop up for lots of reasons, but you can fix them with a few simple steps.
First, check if your seams line up. Uneven seams or mismatched corners can make your bag twist or lean. If you see this, do not worry. You can fix it without starting over.
Here is a step-by-step way to get your bag back in shape:
- Turn your bag inside out. This lets you see the seams and corners more clearly.
- Pin the side seams together. Make sure the edges match up and the corners sit flat. If you have a stuff sack or lining, keep its opening next to the side you are sewing.
- Sew the seams together using your sewing machine or a serger. Go slow and keep your stitches straight. This helps the bag hold its shape better.
- Stuff the bag into your newly attached stuff sack or lining. This trick helps the bag keep its form and makes it easier to store.
Pro Tip: If your bag still looks floppy, try adding a base insert. You can use a piece of plastic canvas, cardboard, or a flexible cutting board. Cut it to fit the bottom of your bag and slide it inside. This gives your tote a sturdy base and helps it stand up.
Sometimes, the fabric stretches or shifts while you sew. You might notice the sides bulge or the bottom sags. To fix this, press your seams with an iron before you sew and after you finish. A hot iron helps the canvas lay flat and keeps the shape crisp.
If your bag has boxed corners, double-check the measurements. Both corners should match in size. Use a ruler to measure from the tip of each corner before you sew across. If one side is bigger, trim it down and resew the seam.
Here is a quick table with common shape problems and easy fixes:
| Problem | Quick Fix |
|---|---|
| Bag leans | Realign seams and resew |
| Corners uneven | Measure, trim, and resew |
| Bottom sags | Add a base insert |
| Bag floppy | Press seams, use thicker canvas |
Do not let shape problems ruin your DIY canvas grocery bags. With these easy steps, you can turn a wonky tote into a sturdy, stylish bag. You will feel proud every time you use it for shopping or carrying books. If you ever get stuck, just remember to check your seams, measure twice, and take your time. Your bag will look great and last for years.
Conclusion
You now know how to make diy canvas grocery bags. These bags can carry heavy things and last a long time. They help you use less plastic and make less trash. Most people like that they are strong, but some think they are bigger than other bags. If you make a bag, tell us your ideas or show your work in the comments. We make canvas grocery bags and use non-woven, canvas, cotton, and eco-friendly materials. We let businesses order custom bags with their own style and logo.
- Strong and can be used many times
- Good price if you buy a lot
- You can add your own brand
FAQ
How do I keep my diy canvas grocery bags from shrinking in the wash?
You want your diy canvas grocery bags to last a long time. Wash them in cold water and let them air dry. Hot water or a dryer can shrink the canvas. If you spot a stain, gently scrub it with mild soap. This way, your bag keeps its shape and size.
Can I sew a tote bag by hand if I do not have a sewing machine?
Yes, you can sew a tote bag by hand. Use a strong needle and heavy-duty thread for best results. Try a backstitch for sturdy seams. It takes more time than a machine, but you still get a strong, reusable bag. Hand sewing works well for small projects or repairs.
What is the best way to reinforce handles on custom canvas tote bags?
To make your custom canvas tote bags extra strong, sew a box with an X at each handle end. This spreads out the weight and keeps the handles from tearing. You can also add a small patch of canvas under the handle for more support. Double stitching helps too.
How do I stop the edges of my diy canvas grocery bags from fraying?
You can prevent fraying by using a zigzag stitch or an overcast stitch along the raw edges. If you do not have a machine, pinking shears work well. You can also use fabric glue on the edges. These methods help your diy canvas grocery bags stay neat and last longer.
Can I add a lining to my diy canvas grocery bags?
Yes, you can add a lining to your diy canvas grocery bags. Cut the lining fabric the same size as your bag panels. Sew the lining together, then place it inside the bag before hemming the top. A lining gives your bag a smooth inside and hides seams for a polished look.
What size should I make my easy cloth tote bag for groceries?
A good size for an easy cloth tote bag is about 17 and a half inches square. This size holds groceries, books, or daily items. You can adjust the size to fit your needs. Just make sure the handles are long enough to carry comfortably on your shoulder or by hand.
How can I personalize my diy canvas grocery bags?
You can personalize your diy canvas grocery bags in many ways. Try fabric paint, embroidery, or iron-on patches. Add your name, favorite quote, or a fun design. Customizing your bag makes it unique and shows off your style. It also makes a great gift for friends or family.
Why does my tote bag lose its shape after washing?
If your tote bag loses its shape, it might be from washing or drying. Air dry your bag and reshape it while damp. You can add a base insert for extra support. Press the seams with an iron to keep the bag crisp. These steps help your tote stay sturdy and neat.