You want a toiletry bag that matches your style and keeps things neat. This guide will show you how to sew a hanging toiletry bag from the beginning. You can do this even if you are new to sewing. Making your own bag lets you choose colors and add clear vinyl pockets, mesh, or special hooks. Before you start, be careful of some mistakes beginners make:
- Not preparing fabric can make it shrink.
- Choosing hard fabrics like velvet or chiffon can be tough.
- Guessing straight lines can make seams look crooked.
As you sew your bag, you will learn new skills. Here is a quick list of what you will learn:
| Skill | Benefit for Future Projects |
|---|---|
| Casing construction | Learn how to use cords or ribbons |
| Sewing side seams | Build basic skills for other sewing projects |
| Finishing raw edges | Make items last longer and look neat |
| Creating functional closures | Make bags and storage that work well |
When you finish, you will have a special toiletry organizer. You will also feel much more confident about sewing.
Key Takeaways
- Making your own toiletry bag lets you pick colors and features you like.
- Pick a strong fabric, like nylon or polyester, so it lasts long and is easy to clean.
- Get the right tools, like sharp scissors and a walking foot, to help you sew better.
- Make a pattern that fits what you want by measuring and drawing the size and pocket spots.
- Use clear vinyl for pockets so you can see and grab your toiletries easily.
- Add things like loops or hooks so you can hang your bag and use it in different ways.
- Finish your bag with bias tape to make it look neat and last longer.
- Try out your bag before using it to check if the zippers and pockets work well.
Materials and Tools for DIY Toiletry Bag
Before you start sewing, you need to gather all your supplies. Picking the right materials will help your diy toiletry bag last longer and look great. Let’s break down what you need and why each item matters.
Choosing Fabric and Vinyl
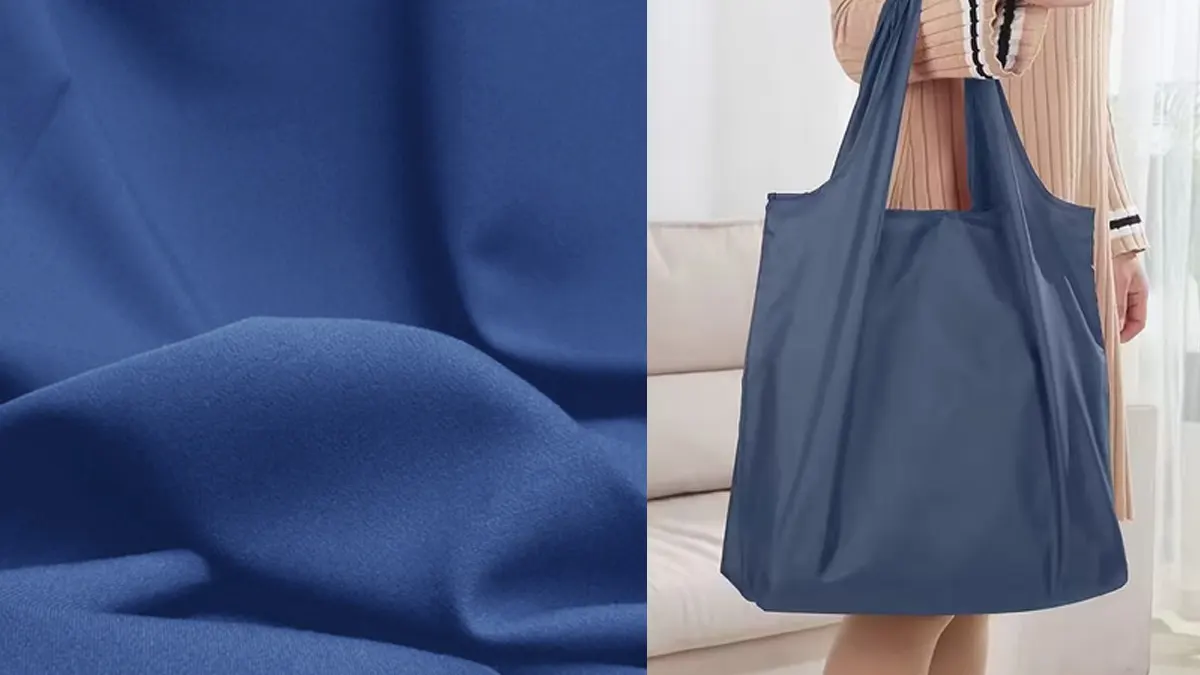
Waterproof and Durable Options
You want your diy toiletry bag to handle spills and stay strong. Here’s a quick look at some top fabric choices:
| Fabric Type | Key Characteristics |
|---|---|
| Nylon | Water-resistant, durable, lightweight, easy to clean |
| Polyester | Water-resistant, durable, variety of styles, affordable |
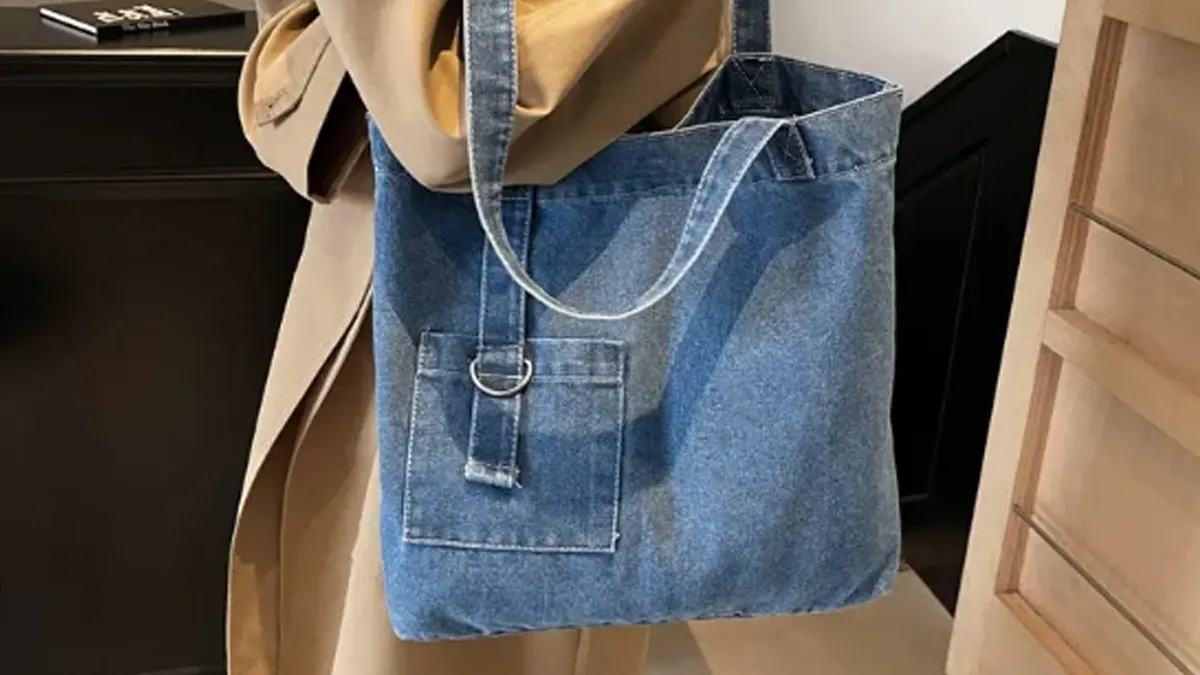
| Leather | Stylish, durable, water-resistant with care |
| Canvas | Durable, water-resistant when treated, rustic look, environmentally friendly |
| PVC | Waterproof, easy to clean, transparent options |
Nylon and polyester are both easy to sew and clean. Canvas gives a classic look and feels sturdy. Leather adds style but needs more care. PVC is great for waterproofing and works well for outer layers.
Clear Vinyl for Pockets
Clear vinyl makes it easy to see what’s inside each pocket. You can use it for small sections where you want to spot your toothbrush or travel bottles fast. Pick a medium thickness so it’s easy to sew but still strong.
Essential Sewing Tools
Machine, Needles, and Scissors
You don’t need fancy tools, but a few basics will make your diy toiletry bag project much easier. Here’s a handy table:
| Tool | Importance |
|---|---|
| Thread | Polyester thread holds up well and keeps seams strong. |
| Needles | Use the right size so you can sew through thick layers without breaking your needle. |
| Walking Foot | This helps your machine feed thick fabric and vinyl evenly, so your stitches stay straight. |
| Lighting | Good light helps you see details and avoid mistakes. |
Sharp scissors will help you cut fabric and vinyl cleanly. A seam ripper is useful if you need to fix a mistake.
Measuring and Marking Tools
A clear ruler and fabric chalk or a washable marker help you measure and mark straight lines. This keeps your toiletry bag looking neat and professional.
Notions and Hardware
Zippers, Hooks, and Buckles
Zippers keep your items safe inside the bag. Use a nylon coil zipper, size five or heavier, for main pockets. D rings and O rings connect straps and handles. Swivel hooks and strap sliders let you adjust or hang your bag easily. Buckles add extra security if you want a fold-over flap.
Mesh, Elastic, and Bias Tape
Mesh pockets hold wet items and let them dry. Elastic keeps bottles and brushes in place. Bias tape covers raw edges and gives your diy toiletry bag a clean finish.
Tip: Lay out all your materials before you start. This helps you see if you’re missing anything and makes sewing smoother.
Now you’re ready to move on to making your pattern and cutting your fabric. With the right materials, your toiletry bag will be sturdy, stylish, and ready for any trip!
How to Make a Toiletry Bag Pattern
Creating your own pattern is the first big step in how to make a toiletry bag that fits your needs. You get to decide the size, shape, and pocket layout. Let’s break it down so you can draft a pattern that works and looks great.
Measuring and Drafting
Main Body and Flap
Start by picking the size you want for your bag. Most people like a medium or small bag for travel. Here’s a quick table to help you choose:
| Size | Height (cm) | Width (cm) | Depth (cm) |
|---|---|---|---|
| Medium | 15 | 23 | 15 |
| Small | 12 | 18.5 | 12 |
You can use these measurements or adjust them to fit your own style. Draw a rectangle for the main body. Add a flap at the top if you want extra coverage. Make sure the flap is wide enough to close over the pockets.
Tip: Use a ruler for straight lines and mark seam allowances clearly. Label each piece so you don’t get confused later.
Pocket Layouts
Think about what you want to store. Do you need a spot for a toothbrush? Maybe a clear pocket for small bottles? Sketch out where you want each pocket to go. You can use mesh, vinyl, or fabric for different sections.
Here’s a table to help you plan:
| Detail | Why It Matters |
|---|---|
| Seam placement | Affects strength and look |
| Zipper location | Impacts function and style |
| Strap attachment | Ensures comfort and durability |
| Pocket layout | Improves usability |
Construction details matter. They show how each part connects, like where you put seams, zippers, and pockets. This makes your bag both useful and good-looking.
Transferring Pattern to Fabric
Once you finish your paper pattern, you need to get it onto your fabric without stretching or distorting it. Here are some ways to do that:
- Use transfer aids for detailed designs.
- Try carbon-style transfer paper for dark fabrics.
- Use embroidery stabilizers to keep your fabric from shifting.
- Iron-on transfers work fast for simple shapes.
You can also use tissue paper. Place it on your fabric and stitch over the lines. The tissue tears away easily after you sew, so your pattern stays sharp.
If you want a super accurate transfer, follow these steps:
- Print your design on a water-soluble stabilizer.
- Peel off the backing and stick it to your fabric.
- Stitch through both layers.
- Wash away the stabilizer when you finish.
Note: Label each piece as you go. This keeps everything organized and helps you avoid mistakes.
Now you have your pattern ready and transferred. You’re set for the next step—cutting and preparing your pieces!
Cutting and Preparing Pieces
Cutting Main, Lining, and Vinyl
You have your pattern ready. Now it’s time to cut out all the pieces for your hanging toiletry bag. Start by laying your fabric flat on a clean surface. Smooth out any wrinkles with your hands or an iron. This helps you get straight, even cuts.
Grab your main fabric, lining, and clear vinyl. Use your paper pattern as a guide. Pin the pattern to the fabric or use pattern weights if you have them. Trace around each piece with fabric chalk or a washable marker. Make sure you include the seam allowance you marked earlier.
- Cut all fabric rectangles.
- Use stabilizers for each type of fabric.
- Cut three times: once for fabric, once for fusible fleece, and once for stabilizer.
If you want your bag to feel sturdy, add fusible fleece or stabilizer to the main pieces. Cut these layers to match your fabric shapes. Press the stabilizer to the wrong side of your fabric with an iron. This step keeps your bag from feeling floppy.
When you cut the vinyl, use sharp scissors or a rotary cutter. Vinyl can slip, so go slow. For a standard pocket, cut a piece of vinyl to 7″ x 9″.
| Material | Dimensions |
|---|---|
| Vinyl | 7″ x 9″ |
Stitch from the top, starting with a 3/8” seam allowance for the first 1” and then increase the seam allowance to ½”, reducing back to 3/8” when you reach that last 1” at the top. This will create a snug fit to the lining.
Check that all your pieces match up. Stack them in groups: main fabric, lining, vinyl, and stabilizers. This keeps you organized and ready for the next step.
Marking Pocket and Zipper Placement
Now you need to mark where your pockets and zippers will go. Lay your main fabric right side up on your table. Place your pocket pieces on top to see how everything fits. Move them around until you like the layout.
To mark zipper placement, lay the zipper right side up on the lining fabric. Make sure the zipper extends equally beyond the fabric edges. Mark where the zipper meets the fabric. Draw a second line 3/8″ in from the raw edge. This helps you avoid sewing too close to the edge. Also, mark 3/8″ from each end to show where to start and stop sewing.
When you get ready to sew, place the exterior fabric right side up. Put the zipper on top, right side down, so the zipper pull touches the pretty side of the fabric. Lay the lining fabric on top, right side down. You now have a neat zipper sandwich.
Use pins or sewing clips to hold the zipper, exterior, and lining together. Place the pins close to the edge, but not too close to the sewing line. This keeps everything from slipping while you sew.
Take a moment to double-check your markings. Clear lines and careful placement make sewing much easier. You’re now set to start assembling your bag!
How to Sew a Hanging Toiletry Bag: Step-by-Step
Sewing Zippered Vinyl Pouch
You want your diy toiletry bag to have a clear pocket that keeps small items easy to find. This part of the full tutorial will show you how to sew a hanging toiletry bag with a zippered vinyl pouch at the top. Follow this step-by-step tutorial to get a neat and sturdy result.
- Place the zipper with the pull on the left. Align the top edge of your vinyl piece with the zipper tape.
- Sew along the zipper edge. Fold the vinyl down so it covers the zipper seam. Press gently with your fingers to keep it flat.
- Cut a piece of laminated cotton for the bottom pocket. Add bias tape to the top edge of this pocket for a clean finish.
- Sew bias tape to the bottom edge of your clear zippered pocket. This keeps the vinyl from sticking to your machine and gives a polished look.
- Layer the laminated cotton pocket and interfacing together. Place the clear zippered pocket on top, then add the bottom pocket.
- Attach a hook to the bottom pocket using a ribbon. Sew a small square around the ribbon to keep the hook secure.
Tip: Use sewing clips instead of pins when working with vinyl. Pins can leave holes that won’t go away.
You just finished the first part of how to sew a hanging toiletry bag. The zippered vinyl pouch will keep your toiletries visible and organized.
Making Mesh Zip Pockets
Mesh pockets are perfect for wet items or things you want to air out. You can add one or two mesh zip pockets to your diy toiletry bag for extra storage. Here’s how you do it:
- Cut a rectangle of mesh fabric for each pocket. Make sure it fits the space you planned on your pattern.
- Place a zipper along the top edge of the mesh. Use sewing clips to hold it in place.
- Sew the zipper to the mesh with a straight stitch. Fold the mesh down and topstitch close to the zipper for a neat look.
- Finish the other three sides of the mesh pocket with bias tape. This keeps the edges from fraying and adds strength.
- If you want, add elastic to the bottom edge. This helps hold bottles or brushes in place.
Mesh pockets make your diy toiletry bag more useful. You can see what’s inside and let things dry out after use.
Attaching Pockets to Main Panel
Now you need to attach all your pockets to the main panel of your hanging toiletry bag. Lay the main fabric flat, right side up. Arrange the zippered vinyl pouch and mesh pockets where you want them.
- Pin or clip each pocket in place. Make sure the zippers face up for easy access.
- Sew around the sides and bottom of each pocket. Leave the top open so you can use the pocket.
- For extra strength, backstitch at the top corners of each pocket. This keeps the seams from ripping when you fill your bag with toiletries.
Note: Double-check your pocket placement before sewing. Once you sew the pockets down, it’s hard to move them.
You have now completed the main storage features of your diy toiletry bag. This full tutorial helps you learn how to sew a hanging toiletry bag that is both practical and stylish. The next steps will show you how to finish the structure and add the final touches.
Assembling Tri-Fold Structure
Now you get to see your toiletry bag take shape! The tri-fold structure makes your bag compact and easy to pack. You will fold the main panel into three sections. Each section holds different pockets and features.
Here’s how you can assemble the tri-fold structure:
- Lay Out Your Main Panel
Place your main panel flat on your workspace. Make sure the pockets face up. Check that all your pockets are secure and in the right spots. - Measure and Mark Fold Lines
Use a ruler to measure where you want the folds. Most tri-fold bags have three equal sections. Mark the fold lines with fabric chalk or a washable marker. These lines help you fold the bag neatly. - Score the Fold Lines
Gently press along the marked lines with your fingers or a blunt tool. This helps the fabric fold easily. Do not press too hard if you use vinyl or laminated fabric. - Test the Folds
Fold the bag along the lines. Check that the pockets do not bunch up. The bag should close flat. If something feels too tight, adjust the pocket placement before you sew the sides. - Sew the Sides (If Needed)
Some tri-fold bags have side seams to keep everything in place. Pin the sides together. Sew a straight line along the edge, using a ¼” seam allowance. Backstitch at the ends for extra strength. - Add Structure with Topstitching
Topstitch along the fold lines. This step helps the bag keep its shape. Use a longer stitch length for a neat look.
Tip: If your bag feels floppy, add a strip of interfacing or stabilizer inside each section before you sew the sides. This gives your bag more support.
Here’s a quick table to help you check your progress:
| Step | What to Check For |
|---|---|
| Fold lines marked | Even sections, straight lines |
| Folds tested | Bag closes flat, no bunching |
| Sides sewn | Seams are straight and strong |
| Topstitching added | Folds stay crisp and neat |
You just built the main structure of your hanging toiletry bag! Next, you will add the handle and buckle so you can carry and secure your bag with ease.
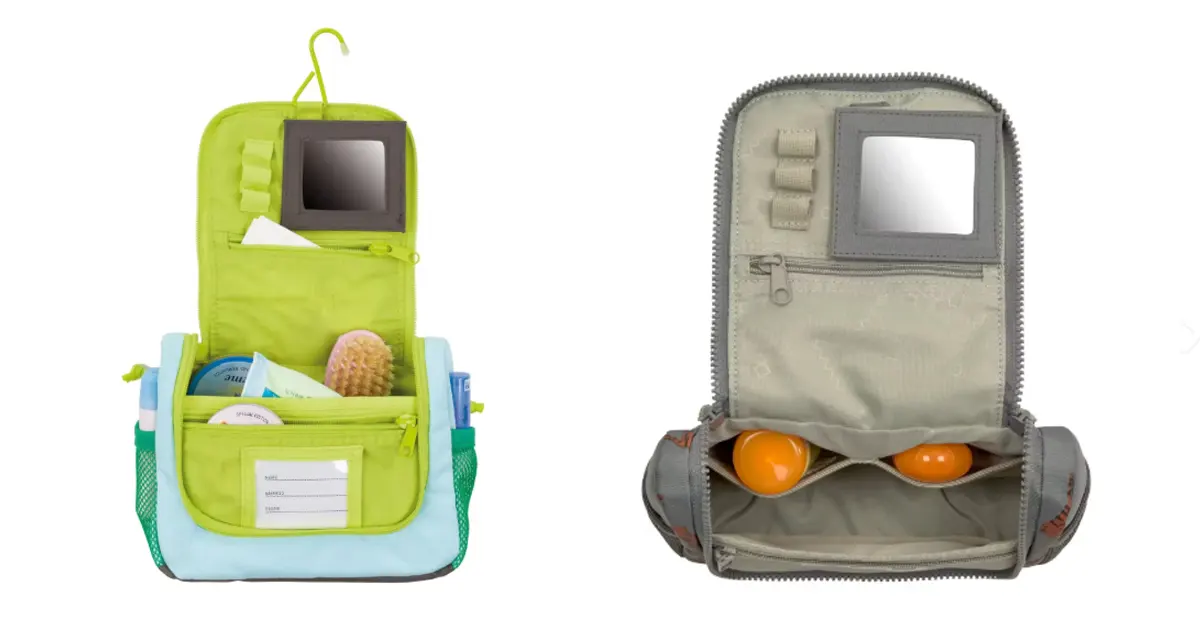
Adding Hanging Features
You want your toiletry bag to hang anywhere—on a hook, a towel bar, or even a tree branch at a campsite. Adding the right hanging feature makes your bag super handy and keeps your stuff off wet counters. Let’s look at your options and how you can add them to your bag.
Making a Hanging Loop or Tab
A loop or tab is simple but powerful. You can sew a fabric loop or sturdy ribbon at the top of your bag. This lets you hang your bag on a hook, a doorknob, or a shower rod. You can also use a tab with a snap or Velcro for extra security.
Here’s how you can make a basic hanging loop:
- Cut a strip of fabric or webbing about 6 inches long and 1 inch wide.
- Fold the strip in half to make a loop.
- Place the raw ends at the top center of your bag, between the main fabric and the lining.
- Pin the loop in place.
- Sew across the raw ends to secure the loop as you attach the lining.
Tip: Use strong fabric like nylon webbing for the loop. It holds up better if your bag gets heavy.
Loops and tabs give you lots of flexibility. You can hang your bag almost anywhere. They also make it easy to grab your bag and go.
Here’s a quick look at the advantages of different hanging features:
| Feature Type | Advantages |
|---|---|
| Hooks | Lets you hang the bag from many surfaces. Saves space and keeps items at eye level. Sturdy hooks hold a full bag without bending. |
| Loops | Easy to attach to hooks or bars. Simple and reliable. |
| Tabs | Helps secure the bag when not in use. Can add snaps or Velcro for extra hold. |
| Grommets | Makes a strong hole for hanging. Good for drainage if your bag gets wet. |
Installing Hook or Grommet
Want your bag to hang anywhere, even where there’s no hook? Add your own! You can sew a small D-ring or swivel hook into your bag. This lets you hang it from a shower rod or a towel rack. You can also add a grommet—a metal ring that makes a strong hole at the top of your bag.
Here’s how you can install a grommet:
- Use the top seam as a guide. Measure and mark a spot about 4 inches from each side.
- Trace a small circle where you want the grommet.
- Cut out the circle with sharp scissors. Cut just inside the line for a neat finish.
- Place the prong side of the grommet under the fabric.
- Snap the finish grommet on top. Press them together until they click.
Note: Grommets work best with sturdy fabric. If your fabric is thin, add a small patch of extra fabric behind the hole for strength.
Hooks and grommets make your bag even more versatile. You can hang it almost anywhere, and it stays put. You get to choose the feature that fits your style and needs.
Now your bag is ready to hang up and show off! You’ve added a feature that makes your toiletry bag easy to use at home or on the go.
Finishing Your DIY Toiletry Bag
You’re almost done! Now it’s time to give your toiletry bag a polished look and make sure it works just the way you want. Let’s walk through the final steps together.
Attaching Bias Tape or Binding
Adding bias tape or binding to the edges gives your bag a clean finish and helps it last longer. Here’s a simple way to get it right:
- Press 1/4″ under along one edge of your binding. This makes it easier to sew.
- Check that you have enough binding to cover all the edges.
- Staystitch around the edges of your bag to keep them from stretching.
- Fold under the starting end of the binding for a neat look.
- Sew the binding to the edge with a scant 1/4″ seam allowance.
- Overlap the ends and trim for a tidy finish.
- Press the binding away from the bag.
- Pin the binding to the outside of your bag.
- Topstitch close to the edge to secure everything.
- Give your bag one last press for a crisp, professional look.
Tip: Always add interfacing to your binding strips if you want extra structure and to prevent wrinkling.
Topstitching and Final Details
Topstitching does more than just look good—it makes your toiletry bag stronger. You can use matching or contrasting thread for a fun touch. Here’s what topstitching does for your bag:
- Holds seams and layers in place for durability.
- Gives a clean, finished look that stands out.
- Strengthens stress points like handles, straps, and pockets.
- Adds decoration and lets you get creative with thread color.
Don’t forget to press every seam as you go. This keeps your bag looking neat and helps everything lay flat.
Checking Functionality
Before you pack your new toiletry bag for a trip, check that everything works well. Use this table as a quick checklist:
| Test Type | Description | Why It Matters |
|---|---|---|
| Zipper Performance | Smooth and reliable use | A toiletry bag is only as good as its zipper. |
| Smoothness Test | Open and close the zipper 100+ times under normal use | Ensures the zipper doesn’t get stuck. |
| Pressure Test | Apply pressure while the zipper is open | Checks for zipper strain or malfunction. |
| Durability Test | Open and close with items inside the bag repeatedly | Prevents zipper failure and keeps your bag usable. |
Try filling your bag with your favorite items. Hang it up and see if it holds its shape. Make sure all pockets and closures work as planned.
Note: Personalize your bag with waterproof, organic, or soft fabrics. Add extra pockets or hardware like hooks and snaps to make it truly yours.
Troubleshooting Tips
If you run into sewing issues, don’t worry! Here are some common problems and quick fixes:
| Issue | Cause | Remedy |
|---|---|---|
| Skipped Stitches | Needle not inserted correctly or wrong size/style | Re-insert or change the needle, check machine settings |
| Thread Loops | Incorrect tension or thread control | Re-adjust tension, check thread path |
| Fabric Flagging | Poor presser foot control or wrong throat plate | Adjust presser foot, change throat plate |
| Needle Deflection | Bent or weak needle | Replace needle, use reinforced needle |
Use clips to hold layers together and match your thread for a polished look. If something doesn’t look right, take a deep breath and try again. You’ve got this!
Now your toiletry bag is ready for any adventure. Show off your creativity and enjoy your handmade organizer!
Conclusion
You made a toiletry bag that matches your style. It keeps your travel items neat and easy to find. Try using bright colors or cool fabrics next time. You can also add more pockets if you want. If sewing gets hard, check your seams and use sharp scissors. Take your time and don’t hurry. Want to show your bag to others? Share your pictures and ideas with us! If you want special bags for gifts or your business, we can help. Here are some ways you can make your bag unique:
| Customization Aspect | Description |
|---|---|
| Size & Configuration | Pick a small or big bag and choose your pocket setup. |
| Logo & Branding | Put your logo on the bag with embroidery, heat transfer, or printing. |
| Color Matching | Match your brand’s colors using Pantone or custom dyes. |
| Packaging & Inserts | Choose cool packaging for a fun unboxing moment. |
| Compliance & Certifications | Get health and safety certificates like OEKO-TEX and REACH. |
Let us help you make the best hanging toiletry bag for any trip!
FAQ
How long does it take to sew a hanging toiletry bag?
You can finish your bag in about 2 to 4 hours. If you are new to sewing, you might need a little more time. Take breaks and enjoy the process!
Can I sew this bag by hand?
Yes, you can sew by hand. Use small, tight stitches for strength. A sewing machine makes the job faster and neater, but hand sewing works too.
What fabric works best for beginners?
Try nylon or polyester. These fabrics are easy to cut and sew. They also clean up well if you spill something inside your bag.
How do I clean my DIY toiletry bag?
Wipe the bag with a damp cloth. For tough stains, use mild soap and water. Let the bag air dry. Avoid putting it in the washing machine.
Can I add more pockets or change the size?
Absolutely! You can add extra pockets or make the bag bigger or smaller. That’s the fun part of DIY—you get to design it your way.
What if my zipper gets stuck?
Rub a little candle wax or soap on the zipper teeth. Move the zipper back and forth a few times. This trick usually helps the zipper slide smoothly.
Do I need special tools for sewing vinyl?
You don’t need fancy tools. Use a sharp needle and sewing clips instead of pins. A walking foot on your sewing machine helps the vinyl feed evenly.