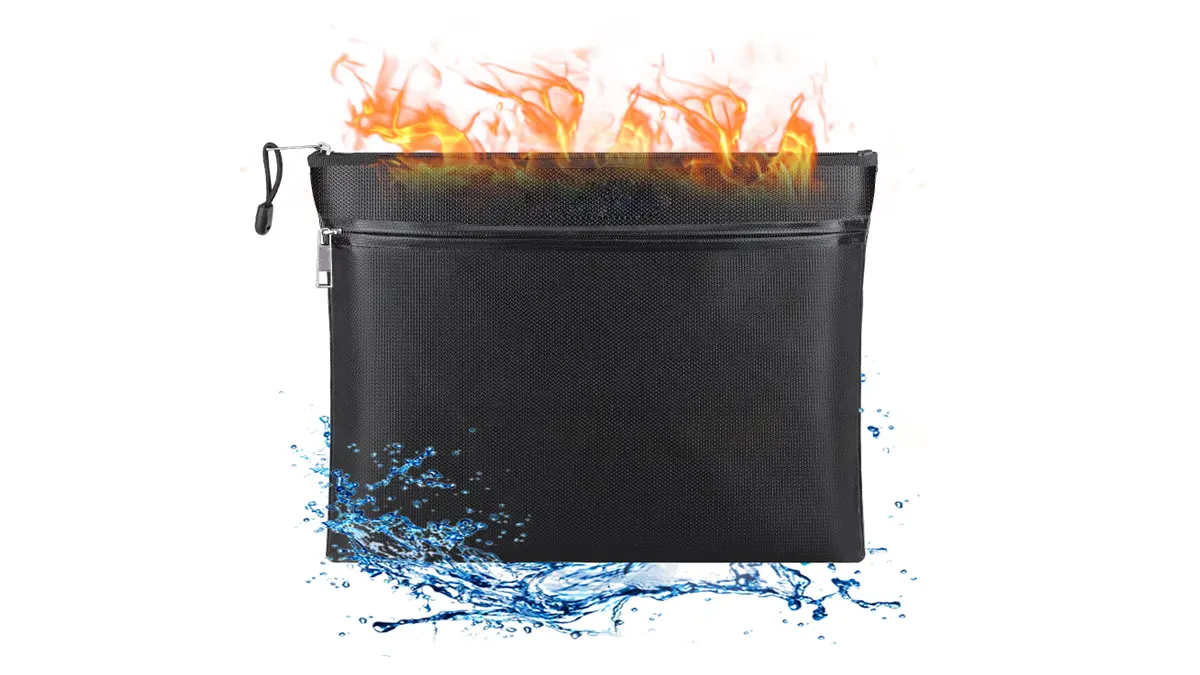
You can learn how to make a fireproof bag with items you already have at home. These DIY fireproof bags help protect your valuables from heat and flames, but they can’t replace commercial products. Always choose safe, non-toxic materials when you start. Stay careful, follow safety tips, and take your time with each step.
Key Takeaways
- You can make a fireproof bag at home. Use things like aluminum foil, wool, and cotton. These materials help keep your important things safe from heat.
- Using layers of different materials makes the bag stronger. First, use aluminum foil. Next, add wool or felt. Then, put a soft layer inside for the best protection.
- Safety is very important when making your fireproof bag. Wear gloves to protect your hands. Work in a place with fresh air. Keep a first aid kit close by.
- Do not use synthetic materials like polyester or nylon. These can melt when hot and make dangerous fumes.
- Check your fireproof bag often to look for damage. Look at the seams, closures, and layers. Make sure the bag still works well over time.
- Keep your fireproof bag in a cool, dry spot. Do not put it in direct sunlight. Storing it right helps it stay strong.
- Test your fireproof bag at home before using it. Put a small item inside and heat the bag. This lets you see if the bag works before an emergency.
- Homemade fireproof bags give extra safety but are not as good as store-bought ones. Use them for things that can handle some heat.
How to Make a Fireproof Bag: Materials
If you want to make a fireproof bag, you need the right materials. Good supplies help keep your things safe and make your project safer too.
Essential Materials
Some things at home can be used for fireproof bags. A few have been tested and can take a lot of heat. Here is a table that lets you see how they compare:
| Material | Temperature Resistance | Density (g/cm³) | Tensile Strength (MPa) | Special Properties |
|---|---|---|---|---|
| Fiberglass | Up to 550°C (1022°F) | 1.5-2.5 | 350-800 | Excellent thermal resistance |
| Kevlar | -196°C to 400°C (-321°F to 752°F) | 1.44 | Up to 3000 | Self-extinguishing, high strength |
| Silicone-coated fabrics | Up to 260°C (500°F) | N/A | N/A | Water-resistant, flexible |
| Nomex | Up to 370°C (698°F) | 1.4 | N/A | Self-extinguishing, chemical resistance |
| Aluminized fabrics | Up to 600°C (1112°F) | 0.5-1.5 | N/A | Heat-reflective properties |
| PBI | Up to 800°C (1472°F) | 1.4 | N/A | Outstanding thermal stability |
| Insulation Materials | N/A | N/A | N/A | Minimized heat transfer |
If you have any of these, you can use them for your bag. Fiberglass and aluminum foil are easy to find and work well for DIY bags.
Safe Household Alternatives
You might not have special fabrics, but you can use things from around the house. Here are some items you can use to make a fireproof bag:
- Newspaper strips
- Twine bundles
- Cardboard tubes
- Citrus peels
- Coffee filters
- Fabric scraps
- Dry leaves
- Cinnamon sticks
- Paper bags
- Wood shavings
Natural things like wood, cotton, jute, and paper are better than plastic. You can put layers of these items together for more safety. If you want to keep papers safe, use more layers for extra protection.
Tip: Always use materials that are clean and dry. Wet or dirty things can make your bag weaker.
Materials to Avoid
Some things at home can make dangerous fumes if they get hot. Do not use paints, varnishes, glues, or cleaning sprays. These have chemicals called VOCs and formaldehyde. When heated, they can hurt your lungs, eyes, and health.
Here is a table that shows how some materials can affect the environment:
| Environmental Impact | Description |
|---|---|
| Harmful Pollutants | Emissions of formaldehyde and volatile organic compounds from chemical-based insulation materials. |
| Health Risks | Associated health problems due to exposure to these pollutants. |
| Eco-friendly Options | Research on natural insulating materials like wood fibers and chaff to mitigate impacts. |
| Indoor Air Quality | WHO reports high deaths from indoor air pollution, emphasizing the need for better materials. |
| Fire Safety | Insulating materials must have low emissions during combustion to prevent toxic gas exposure. |
Do not use synthetic fabrics like polyester or nylon. These can melt or burn fast and will not keep your things safe. Always pick safe, natural materials for your fireproof bag.
Fireproof Safety Tips
When you make a fireproof bag at home, safety comes first. You want to protect your valuables, but you also need to protect yourself. Let’s walk through some simple tips to keep you safe during every step.
Handling Materials Safely
You might use things like aluminum foil, wool, or even fiberglass. Some of these can be sharp or cause skin irritation. Here’s how you can handle materials safely:
- Wear gloves when you cut or layer materials like fiberglass or wool. This keeps your hands safe from tiny fibers or cuts.
- Use scissors with rounded tips. They’re less likely to slip and hurt you.
- Wash your hands after touching any insulation or fabric scraps.
- Keep a small first aid kit nearby, just in case you get a scratch or splinter.
Tip: If you feel itchy or see redness on your skin, stop and wash up right away.
You can also make your home safer by using fire-resistant curtains, upholstery, and even fire-retardant paint on wallpaper. These small changes help protect your space while you work.
Setting Up Your Workspace
A good workspace makes everything easier and safer. Here’s what you should do before you start building your bag:
- Pick a spot with good airflow, like near an open window or outside.
- Clear away anything flammable, such as paper piles or cleaning sprays.
- Lay down a clean, flat surface to work on. A table or desk works best.
- Keep a spray bottle of water or a small fire extinguisher nearby.
- Make sure you have enough light so you can see what you’re doing.
If you plan to store your fireproof bag later, choose a safe place away from direct sunlight and heat. Check your bag every few months for any damage, like frayed seams or holes.
Avoiding Toxic Fumes
Some household materials can give off bad fumes when they get hot. You want to avoid breathing these in. Here’s how:
- Never use paints, varnishes, or glues in your bag layers.
- Skip synthetic fabrics like polyester or nylon. They can melt and release harmful gases.
- Stick with natural materials like cotton, wool, or paper.
- Always work in a space with fresh air. Open a window or use a fan if you’re inside.
Note: If you ever smell something strange or feel dizzy, stop right away and get some fresh air.
By following these tips, you make your fireproof bag project safer for you and your family. Safety is always the most important step!
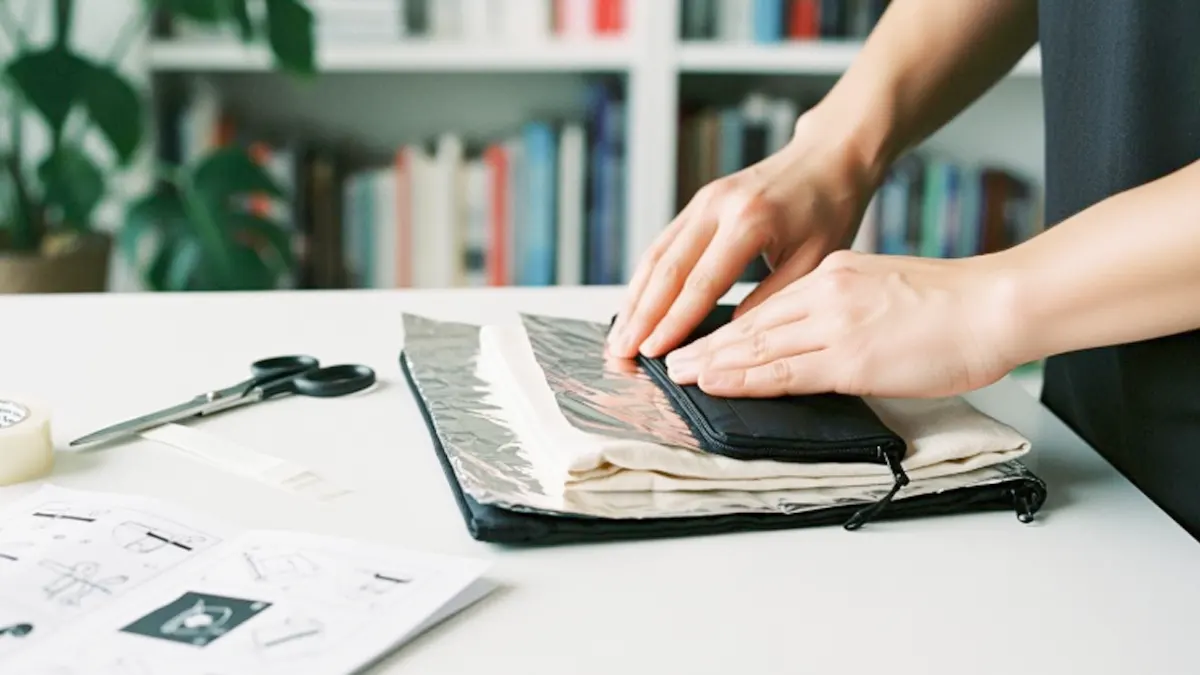
Preparing Materials
Getting your materials ready is a big part of how to make a fireproof bag. You want to make sure everything fits well and gives your valuables the best protection. Let’s break down the steps so you can work with confidence.
Measuring and Cutting
Start by deciding what you want to protect. Is it your passport, some cash, or maybe a stack of important papers? You need to measure these items before you cut any material. Grab a ruler or measuring tape and write down the length and width of your valuables.
Here’s a quick guide to help you pick the right size for your fireproof bag:
| Size Category | Use Case Description |
|---|---|
| Small Fireproof Bags | Ideal for papers, IDs, passports, and small cash stacks. |
| Medium Fireproof Bags | Suitable for laptops, essential files, and larger cash. |
| Large Fireproof Bags | Designed for jewelry collections, heirlooms, and larger valuables. |
| Extra-Large Fireproof Bags | Capable of storing full-size binders and legal documents. |
| Specialized Fireproof Bags | Designed for safes, vehicles, RVs, or compact storage. |
Pick the size that matches your needs. Add an extra inch or two on each side so you have room for seams and layers. Cut your chosen materials—like aluminum foil, wool, or felt—using sharp scissors. If you use fiberglass, wear gloves to keep your hands safe. Make sure your cuts are straight so the layers fit together nicely.
Tip: Double-check your measurements before you start cutting. It’s easier to trim extra material than to fix a piece that’s too small!
Layering for Fireproofing
Layering is the secret to making your bag more fireproof. You want to use different materials to block heat and flames. Start with an outer layer, like aluminum foil, which reflects heat. Add a middle layer, such as wool or felt, to slow down the heat. Finish with an inner layer that touches your valuables, like cotton or another soft fabric.
Take a look at how layering works:
| Feature | Description |
|---|---|
| Layers | Four layers for enhanced protection against fire and flood. |
| Material | Dual-layered silicon coated fiberglass and heat-blocking aluminium foil. |
| Benefit | Provides ultimate fire protection, ensuring safety for contents inside the bag. |
Stack your layers in order. Press them together and check for gaps. If you want extra protection, add more layers. You can even use double layers of foil or felt. The more layers you use, the better your bag will handle heat.
Note: Don’t forget to keep your workspace clean. Dust and scraps can get between layers and weaken your bag.
Layering different materials gives your fireproof bag a better chance against heat and flames. You’re building a shield for your valuables, one layer at a time!
Construction Steps
Ready to build your fireproof bags? You already have your materials measured and cut. Now, you can start putting everything together. This part shows you how to make a fireproof bag that stands up to heat and keeps your valuables safe.
Outer Layer Options
The outer layer is your first line of defense. You want something that blocks heat and keeps flames out.
Aluminum Foil Wrap
Aluminum foil works well for the outside of fireproof bags. You can find it in almost every kitchen. It reflects heat and helps stop flames from reaching the inside. Take a large sheet of foil and wrap it around your other layers. Press it flat so there are no gaps or wrinkles.
Tip: Use two sheets of foil for extra protection. Overlap the edges to cover every part of your bag.
Wool or Felt Layer
Wool and felt are great choices for the next layer. Wool does not burn easily, and felt slows down heat. Cut a piece that matches the size of your foil wrap. Place it right on top of the foil. You can use more than one layer if you want your fireproof bags to be even stronger.
Insulation Layer
The insulation layer keeps heat from moving through your bag. You want to use materials that can handle high temperatures.
EVA Foam or Nonwoven Felt
EVA foam and nonwoven felt are easy to find at craft stores. They add thickness and help block heat. Stack these between your wool or felt and the inner layer. Make sure the foam covers every part of your bag.
Here’s a table that shows which insulation materials work best:
| Material | Temperature Resistance | Features |
|---|---|---|
| Fiberglass | Up to 2000°F | Multiple layers of silicone-coated fiberglass |
| Carbon | Up to 2000°F | Added flexibility, high thermal resistance |
| Silica | Up to 1800°F | Excellent insulation, non-combustible |
| Fireproof felt | High | Outperforms other fabrics |
You can use fiberglass or fireproof felt if you want your fireproof bags to handle even more heat.
Double Layering
Double layering gives your bag extra strength. You can stack two layers of insulation, like fiberglass and felt, or use two sheets of EVA foam. Press the layers together and check for any gaps. The more layers you use, the better your fireproof bags will protect your valuables.
Note: Double layering makes your bag thicker, but it also makes it much safer.
Assembling the Bag
Now, you can put all your layers together and make your bag strong and secure.
Stitching or Sealing
You need to join the layers so they stay together. You can sew the edges with strong thread, like Kevlar thread, which resists heat and does not melt. If you do not want to sew, you can use fire-resistant tape to seal the edges. Make sure every seam is tight so heat cannot get inside.
Here’s a table with features that help your fireproof bags last longer:
| Feature | Description |
|---|---|
| Material | Triple-layered, silicone-coated fiberglass that resists flames and extreme heat. |
| Water Resistance | Water-resistant exterior protects against rain, spills, or fire sprinkler blasts. |
| Size Options | Comes in three sizes (small, medium, large) for organizing different types of valuables. |
| Compact Design | Lightweight and folds flat when empty for easy storage and transport. |
| Practical Use | Ideal for safeguarding important documents, keepsakes, and valuables during emergencies. |
Tip: If you use a sewing machine, pick a slow speed and check your stitches often.
Adding Closures
Closures keep your fireproof bags sealed tight. You want to stop heat, smoke, and water from getting inside. Sturdy zippers and hook-and-loop fasteners (like Velcro) work best. They create a strong seal and make your bag easy to open and close.
- Sturdy zippers keep the bag shut and block heat.
- Hook-and-loop fasteners (Velcro) are simple and reliable.
- Flame-resistant Velcro adds extra protection.
Tip: Always test your closure before you use your bag. Pull on it gently to make sure it stays shut.
You now know how to make a fireproof bag with strong layers and secure closures. Your fireproof bags will help protect your valuables from heat and flames. If you want even more safety, try using triple-layered fiberglass or flame-resistant Velcro. You can build fireproof bags that fit your needs and give you peace of mind.
Fireproof Features and Testing
Reinforcing Weak Points
When you build your own fireproof bag, you want to make sure every part is strong. Some areas can be weaker than others, like seams, zippers, and corners. If you reinforce these spots, your bag will protect your valuables better.
Take a look at this table to see common materials, their strengths, and their weaknesses:
| Material Type | Strengths | Weaknesses |
|---|---|---|
| Fiberglass Cloth | High heat resistance, moldable | Expensive, tedious production process |
| Aluminum | Lightweight, heat resistant, malleable | Limited to lower temperature resistance (302°F) |
| Polyester | Flame retardant, interwoven with other fabrics | Prolonged heat exposure can still damage contents |
| Silicone Flaps | Protects zippers from fire damage | Weaker grades may not withstand extreme heat |
| Multi-layer Design | Enhanced protection against fire damage | Complexity may lead to higher costs |
You can make your bag stronger by:
- Adding extra layers at the seams and corners.
- Covering zippers with silicone or aluminum flaps.
- Using a multi-layer design for better protection.
If you use locks, remember they only keep people out. They do not help with fire resistance.
Home Testing Methods
You want to know if your fireproof bag really works. You can test it at home with simple steps. Always stay safe and never use open flames indoors.
Here’s how you can test your bag:
- Place a piece of paper or a small item inside the bag.
- Seal the bag tightly.
- Use a hair dryer or heat gun to blow hot air on the outside for a few minutes.
- Let the bag cool down before opening it.
- Check if the item inside stayed safe and undamaged.
If you want to try a tougher test, you can put the bag near a grill or campfire for a short time. Never leave it unattended. Always keep water nearby in case you need to cool things down quickly.
Tip: If you see smoke or smell something strange, stop the test right away.
Understanding DIY Limits
Homemade fireproof bags can help protect your things from heat and flames, but they have limits. Extreme heat can still damage the items inside. For example, your bag might keep papers from burning, but a compact disc could melt if the fire lasts too long.
Materials like fiberglass and silicone work well for short bursts of heat. Weaker grades or fewer layers may only protect against a quick fire, like in a car. They might not stand up to a big fire in a factory or house.
You should use your DIY bag for extra protection, but do not rely on it for irreplaceable items. Commercial fireproof bags use stronger materials and go through tough testing. Your homemade bag gives you peace of mind, but always remember its limits.
Note: Always check your bag after testing. If you see any damage, add more layers or reinforce weak spots.
Maintenance and Use
Regular Inspection
You want your fireproof bag to keep working well. Regular checks help you spot problems before they get worse. Take a few minutes every month to look at your bag. Check the seams, corners, and closures. If you see any holes, loose threads, or worn spots, fix them right away.
Here’s a quick checklist for your inspection:
- Look for tears or frayed edges.
- Check if the layers feel thin or weak.
- Test the zipper or Velcro to make sure it closes tightly.
- Make sure the bag still feels sturdy.
Tip: Regular maintenance and inspection help your fireproof bag last longer and keep your valuables safe. You invest a little time, and you get better protection.
When to Replace
Sometimes, you need to replace your bag. If you notice big holes, broken closures, or burned spots, it’s time for a new one. Don’t wait until your bag fails during an emergency. If the bag feels soft or the layers come apart, make a new one. You want your fireproof bag to stay strong.
Here’s a table to help you decide when to replace your bag:
| Sign of Damage | What to Do |
|---|---|
| Large holes | Replace the bag |
| Burn marks | Make a new bag |
| Broken zipper | Fix or replace |
| Loose seams | Repair or replace |
| Weak insulation | Add new layers |
If you use your bag often, check it more often. If you store it away, inspect it every few months.
Storage Tips
Storing your fireproof bag the right way keeps it ready for action. Pick a cool, dry spot away from direct sunlight. Avoid places near heaters or stoves. You can put your bag in a drawer, safe, or closet. Keep it away from sharp objects that could poke holes in the layers.
- Store your bag flat to keep the layers even.
- Don’t stack heavy things on top.
- Keep it away from water or damp areas.
- Check the bag before you use it again.
Note: Good storage helps your fireproof bag stay strong and ready to protect your valuables.
Taking care of your bag means you get the best protection. You keep your valuables safe, and you make your hard work last longer.
Conclusion
You now know how to make a fireproof bag at home, from choosing safe materials to building strong layers and checking it regularly. While DIY fireproof bags add extra protection, they shouldn’t replace professional solutions for items you can’t afford to lose.
As a dedicated fireproof bag manufacturer, we offer custom and wholesale fireproof bags built with tested materials and reliable craftsmanship. If you need stronger, long-lasting protection, we can create the right solution for your needs.
FAQ
What can I store in homemade fireproof bags?
You can keep important papers, cash, passports, or small electronics in your fireproof bags. Just remember, these bags work best for items that can handle a little heat. Don’t use them for things that melt easily.
How long do fireproof bags last?
If you check your fireproof bags often and fix any damage, they can last for years. Replace them if you see holes, burns, or weak spots. Regular care helps your bag stay strong.
Can I wash my fireproof bags?
You shouldn’t put fireproof bags in the washing machine. Wipe them with a damp cloth if they get dirty. Let them dry completely before you use them again.
Are homemade fireproof bags waterproof?
Most homemade fireproof bags are not fully waterproof. You can add a plastic zipper bag inside for extra water protection. Store your bag in a dry place to keep your valuables safe.
Do fireproof bags protect against extreme fires?
Homemade fireproof bags help with small fires or heat, but they can’t handle big house fires. For the best protection, use commercial fireproof bags for irreplaceable items.
Can I use fireproof bags for electronics?
You can use fireproof bags for small electronics like USB drives or phones. Make sure the bag has enough padding. Don’t use them for items that get very hot or need to stay cool.
How do I test my fireproof bags at home?
Place a piece of paper inside your fireproof bags. Use a hair dryer to heat the outside for a few minutes. Let the bag cool, then check if the paper is safe. Always stay safe during testing.