You can make your own fanny pack from start to finish. This guide keeps things simple, so you don’t need fancy sewing skills. You’ll find at least one free pattern online, plus a video tutorial with step-by-step video instructions. If you learn best by watching, you can follow a bag-making video tutorial to see each step in action. Before you begin, grab your materials and set up your workspace. Get ready for a fun project with How to Make a Fanny Pack!
- Gather supplies like fabric, zipper, and thread.
- Clear a table for easy sewing.
Key Takeaways
- Get all the things you need, like fabric, zippers, and thread, before you start.
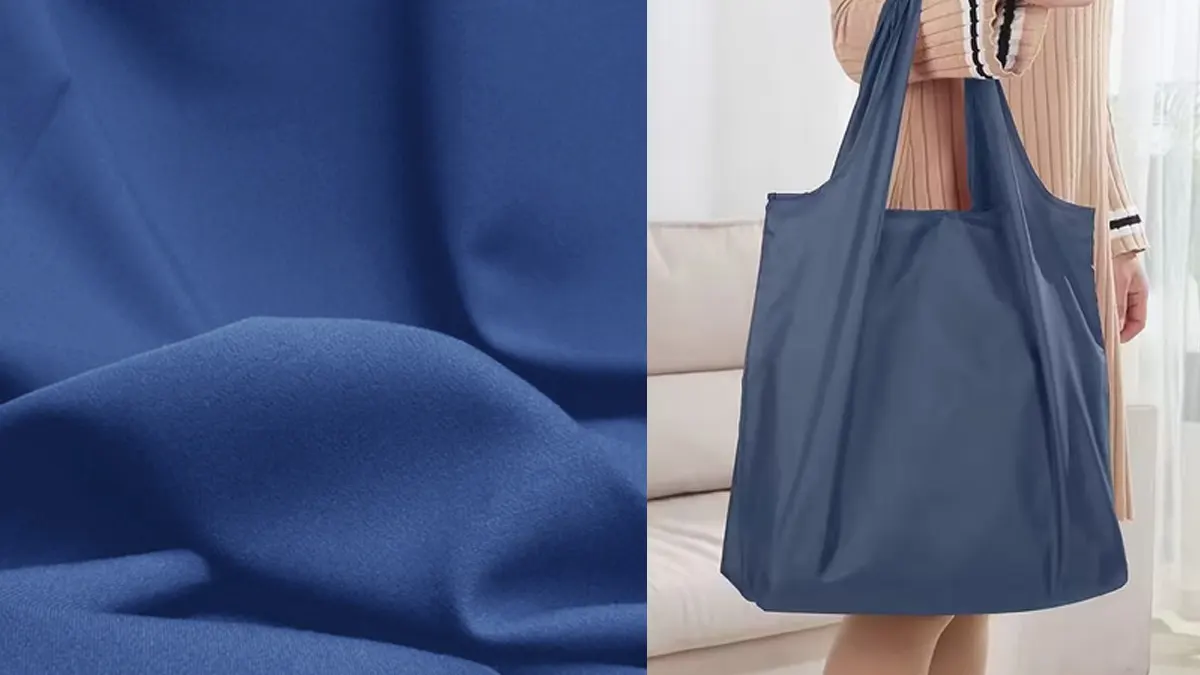
- Pick strong fabric, like Cordura or polyester, so your fanny pack lasts longer.
- Use a free online pattern or watch a video tutorial to help you with each sewing step.
- Use simple sewing tools, like scissors, pins, and a measuring tape, to make sewing easier.
- Put a lining inside your fanny pack to make it look nice and last longer.
- Make your fanny pack special by adding patches, paint, or more pockets.
- Try on the adjustable straps to check if they feel good and keep the bag safe.
- Clean and take care of your fanny pack often to keep it looking new and help it last longer.
Materials and Tools for DIY Fanny Pack
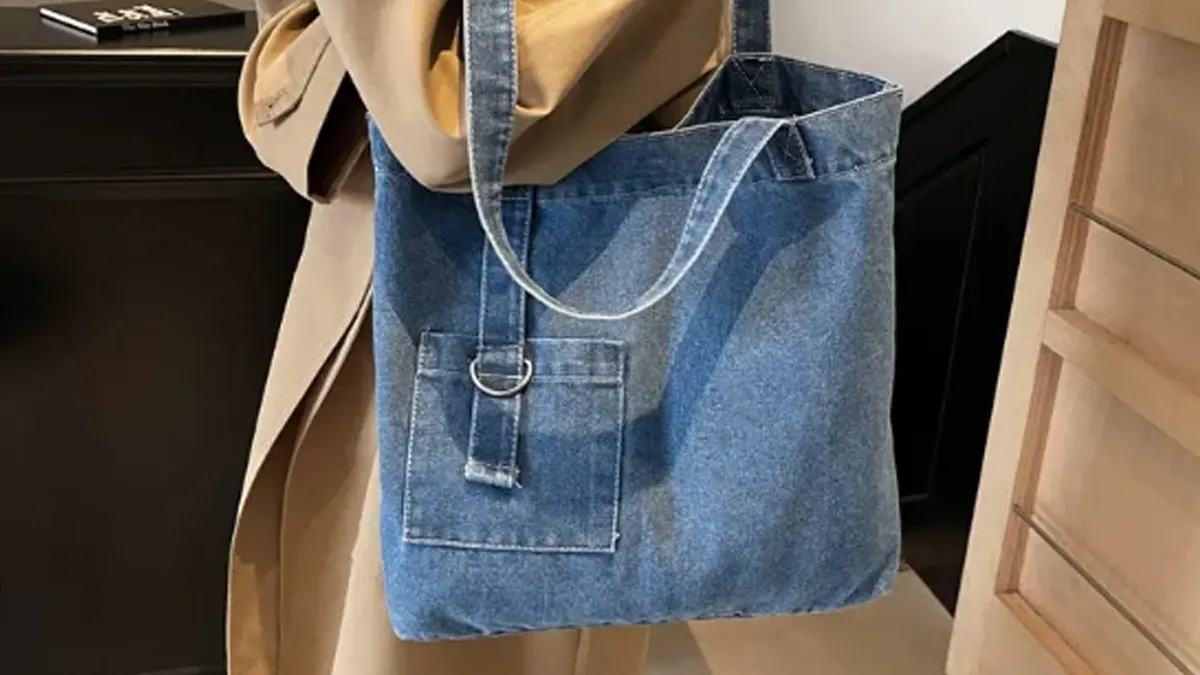
Before you start sewing, you need to gather the right materials and tools. Picking the best supplies makes your project easier and helps your bag last longer. You can even use recycled fabrics, like old jeans, to give your fanny pack a unique look and help the environment.
Fabric and Supplies List
You have lots of choices when it comes to fabric for your fanny pack. Some fabrics are tougher than others. Here’s a quick guide to help you pick:
| Fabric Type | Description | Durability Rating |
|---|---|---|
| 500D-1000D Cordura | Abrasion-resistant, great for tactical bags and luggage | High (500D moderate, 1000D high) |
| 600D Polyester | Budget-friendly, strong, but quality can vary | Moderate |
| Cotton Canvas | Classic look, heavier, not as strong as synthetics, can be water-treated | Low |
| 210D Nylon | Good balance of strength, weight, and cost; ripstop is best | Moderate to High |
You can use new fabric or cut up an old pair of jeans or a jacket. For the rest of your supplies, you’ll need:
- A zipper (usually 8-12 inches, depending on your belt bag sewing pattern)
- Thread that matches your fabric
- Lining fabric (optional, but it makes your bag look neat inside)
- Webbing or sturdy strap material for the belt
- Buckle or clip for the strap
You can find a free sewing pattern for your fanny pack online. Many websites offer a downloadable belt bag sewing pattern. Just print it out and follow the instructions. If you want to try something different, you can even draw your own fanny pack pattern on paper.
Essential Sewing Tools
You don’t need fancy equipment to make a fanny pack. Here’s what you should have ready:
- Measuring tape
- Erasable marking tool
- Scissors
- Thread
- Zipper foot for your sewing machine
- Pins or clips
- Safety pin or turning tool (bodkin)
These tools help you measure, cut, and sew your bag with ease. If you’re new to sewing, don’t worry. Each tool is simple to use, and you’ll get the hang of it quickly.
Optional Items for Customization
Want to make your fanny pack stand out? Try adding some extras! You can sew on patches, use colorful zippers, or add extra pockets. Some people like to use fabric paint or iron-on designs. If you want a waterproof bag, look for coated fabric or spray your finished pack with a water-repellent spray.
Tip: Save money and help the planet by using recycled materials. Old jeans, jackets, or even tote bags can become your next fanny pack!
You can find lots of free sewing patterns and video tutorials online. These resources help you follow each step, even if you’ve never used a belt bag sewing pattern before. Pick a fanny pack pattern that matches your style and skill level. With the right materials and tools, you’re ready to start sewing your own bag!
Free Tutorial: Choosing and Cutting Your Pattern
Making your own fanny pack starts with the right pattern. You don’t have to draw one from scratch unless you want to. Many websites offer a free tutorial and downloadable patterns, so you can jump right in. If you like to watch and learn, you’ll also find a video tutorial or video instructions linked on some of these sites.
Downloading or Creating a Pattern
YYou can easily find free fanny pack patterns online, or you can create your own if you prefer a custom shape. Many downloadable patterns offer different styles and sizes, making it simple to choose one that fits your needs.
Once you download a pattern, print it at 100% scale to keep the measurements accurate. If you want full control over the design, sketch your own outline on paper—adjust the width, height, and pocket placements until it feels right. After that, cut out your paper pattern and test the shape to make sure it matches your ideal fit and function.
Measuring and Marking Fabric
Lay your fabric flat on your work surface. Place the paper pattern on top. Use an erasable marker or chalk to trace around the edges. Make sure you mark any notches or zipper placements. Double-check your lines before you cut. This step helps you avoid mistakes and keeps your pieces the right size.
Tip: Always measure twice and cut once. This saves fabric and prevents frustration!
Cutting Fabric Pieces
Cutting fabric can feel tricky, but you can make it easier with the right tools. Sharp scissors work well for most fabrics. If you want to stop the edges from fraying, try one of these techniques:
| Technique | Description |
|---|---|
| Pinking Shears | These scissors create a zigzag pattern that minimizes exposed threads, reducing fraying. |
| Zigzag Stitch | A versatile stitch that locks threads in place, preventing fraying along the fabric edge. |
| Overlock/Sergers Stitch | Provides a professional finish by stitching and trimming simultaneously, ideal for frequently handled fabrics. |
Cut out all your main pieces, lining, and straps. Keep your pattern pieces nearby so you don’t lose track. Now you’re ready to start sewing your fanny pack!
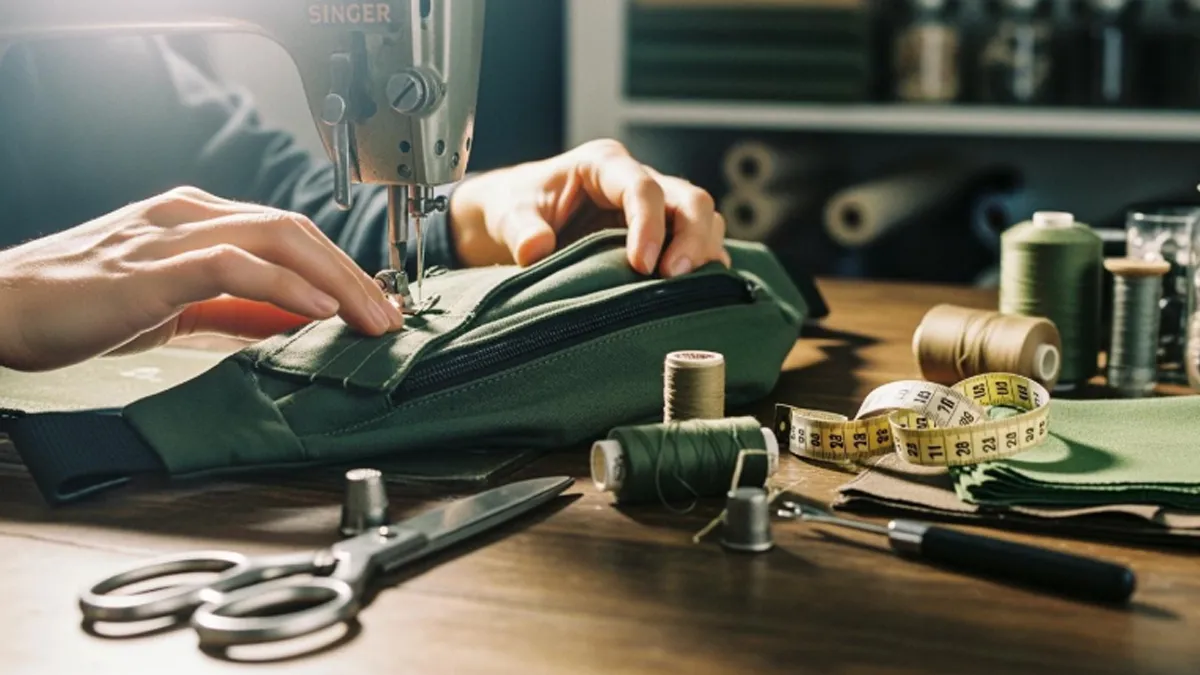
How to Make a Fanny Pack: Step-by-Step Guide
Ready to sew your own bag? Let’s walk through how to make a fanny pack step by step. You’ll see that this project is easy and quick, even if you’re new to sewing. Follow along, and you’ll have a custom bag in no time.
Attaching the Zipper
The zipper is the first thing you’ll sew. It’s the part you’ll use the most, so you want it to work smoothly.
- Lay your main fabric pieces right side up.
- Place the zipper face down along the top edge of one panel.
- Pin or clip the zipper in place.
- Use a zipper foot on your sewing machine for a neat line.
- Sew slowly, keeping your stitches straight.
- Flip the fabric over and press the seam flat.
Zipper Placement Tips
Tip: Always double-check the zipper’s position before sewing. The zipper pull should face the right side of the fabric.
If you want your bag to look professional, keep the zipper centered and even. Use pins or clips to hold it steady. Don’t rush this part. A little extra care here makes the rest of the project easy and quick.
Troubleshooting Zipper Issues
Sometimes zippers can be tricky. Here are some common mistakes and how to avoid them:
- Cutting Without a Plan: Measure twice, cut once to avoid issues later.
- Ignoring Seam Allowances: Always add extra fabric for sewing space to prevent a too-small pack.
- Using Weak Thread or Needles: Invest in heavy-duty thread and appropriate needle size for durability.
- Skipping Reinforcements: Double stitch areas around zippers and straps to prevent tearing.
- Not Testing Straps Before Final Seams: Wear the fanny pack before finishing to ensure comfort.
If your zipper gets stuck, check for fabric caught in the teeth. If the zipper looks uneven, remove the stitches and try again. Don’t worry—everyone makes mistakes when learning how to make a fanny pack.
Sewing Main Panels
Now you’ll sew the main body of your bag. This step gives your fanny pack its shape and strength.
- Place the front and back panels right sides together.
- Pin or clip around the edges, leaving the zipper open.
- Sew along the sides and bottom, following your pattern’s seam allowance.
Here’s a quick guide to the best stitches for this step:
| Stitch | Description | Why It’s Used for Bags | Best For |
|---|---|---|---|
| Straight Stitch | The most basic and common stitch, forming a single, straight line. | Forms the primary construction seams of the bag. A slightly longer stitch length (2.5-3.5 mm) is often recommended for bags, as it creates a stronger seam in thicker fabrics and looks more professional. | – Seaming main body panels. – Attaching pockets. – Creating topstitching. |
| Box Stitch | A square or rectangular stitch pattern, often with an ‘X’ stitched inside for added strength. | Provides powerful reinforcement to areas that bear a lot of weight and stress, preventing straps from tearing away from the bag body. | – Securely attaching handles and straps to the bag. |
| Zigzag Stitch | A stitch that goes from side to side in a zigzag pattern. | Primarily used to finish raw fabric edges to prevent them from fraying. This is crucial for unlined bags or for keeping the inside of a lined bag tidy and durable. | – Finishing raw seam allowances inside the bag. |
| Triple Straight Stitch | The machine stitches forward, backward, and then forward again for each stitch. | Creates a very thick, bold, and extremely strong stitch line. It’s excellent for a decorative topstitch that also provides superior strength. | – Decorative and functional topstitching. – Reinforcing seams on heavy-duty bags. |
Note: If you want your bag to last, use a straight stitch for the main seams and a zigzag stitch to finish the edges. This keeps the fabric from fraying.
Check your seams as you go. If you see any gaps or loose threads, sew over them again. This step is key in how to make a fanny pack that holds up over time.
Adding Lining (Optional)
You don’t have to add a lining, but it makes your diy fanny pack look and feel better. A lining boosts durability by stabilizing the structure and stopping the outer fabric from sagging. It also gives your bag a polished, professional look.
To add a lining:
- Cut lining pieces using the same pattern as your main panels.
- Sew the lining together, just like you did with the outer bag.
- Place the lining inside the bag, wrong sides together.
- Tuck the raw edges under and sew around the zipper opening to secure.
Tip: If you want a bag that looks store-bought, don’t skip the lining. It hides seams and makes the inside smooth.
You’ve just learned how to make a fanny pack from start to finish. Each step builds your skills and brings you closer to a custom bag you’ll love. If you get stuck, check a video tutorial for extra help. Sewing your own bag is easy and quick when you follow these steps.
Straps and Fasteners Assembly
Getting the straps and fasteners right makes your fanny pack comfortable and easy to wear. You can adjust the fit and keep your bag secure. Let’s break down each part so you can finish your project with confidence.
Making Adjustable Straps
You want your fanny pack to fit different waist sizes. Adjustable straps help with that. Start by cutting a long piece of webbing, about 49 inches. Divide it into three sections. The longest piece will be your main strap. The two shorter pieces will anchor the strap to the bag.
Here’s a simple way to make your adjustable strap:
- Cut the webbing into three pieces.
- Thread the shorter pieces through a buckle and a rectangular ring. These will be your anchors.
- Attach the adjustable strap slider to the longest piece of webbing.
- Guide the strap through the male part of the buckle, making sure it stays flat.
- Pass the strap through the slider again. This keeps it secure and lets you adjust the length.
Tip: Use a lighter to gently melt the ends of the webbing. This stops fraying and keeps your strap looking neat.
Attaching Buckles or Clips
Buckles and clips make your fanny pack easy to put on and take off. You can choose plastic or metal hardware. Both work well, but plastic is lighter.
To attach a buckle:
- Slide one end of the strap through the male part of the buckle.
- Fold the end over and sew it down. Use a box stitch for extra strength.
- Repeat with the female part of the buckle on the other end.
- Make sure the buckle snaps together smoothly.
A table can help you pick the right hardware:
| Hardware Type | Pros | Cons |
|---|---|---|
| Plastic | Lightweight, cheap | May break easier |
| Metal | Strong, durable | Heavier, pricier |
Note: Always test your buckle before finishing your bag. You want it to open and close easily.
Securing Straps to Bag
Attaching the straps to your bag is the last step. You want them to stay put, even if you fill your bag with heavy items. Here’s how you can do it:
- Install the anchor straps before you sew the bag together. This makes the process easier.
- Attach the long buckle strap to the rectangular ring.
- Sew the ends of the anchor straps to the sides of your bag. Use a box stitch or triple straight stitch for extra durability.
- Check that the straps are flat and not twisted.
- Tug gently on the straps to make sure they hold tight.
Tip: Double stitch the strap areas for extra strength. If you want your bag to last, don’t skip this step.
You’ve now finished the straps and fasteners. Your fanny pack is almost ready to use. With these steps, you can adjust the fit and trust that your bag will stay secure while you’re on the go.
Finishing and Customizing Your DIY Fanny Pack
Trimming and Turning Right Side Out
You’re almost done! Now it’s time to give your fanny pack a clean finish. Follow these steps to trim and turn your bag right side out:
- Stitch around the end with the webbing and both sides, keeping your seam about 1/4 inch (6mm) from the edge.
- Clip off the corners. This helps reduce bulk and makes the corners look sharp when you flip the bag.
- Turn your bag right side out by gently pulling the fabric through the gap in the zipper.
Tip: Take your time when turning the bag. If you rush, you might miss a corner or wrinkle the fabric. Use a blunt tool, like a chopstick or the end of a pen, to push out the corners for a crisp shape.
Final Pressing and Inspection
Pressing your fanny pack makes it look neat and professional. Use an iron on a low setting if your fabric allows. Smooth out any wrinkles and check all seams. Look for loose threads or missed stitches. If you spot any, grab your sewing machine and fix them now.
Here’s a quick inspection checklist:
| Step | What to Check | Why It Matters |
|---|---|---|
| Seams | No gaps or loose threads | Keeps your bag strong |
| Zipper | Opens and closes smoothly | Easy access |
| Straps & Buckles | Securely attached, not twisted | Comfortable to wear |
| Corners | Fully turned, no bulk | Clean, sharp look |
Note: If you used recycled materials, double-check for any weak spots. Reinforce them with extra stitches if needed.
Creative Customization Ideas
Now comes the fun part—making your fanny pack truly yours! You can personalize your bag in so many ways. Try these trending ideas for 2024:
- Paint your fabric with bold colors or patterns.
- Add embroidery for a textured, handmade look.
- Use heat transfer vinyl to create cool shapes or logos.
- Try screen printing for big, graphic designs.
- Stitch on your initials for a monogrammed touch.
- Decorate with patches and pins for extra flair.
Want your bag to stand out at festivals or concerts? Use bright colors and playful designs. Add reflective or glow-in-the-dark details to stay visible at night. You can even sew on extra pockets for your phone or keys.
Show off your creativity! Snap a photo of your finished fanny pack and share it online. You might inspire someone else to start their own sewing project.
You’ve learned how to finish and customize your DIY fanny pack. Every detail you add makes your bag unique. Whether you use recycled materials or new fabric, your creation reflects your style. Enjoy your new accessory and don’t forget to show it off!
Troubleshooting and Tips
Fixing Common Sewing Issues
You might run into a few bumps while making your fanny pack. Uneven seams can make your bag look messy or feel weak. Here are some easy ways to fix those problems:
- Adjust the upper and lower thread tension if you see ruffled seams. Tight threads can pull and bunch the fabric.
- Check the presser foot pressure. It should not be too tight or too loose. This helps keep the fabric flat and smooth.
- Avoid pulling or pushing the fabric as you sew. Let the machine do the work.
- Clean your sewing machine often. Lint build-up can mess with how your stitches look.
- Make sure the presser foot is pressed down all the way. If the fabric slips, your seams will not line up.
- Try a walking foot or roller foot if your feed dogs are worn out. These help move the fabric evenly.
- Double-check the thread path and the take-up spring. If something is off, your stitches may not form right.
Tip: If you notice uneven seams, stop and check your machine settings before you keep sewing. Small changes can make a big difference!
Adjusting Size and Fit
You want your fanny pack to fit just right, whether you wear it on your waist or across your chest. Here’s how you can adjust the size and fit for any body type:
- Loosen the strap all the way to start.
- Wrap the pack around your waist or hips to pick your favorite spot.
- Clip the buckle gently to see if the pack sits where you want.
- Tighten the strap a little at a time. You want it firm but not too tight.
- Check that the strap is straight. Twists or pinches can feel uncomfortable.
- Move around like you would during your day. Make sure the pack stays put.
- Tuck away any extra strap so it looks neat.
You can also change the fit for different activities:
| Activity | Best Fit Style |
|---|---|
| Casual errands, daily wear | Relaxed for comfort |
| Outdoor adventures, hiking | Snug to prevent bouncing |
| Running or biking | Tight for security |
| Festivals, travel | Snug but comfy for quick access |
Note: Always test your fit before heading out. A quick check can save you from adjusting on the go.
Care and Maintenance
Taking care of your handmade fanny pack helps it last longer and keeps it looking fresh. Here are some simple tips:
- Clean your bag with mild detergent and water. Skip harsh chemicals.
- For stains, use a mild soap solution. Test it on a small spot first.
- Let your bag air dry. Keep it out of direct sunlight to avoid fading.
- Store your pack in a cool, dry place. Don’t cram it into tight spaces.
- Spray with waterproofing spray if you want extra protection.
- Don’t overload your bag with heavy stuff. This keeps the shape and seams strong.
Regular cleaning and gentle care make your fanny pack last for years. Treat it well, and it will keep up with all your adventures!
Conclusion
You finished making a fanny pack that matches what you like. Using different fabrics can change how your bag looks and feels. Here is a table with some fabric ideas:
| Fabric Type | Characteristics | Use Case |
|---|---|---|
| Eco Canvas | Strong and resists water | Good for tough fanny packs |
| Linen Cotton Canvas | Not too heavy, feels textured | Great for stylish bags |
| Celosia Velvet | Looks fancy and bright | Best for fancy fanny packs |
| Petal Fabric | Soft and simple to sew | Good for lining or light bags |
If you want more options, choosing a custom fanny pack is the best way to get exactly what you need. You can select vibrant colors, extra pockets, upgraded materials, or add your own logo. As a professional fanny pack manufacturer, we offer wholesale, OEM, and ODM customization, giving you a durable, well-designed bag built to your specifications.
Feel free to reach out with your ideas or questions — our team can help you bring your custom fanny pack to life with true factory-level quality.
FAQ
How long does it take to sew a fanny pack?
You can finish your fanny pack in about 1–2 hours. If you are new to sewing, you might need a little more time. Take breaks if you need them.
Can I sew a fanny pack by hand?
Yes, you can sew by hand. Use strong thread and small stitches. The process takes longer, but you still get a sturdy bag.
What fabric works best for beginners?
Cotton canvas is easy to cut and sew. It holds its shape and does not slip much. You can also try recycled denim for a cool look.
Do I need a special sewing machine?
No, you do not need a fancy machine. A basic sewing machine with a zipper foot works well. Make sure your needle matches your fabric.
How do I fix a crooked zipper?
Remove the stitches with a seam ripper. Pin the zipper again, making sure it lines up. Sew slowly and check your work as you go.
Can I wash my DIY fanny pack?
You can wash your fanny pack by hand with mild soap. Air dry it to keep the shape. Avoid harsh chemicals or hot dryers.