You want to know how to make a quilted tote bag? You start with fabric, batting, and your favorite colors. You cut your pieces, layer them, and sew with care. You follow a step-by-step guide and see your project come alive. You check online tutorials if you get stuck. You learn how to make a quilted tote bag by practicing each step. You feel proud when you finish your quilted tote bag. You discover how to make a quilted tote bag is fun and creative. You find how to make a quilted tote bag gives you a useful bag and a new skill.
Tip: Search for video tutorials online if you need extra help with how to make a quilted tote bag.
Key Takeaways
- Begin with good materials. Pick fabrics you like and that are simple to use, such as cotton or canvas.
- Collect the basic sewing tools. Use sharp scissors, a rotary cutter, and a sewing machine to help your project go well.
- Cut the fabric pieces carefully. Measure two times and cut one time to get straight edges and a neat look.
- Put the fabric layers together and pin them. This helps keep everything in place while you sew and stops the fabric from moving or wrinkling.
- Pick the best quilting method. If you are new, try straight line quilting for neat and even stitches.
- Build your tote one step at a time. Follow the guide so each piece fits together just right.
- Add your own style. Try embroidery, patches, or special handles to make your quilted tote unique.
- Look over your work before you finish. Check for mistakes and press your tote to give it a clean and professional look.
Quilted Tote Bag Materials
Essential Fabrics
You start your quilted tote with fabric that inspires you. Many crafters choose cotton because it is easy to sew and comes in many colors. You can also pick canvas if you want a sturdy bag. Printed quilted fabric is becoming very popular. The crafting industry loves it for its creative designs and versatility. In fact, printed quilted fabric is expected to grow a lot in the next few years. You see it everywhere, from small projects to large bags. If you want your quilted tote to stand out, try mixing solid colors with printed patterns. You create a unique look that matches your style.
Tip: Pick fabrics that feel good to touch and are easy to work with. You enjoy the process more when you love your materials.
Batting and Lining
Batting gives your quilted tote its soft, padded feel. You place it between your outer fabric and the lining. Most people use cotton or polyester batting. Cotton batting feels natural and soft. Polyester batting is lighter and holds its shape well. You cut the batting to match your fabric pieces. For the lining, you choose a smooth fabric like cotton or polyester. The lining protects the inside of your bag and hides the seams. You can use a fun print for the lining, or keep it simple with a solid color. You make your quilted tote bag stronger and more comfortable with good batting and lining.
Handles and Hardware
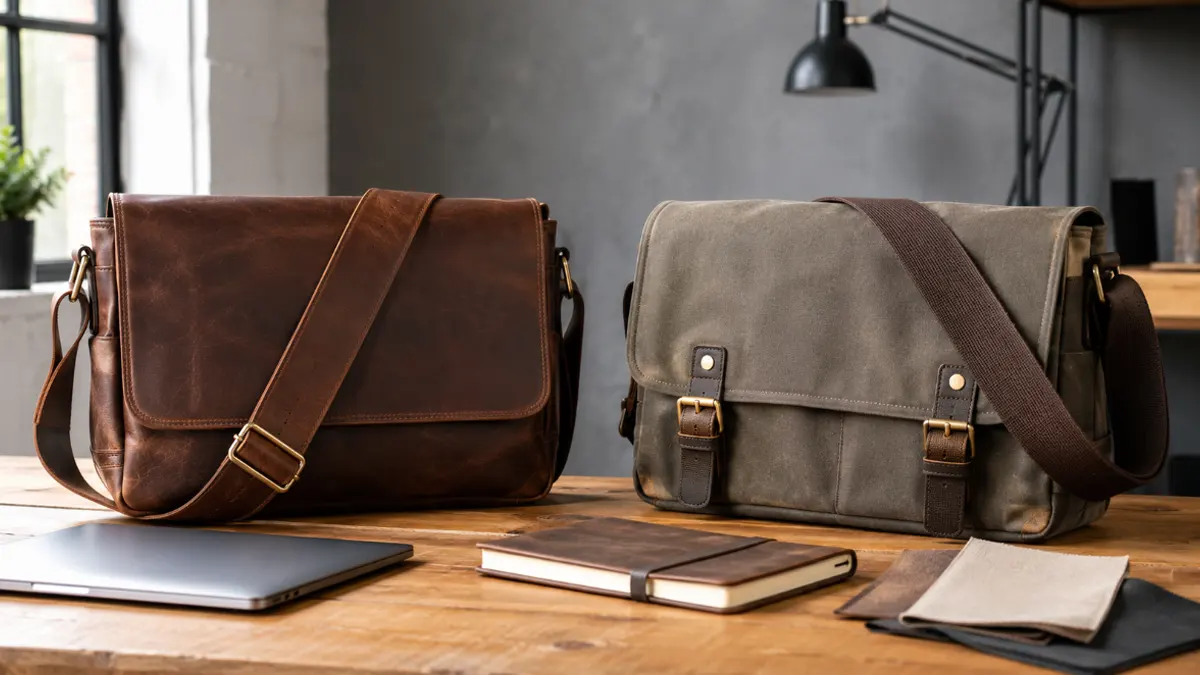
Handles make your quilted tote easy to carry. You have many choices for handles. Cotton handles feel soft and last a long time. Nylon handles are strong and resist wear, so they work well for heavy bags. Polyester handles give you style and durability. Polypropylene handles are light and strong, perfect for budget-friendly bags. Braided cords add a stylish touch and keep your bag sturdy. Cotton webbing combines strength with a classic look, often seen in premium quilted totes. You can also use leather or faux leather for a fancy finish. For hardware, you might need D-rings, buckles, or magnetic snaps. These help you attach handles or close your bag securely.
Note: You can personalize your quilted tote bag with different handles and embellishments. Try adding buttons, patches, or embroidery for extra flair.
You gather all the materials needed before you start. You make sure you have your favorite fabrics, batting, lining, handles, and hardware. You set yourself up for a smooth and fun sewing experience.
Basic Sewing Tools
You need a few basic sewing tools to make your quilted tote bag. These tools help you measure, cut, pin, and sew your fabric with ease. You probably have some of them at home already. If not, you can find them at any craft store or online. Here’s a handy list to get you started:
- Fabric Scissors: You use sharp scissors to cut your fabric and batting. Dull scissors make jagged edges and slow you down. Keep a pair just for fabric so they stay sharp.
- Rotary Cutter and Cutting Mat: You use a rotary cutter for straight, clean cuts. The cutting mat protects your table and helps you measure your pieces. Quilters love this combo for fast and accurate cutting.
- Pins or Clips: You hold your layers together with pins or fabric clips. Clips work well for thick layers and don’t poke holes. Pins are great for precise placement.
- Seam Ripper: Mistakes happen. You use a seam ripper to undo stitches quickly. It saves your project if you sew something in the wrong spot.
- Measuring Tape or Ruler: You measure your fabric pieces with a tape or ruler. Accurate measurements make your tote bag look neat and professional.
- Iron and Ironing Board: You press your fabric before you sew. Ironing helps your seams lay flat and gives your bag a crisp finish.
- Sewing Machine: You sew your quilted tote bag with a basic sewing machine. Most machines work fine for this project. You don’t need fancy features, but a walking foot helps with thick layers.
- Hand Sewing Needles: You use needles for small fixes or to sew on buttons and embellishments. Keep a few on hand for finishing touches.
Tip: Organize your tools in a basket or box. You save time and avoid searching for things while you work.
Here’s a quick reference table for your sewing toolkit:
| Tool | Why You Need It | Pro Tip |
|---|---|---|
| Fabric Scissors | Clean cuts on fabric | Use only for fabric |
| Rotary Cutter/Mat | Fast, straight cuts | Replace blade often |
| Pins/Clips | Hold layers together | Try clips for thick fabric |
| Seam Ripper | Remove stitches | Go slow to avoid tears |
| Measuring Tape | Accurate measurements | Double-check sizes |
| Iron/Ironing Board | Press seams and fabric | Use steam for crispness |
| Sewing Machine | Stitch panels and handles | Use walking foot if possible |
| Hand Needles | Attach buttons, finish edges | Use sharp needles |
You don’t need every tool on this list, but having most of them makes your sewing smoother. If you’re missing something, improvise with what you have. For example, you can use safety pins instead of fabric clips, or a kitchen towel instead of an ironing board. You make your quilted tote bag with creativity and resourcefulness.
Note: If you want to add embroidery, patches, or decorative stitching, you might need extra tools like embroidery hoops or specialty needles. Try new techniques as you get more confident!
You gather your basic sewing tools before you start. You set up your workspace and get ready to create. With the right tools, you enjoy every step of making your quilted tote bag.
How to Prepare and Quilt Fabric
Cutting Pieces
You start your quilted tote by cutting your fabric pieces. This step sets the foundation for your project. You want your pieces to be neat and even. Most people use a rotary cutter and a cutting mat for straight edges. You measure each piece with a ruler or tape. If you follow a tutorial, you see that medium-sized quilted tote bags use standard dimensions. Here’s a quick table to help you:
| Fabric Type | Dimensions |
|---|---|
| Main Exterior Fabric | 19″ x 22″ |
| Lining Fabric | 19″ x 22″ (x2) |
| Fusible Fleece/Batting | 18 ½” x 21 ½” (x2) |
You cut two pieces for the exterior, two for the lining, and two for the batting. You keep your edges straight and corners sharp. You double-check your measurements before you cut. This step makes your quilted tote look professional.
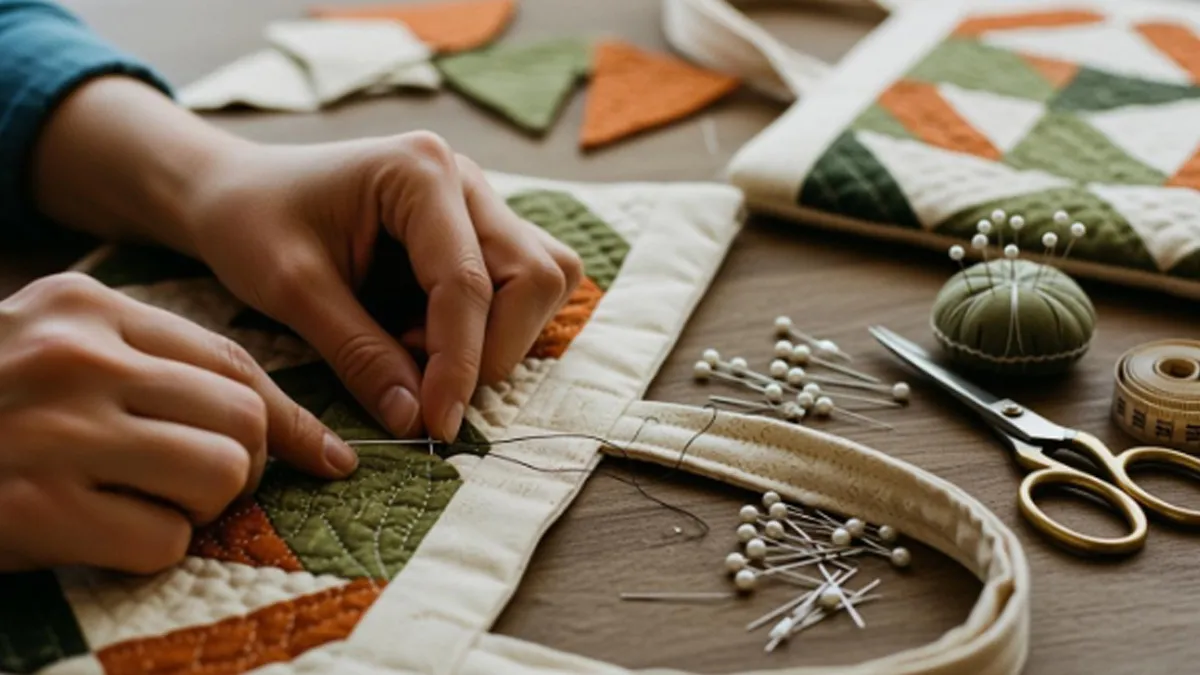
Layering and Pinning
You layer your fabric to get that soft, padded feel. You place the batting on the wrong side of your exterior fabric. You smooth out any wrinkles. You use pins or clips to hold the layers together. You want everything to stay in place while you sew. You can use safety pins if you don’t have fabric clips. You make sure the batting lines up with the fabric edges. You press the layers with an iron to keep them flat. This step helps your quilted tote keep its shape.
Tip: Pin around the edges and in the center. Your layers won’t shift when you start sewing.
Quilting Methods
You have two main ways to quilt your fabric. You pick the method that feels right for you. Many beginners follow a tutorial to learn these techniques.
Straight Line
You use straight line quilting for a classic look. You mark lines on your fabric with a washable pen or chalk. You sew along these lines with your sewing machine. You keep your stitches even and straight. You can sew lines close together or far apart. Straight line quilting works well for tote bags. You finish quickly and get a neat result.
Free Motion
You try free motion quilting if you want a creative design. You move your fabric under the needle in swirls or loops. You don’t follow marked lines. You practice on scrap fabric first. Free motion quilting lets you add personal touches to your quilted tote. You make flowers, waves, or any pattern you like. You go slow and steady. You enjoy the process and see your design come to life.
Note: Most tutorials recommend straight line quilting for beginners. You get clean lines and build confidence before trying free motion.
You finish quilting your panels. You trim all four pieces to the same size. You draw and cut a 2″ square from the bottom corners of each piece. You follow these steps to prepare your quilted tote for assembly.
Step-by-Step Guide: Assembling Panels
You have finished quilting your panels. Now, you get ready to assemble quilted tote pieces. This step-by-step guide helps you line up everything for a sturdy and stylish bag.
Trimming Panels
You want your panels to match in size. Lay each quilted panel flat on your cutting mat. Use a ruler to check the edges. Trim any uneven sides with your rotary cutter. Make sure the corners are sharp. If you see loose threads, snip them away. Clean edges help your tote look neat and professional.
Tip: Double-check the measurements before you move on. Matching panels make sewing easier and give your bag a crisp shape.
Attaching Handles
Handles make your tote easy to carry. You can choose cotton webbing, nylon, or PU leather. Pick a handle that fits your style and needs. If you want a heavy-duty bag, nylon webbing or reinforced canvas works best. PU leather adds a fashionable touch.
Placement
Place your handles on the right side of each quilted panel. Measure equal distances from the side edges. Most people use 5 inches from each edge for a balanced look. Handles should be spaced evenly so your tote feels comfortable to hold. Mark the spots with chalk or a fabric pen.
| Handle Type | Best Use | Style Tip |
|---|---|---|
| Cotton Webbing | Everyday bags | Classic look |
| Nylon Webbing | Heavy-duty totes | Sporty feel |
| PU Leather | Fashion totes | Modern style |
Note: If you want longer handles for shoulder bags, add a few extra inches to your measurements.
Securing
You want your handles to stay strong. Pin the ends of each handle to the marked spots. Use your sewing machine to stitch them in place. For extra durability, try bar-tack or double/triple stitching at the stress points. These techniques keep the handles from pulling loose. If you want even more support, use riveted construction. Rivets spread the load and reduce stress on the fabric.
- Stitch across the handle ends several times.
- Add a square or X-shaped stitch for extra strength.
- Use rivets if you carry heavy items often.
Tip: Test the handles by gently tugging after you sew. Strong handles help your tote last longer.
You have now attached the handles. Your panels are trimmed and ready. You are one step closer to finishing your quilted tote. Keep following this step-by-step guide and enjoy the process!
Sewing the Quilted Tote Bag Body
You have your panels ready. Now, you get to see your quilted tote take shape. This part is where your project really comes together. You will join the panels and box the corners. These steps help your bag look neat and hold its shape.
Joining Panels
You start by joining the quilted panels. This step is simple if you follow each part carefully. Here’s how you do it:
- Place the two quilted panels right sides together. The pretty sides should face each other.
- Line up the edges. Use pins or clips to hold them in place.
- Sew along the sides and bottom edges. Use a ¼ inch seam allowance. Leave the top edge open.
- Remove the pins or clips as you sew. Go slow over thick spots.
- When you finish, turn the bag right side out. Use your fingers to push out the corners.
- Press the seams flat with your iron. This makes your quilted tote look crisp.
Tip: If your sewing machine struggles with thick seams, use a walking foot. It helps feed the layers evenly.
You will repeat these steps for the lining. Place the lining pieces right sides together. Sew the sides and bottom, but leave a 3-inch gap at the bottom. You will use this gap to turn the bag later.
Boxing Corners
Boxing the corners gives your quilted tote a flat bottom. This step helps your bag stand up and hold more items. You will measure and sew the corners to create a boxy shape.
Measuring
Lay your sewn bag body flat. At each bottom corner, you will see the small square you cut earlier. Pull the sides of the bag apart at the corner. Match the side seam to the bottom seam. This forms a triangle at the corner.
Use your ruler to check that the seams line up. The edges of the triangle should be even. Pin the triangle in place so it does not shift.
Sewing
Now, sew across the open edge of the triangle. Use a ¼ inch seam allowance. Backstitch at the start and end to make the seam strong. Repeat this step for both corners of the exterior and both corners of the lining.
Note: Boxing the corners is what gives your quilted tote its roomy shape. If you skip this step, your bag will look flat.
After sewing the corners, trim away any extra fabric from the seam. This reduces bulk and helps your bag sit flat. Turn the exterior bag right side out. Leave the lining inside out for now.
You have finished the main body of your quilted tote. You can see the bag take shape. The sides and bottom look neat and strong. You are ready for the next steps, like adding the lining and finishing the top edge.
Tutorial: Finishing the Interior
You are almost done with your quilted tote bag. This tutorial will help you finish the inside so your bag looks neat and works well. You will add the lining, make pockets, and close the top edge. Let’s get started!
Adding Lining
You want your tote bag to look good inside and out. The lining covers the seams and gives your bag a smooth finish. Many people like quilting cotton because it feels soft and is easy to work with. Some users suggest cotton drill, canvas, denim, or parachute cloth for extra strength. If you want your bag to last longer, decorator weight or pant weight fabric works well. Light-colored linings help you see what’s inside your bag. Dark linings can make it hard to find your keys or phone.
Here’s a quick table to help you pick your lining:
| Lining Material | Why Choose It | User Tip |
|---|---|---|
| Quilting Cotton | Soft, easy to sew | Great for beginners |
| Canvas/Denim | Strong, durable | Good for heavy use |
| Parachute Cloth | Lightweight, tough | Try for sporty bags |
| Cotton Drill | Stable, smooth | Adds structure |
To add the lining, place the lining inside the exterior bag, right sides together. Match up the seams and pin around the top edge. This step makes your tote look professional.
Making Pockets
Pockets keep your tote organized. You can make simple patch pockets or add zippered ones if you feel confident. Cut a rectangle of fabric for each pocket. Fold the edges under and press with your iron. Sew the pocket onto the lining before you attach the lining to the bag. Place pockets where you want them—maybe for your phone, pens, or snacks.
Tip: Use a light lining so you can find things in your pockets easily.
Closing Top Edge
You need to close the top edge to finish your quilted tote. This part of the tutorial shows you how to get a clean look.
- Pull the exterior bag through the hole in the lining so the right sides face out.
- Tuck the raw edges of the lining hole inside. You can close it by hand or with your sewing machine.
- If you sew by hand, use a small slip stitch for a neat finish.
- For machine sewing, press the seam allowances inward, align the edges, pin, and stitch about 1/8″ from the edge.
Topstitching
Topstitching gives your tote a polished look. Sew around the mouth of the bag, close to the edge. This step keeps the lining in place and makes your bag sturdy. Go slow and keep your stitches even. Your quilted tote will look like it came from a store!
Remember: This tutorial helps you finish strong. Take your time and enjoy the sewing process.
Final Touches and Personalization
You have finished sewing your quilted tote. Now, you get to add your own style and make your bag unique. This part is all about creativity and showing off your work.
Decorative Elements
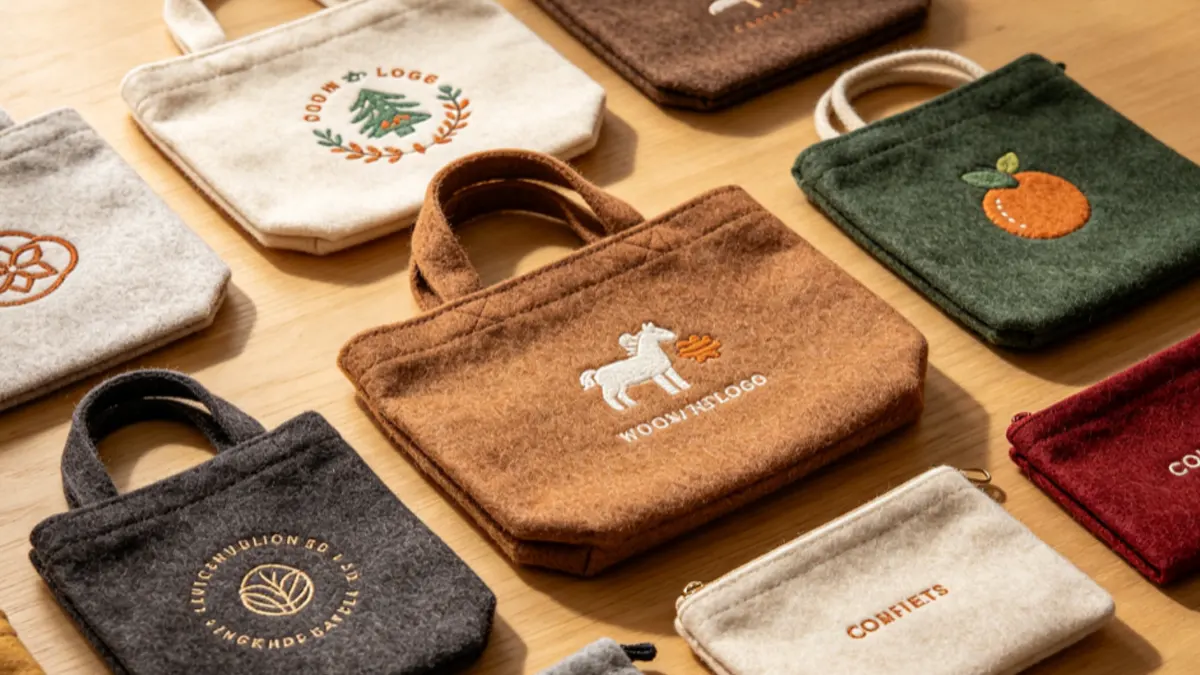
Decorating your quilted tote makes it stand out. You can use embroidery, patches, or special stitching. Many people love adding their logo or a graphic to the quilted pattern. Classic diamond quilting gives your bag a neat look and helps it last longer. If you like nature, try floral or botanical patterns. These designs look great in spring and summer.
Here’s a table with some popular decorative elements:
| Decorative Element | Description |
|---|---|
| Logo Embroidery | Adds a personal or brand touch to your quilted tote. |
| Classic Diamond Quilting | Uses straight lines to create diamond shapes for style and strength. |
| Floral and Botanical Patterns | Brings a fresh, natural look, perfect for seasonal quilted tote designs. |
You can also try color blocking or patchwork. Sewing magazines show many variations, like the Garden Tile Block tote or a fake patchwork bag with a hard bottom. Each design lets you play with colors and shapes.
Tip: Share your finished quilted tote online or with friends. You might inspire someone else to start their own project!
Closures and Fasteners
Choosing the right closure keeps your quilted tote secure. Zippers work well if you want everything inside to stay safe. Hook and loop fasteners are easy to open and close. Drawstrings give your bag a relaxed look. Clasps, metal snap buttons, and magnetic snaps each offer a different style and level of security.
- Zipper closures
- Hook and loop fasteners
- Drawstring closures
- Clasps
- Metal snap buttons
- Magnetic snaps
Each closure has its own benefits. Zippers are strong and simple. Magnetic snaps close quickly and look neat. Drawstrings let you adjust the opening. Pick the one that fits your needs and style.
Note: Try different fasteners on your next quilted tote. You can mix and match for new looks.
Inspecting and Pressing
Before you show off your quilted tote, check your work. Look for scratches, loose threads, or uneven colors. Make sure the bag matches your design and measurements. Test the handles and closures to see if they work well.
- Visual Inspection: Look for flaws and check the colors.
- Dimensional Inspection: Measure your quilted tote to make sure it is the right size.
- Functional Inspection: Try out the handles, pockets, and fasteners.
Press your quilted tote with an iron to smooth out wrinkles. Use steam for a crisp finish. Your bag will look polished and ready to use.
Callout: Every quilted tote tells a story. Personalize yours and try new designs. You can make a color block tote, a garden tile block bag, or invent your own style. Share your results and encourage others to join the fun!
Quilted Tote Tips and Troubleshooting
Common Mistakes
You want your quilted tote to look great and last a long time. Many beginners run into the same problems when making their first quilted tote. Here are some mistakes you should watch out for:
- Use a walking foot. This tool helps you sew through thick layers and keeps your stitches even.
- Use binding clips. These hold your layers together, especially when working with coated or slippery fabrics.
- Trim seam allowances. Cutting away extra fabric at the seams makes your quilted tote smoother and less bulky.
- Clip curves. If your bag has curved seams, snip small notches so the fabric lays flat and does not pucker.
- Know your fabrics. Pick materials that match your needs. Some fabrics work better for durability, while others give your quilted tote a softer feel.
Tip: Always check your work as you go. Small fixes early can save you time later.
If you see puckering or ripples in your fabric, slow down your sewing speed. Increase your stitch length and loosen the tension. Guide your fabric gently under the needle. These steps help you avoid frustrating mistakes.
Beginner Tips
You can make a quilted tote even if you are new to sewing. Start with straight lines. This project uses techniques from garment construction, so you learn skills that help with other patterns. Gather all your supplies before you begin. Draft a pattern that fits your style and needs. Cut your fabric carefully. Assemble your quilted tote step by step, using the techniques you have learned.
- Use a walking foot to keep layers from shifting.
- Try making a self-lined, one-piece body for easier construction.
- Add a welt zip pocket inside for extra storage.
Callout: Reinforce straps and corners with extra stitching or fabric patches. Double stitch stress points for a stronger quilted tote.
If you find a weak spot or tear, trim loose threads and pinch the area flat. Use a thicker needle and thread for repairs. For bigger holes, iron on a matching fabric patch. Secure stitches with tight knots.
Customization Ideas
You can make your quilted tote unique with creative touches. Use fusible fleece for more structure or foam interfacing for a modern look. Specialty materials like vinyl, cork, or leather give your quilted tote a fresh style. Add hardware and zippers to boost both function and appearance.
- Try a Quilted Mermaid Tote Bag with wavy quilting lines and bright colors.
- Use your favorite fabric scraps for patchwork designs.
- Mix denim for a casual look or leather for something elegant.
Emoji:Personalize your quilted tote with embroidery, patches, or bold prints. Show off your creativity and make your bag one of a kind!
You have many options to customize your quilted tote. Experiment with new materials and techniques. Share your finished bag with friends or online communities. You inspire others to start their own sewing journey.
Conclusion
You finished a fun tutorial about making a quilted tote bag. Each step helps you learn new skills and show your creativity. You can share your finished bag with friends or online groups. If you want quilted totes for your business, look at these popular features:
| Feature Type | Description |
|---|---|
| Quilting Patterns | Diamonds, waves, geometric, or your own design |
| Logo Printing | Centered, bold, or subtle for your brand |
| Custom Colors | Match your company style |
Quilted tote bags help people notice your brand and work well for packaging.We are a professional tote bag manufacturer offering full customization services. From logo printing to custom sizes, colors, and decorative finishes, we help businesses create eye-catching packaging that enhances their brand image. If you need a quick turnaround, most quilted tote bags ship within 10–30 days. Contact us today to get a custom solution made for your brand!
FAQ
How long does it take to make a quilted tote bag?
You can finish a simple quilted tote in about 3 to 5 hours. If you add pockets or decorations, you might need more time. Take breaks and enjoy the process!
Can I make a quilted tote bag without a sewing machine?
Yes, you can sew a quilted tote by hand. Use strong thread and small stitches for best results. It takes longer, but you get a handmade touch.
What is the best fabric for beginners?
Cotton fabric works best for beginners. It is easy to cut and sew. You can find many colors and patterns. Avoid slippery or stretchy fabrics until you feel more confident.
How do I wash my quilted tote bag?
Wash your quilted tote in cold water on a gentle cycle. Air dry it to keep the shape. If you use delicate fabrics, spot clean with a damp cloth.
Can I add a zipper to my quilted tote?
Yes! You can sew a zipper at the top for extra security. Use a zipper foot on your sewing machine. Follow a simple zipper tutorial if you need help.
Why does my fabric pucker when quilting?
Puckering happens when layers shift or tension is too tight. Try using a walking foot and lower your sewing speed. Pin or clip layers well before sewing.
What size should I make my tote bag?
Most people like a medium tote, about 14″ x 16″. You can adjust the size to fit your needs. Make a small tote for kids or a large one for shopping.
Can I personalize my quilted tote bag?
Absolutely! Add embroidery, patches, or fabric paint. Try different handles or closures. Your tote bag can show off your style and creativity.