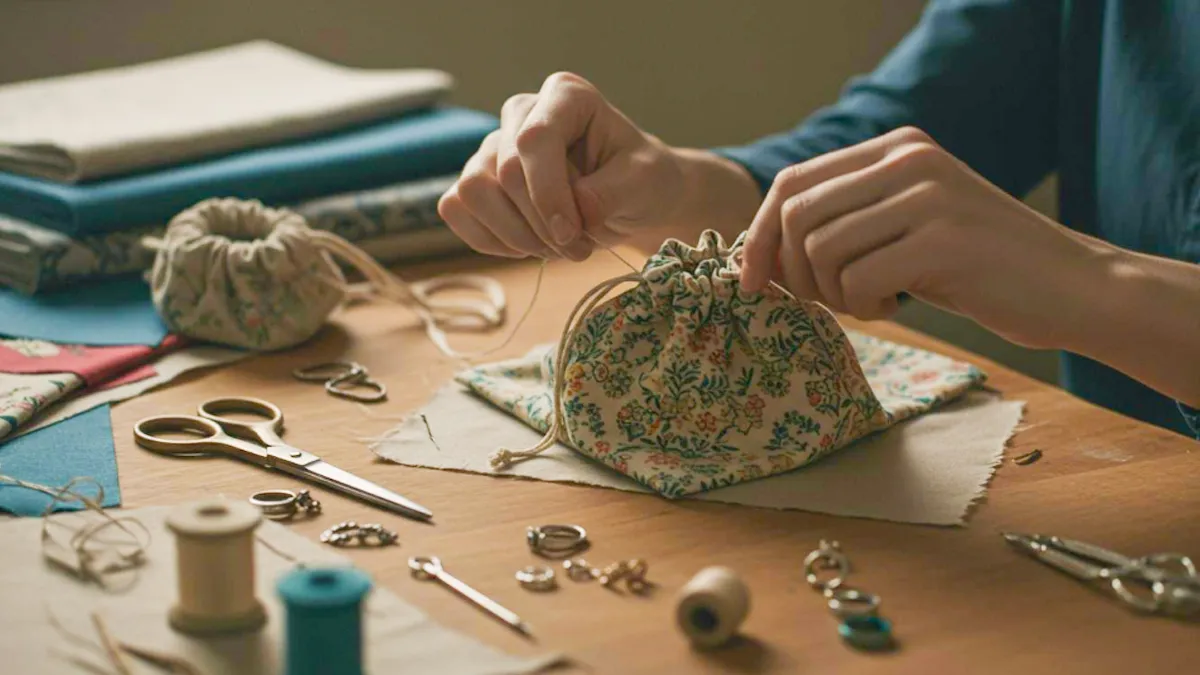
Ready to create your own small drawstring pouch? This step-by-step tutorial makes it easy for you to follow clear instructions and see real results fast. You might finish your travel bag for jewelry in just 10 to 15 minutes if you keep things simple. With this tutorial, you get instructions for every stage, so you always know what to do next. You’ll learn how do you make jewelry drawstring bags with a step-by-step tutorial that covers each detail. These instructions help you make a pouch that keeps your jewelry safe and stylish wherever you go.
Key Takeaways
- Get all your materials and tools before you start. This helps make the work easier and more fun.
- Pick the best fabric for your pouch. Canvas is strong, and satin looks fancy. These choices can make your pouch look better.
- Measure and cut your fabric with care. Good measuring helps your pouch look neat and last longer.
- Leave some extra fabric at the edges when sewing. This extra bit stops the fabric from coming apart and makes your pouch stronger.
- Use a safety pin to help pull the drawstring through. This way is faster and keeps your fingers safe.
- Add things like beads or embroidery to make your pouch special. These small touches make your pouch one of a kind.
- Follow each sewing step in order. This helps your pouch turn out right and work well.
- Keep practicing! Try new designs and sizes to see what you like best.
Materials and Tools
Before you start making your jewelry pouch pattern, you need to gather the right materials and tools. Having everything ready will make the process smooth and fun. Let’s look at what you need to get started.
Fabric Selection
Choosing the right fabric is important for your jewelry pouch pattern. You want something that looks good and lasts a long time. Here’s a quick table to help you pick the best fabric for your project:
| Fabric | Durability | Appearance |
|---|---|---|
| Satin | Moderate | Elegant |
| Velvet | Moderate | Luxurious |
| Canvas | High | Sturdy |
| Nylon | High | Versatile |
| Cotton | Moderate | Simple |
| Muslin | High | Natural |
| Linen | Moderate | Rustic |
| Silk | Low | Luxurious |
| Tulle | Low | Delicate |
| Felt | Moderate | Soft |
| Burlap | High | Rustic |
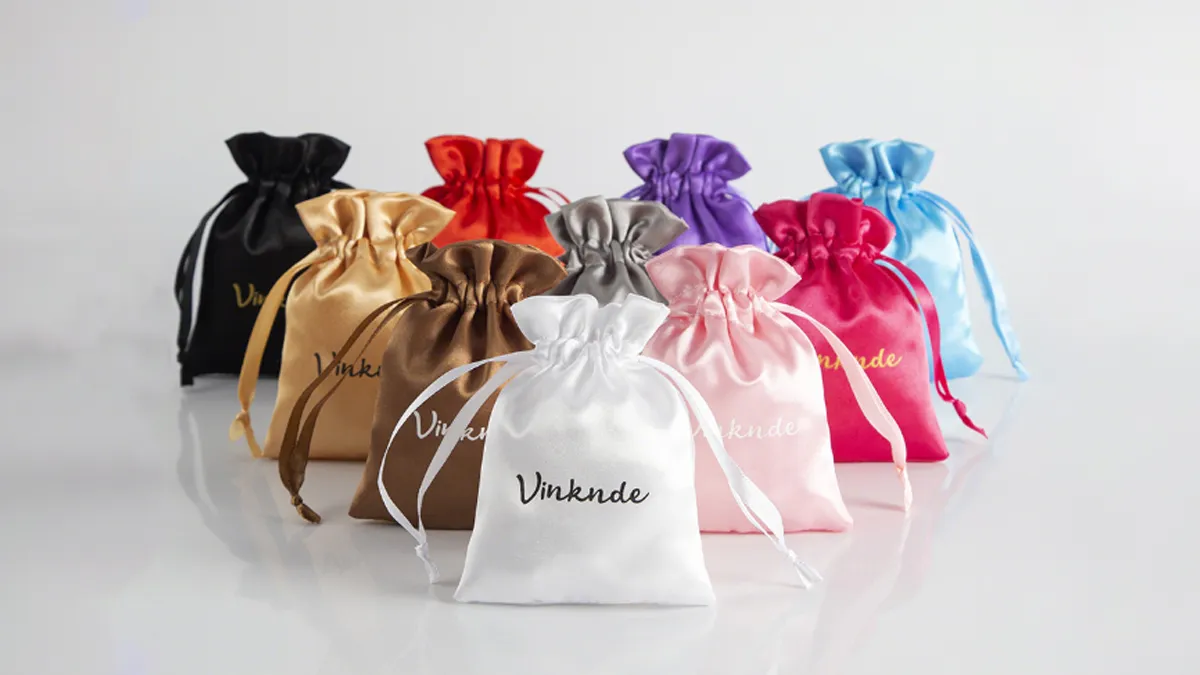
If you want a soft and fancy look, try satin or velvet. For a sturdy jewelry pouch pattern, canvas or burlap works well. Cotton and muslin are great for a simple, natural style. You can mix and match fabrics for the outer and inner layers to create a unique look.
When it comes to the drawstring, you have many choices. Satin cord gives a shiny finish, while flat cotton cord feels soft and eco-friendly. Jute rope adds a rustic touch. If you want something strong, nylon or poly-cotton cord is a good pick.
Tools List
You don’t need many tools to make a jewelry pouch pattern. Most of these items are easy to find at home or in a craft store. Here’s a handy table to keep you organized:
| Materials | Tools |
|---|---|
| EXTERIOR FABRIC – 1/2 Yard | SEWING MACHINE |
| LINING FABRIC – 1/2 yard | FABRIC SCISSORS |
| POCKET FABRIC – 1/3 yard | BODKIN (or safety pins) |
| DRAWSTRING CORD – < 1/4” | CLEAR RULER |
| FABRIC CHALK | |
| SEWING PINS | |
| MATCHING THREAD |
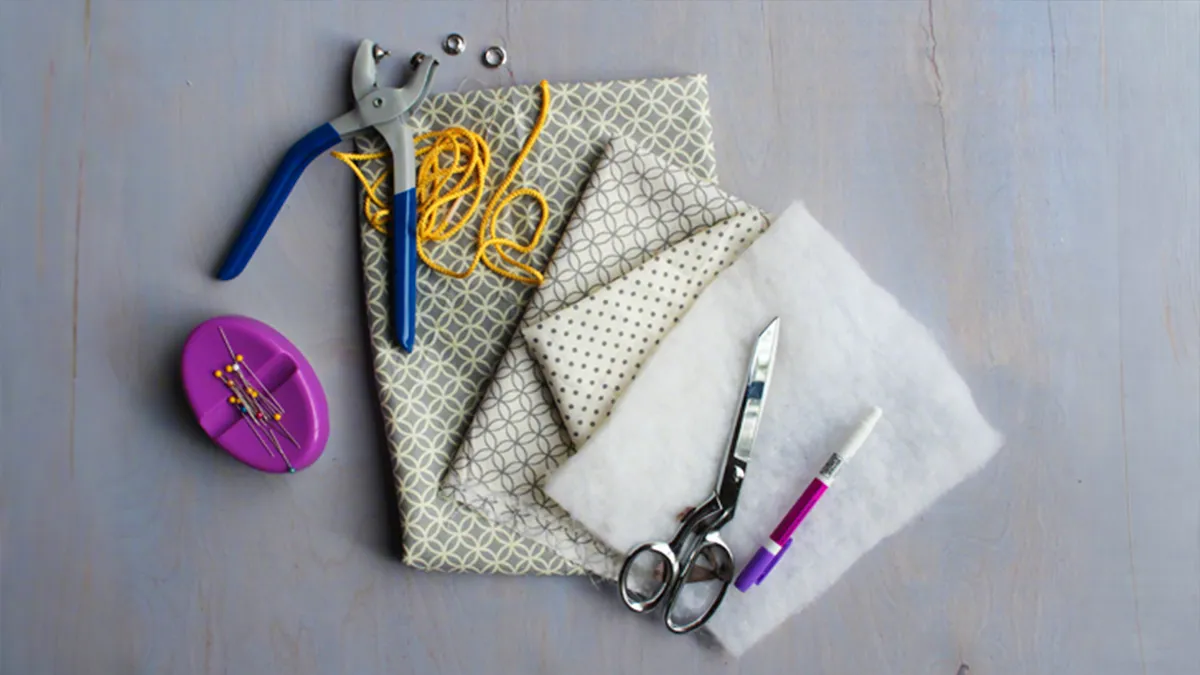
You will also want some basic sewing supplies. Grab a ruler, fabric scissors, and a sewing machine if you have one. If not, you can sew by hand, but it might take a little longer. Use a bodkin or a safety pin to help thread the cord through your jewelry pouch pattern. Fabric chalk helps you mark where to cut and sew.
Tip: Pinking shears can help stop the fabric from fraying, but regular scissors work fine too.
Optional Embellishments
Want to make your jewelry pouch pattern stand out? Try adding some fun decorations! Here are some popular ways to customize your pouch:
- Embroidery
- Sequins
- Beads
You can sew on beads or sequins for sparkle. Embroidery lets you add initials or cute designs. If you want a bold look, use three-strand colored cotton cord or a bright ribbon for the drawstring. These little touches make your jewelry pouch pattern special and personal.
How Do You Make Jewelry Drawstring Bags
So, you want to know how do you make jewelry drawstring bags? You’re in the right place! This part of the tutorial will walk you through the most important steps. You’ll learn how to cut your fabric, mark and measure it, and leave the right seam allowance. These steps help you get a neat, sturdy pouch every time.
Cutting Fabric Pieces
Let’s start with the fabric. You need two main pieces: one for the outside and one for the lining. If you want to add pockets, you’ll need a smaller piece too. The size of your jewelry bag depends on what you want to store. Here’s a quick table to help you pick the right size:
| Size (inches) | Use Case |
|---|---|
| 6 x 8 | Small jewelry items |
| 10 x 12 | Cosmetics and gifts |
Pick the size that fits your needs. For most jewelry, the 6 x 8 inch size works great. If you want a bigger pouch for travel or gifts, go for 10 x 12 inches.
A helpful tip from a popular video class: fold your fabric in half, then in quarters, and place a pin through the corner. Open it up and mark the center with a small X. This trick helps you find the exact middle, which is super useful when you want your pouch to look even and neat.
You don’t need any special patterns or tools for this project. That’s why so many beginners love this tutorial. You can just use a ruler and scissors to cut your fabric. If you want a round pouch, use a pencil compass or trace around a bowl to draw your circle before cutting.
Marking and Measuring
Getting your measurements right makes a big difference. If you want to know how do you make jewelry drawstring bags that look professional, you need to mark and measure carefully. Here are some best practices:
- Use the right marking tool for your fabric. Fabric chalk works well for most materials.
- Measure twice before you cut. This helps you avoid mistakes.
- If your fabric is delicate, skip the pins. Use fabric weights or trace your pattern on the wrong side of the fabric.
Tip: Always mark the center of your fabric pieces. This makes it easier to line everything up later.
When you follow these steps, you’ll find that your jewelry pouch comes together smoothly. The tutorial makes it easy to pause and check your work as you go.
Leaving Seam Allowance
Seam allowance is the extra space you leave between the edge of your fabric and your stitching line. It’s a small detail, but it makes a big difference in how do you make jewelry drawstring bags that last.
- Most people use a seam allowance of 5/8 inch or 1/2 inch.
- This extra fabric gives your stitches something to hold onto. It also helps prevent fraying and makes your pouch stronger.
If you skip this step, your bag might fall apart after a few uses. So, always remember to leave a seam allowance when you sew. Mark it with fabric chalk before you start stitching. This way, you’ll have a guide to follow and your jewelry pouch will turn out just right.
Now you know how do you make jewelry drawstring bags with the right cuts, marks, and seam allowance. These steps set you up for success in the next part of the tutorial. You’ll see how easy it is to make a pouch that looks great and keeps your jewelry safe.
Sewing the Drawstring Jewelry Pouch
Now that you have your fabric pieces ready, it’s time to sew your drawstring jewelry pouch. This part of the tutorial will guide you through each step, so you can create a pouch that looks great and works well.
Sewing Outer and Inner Circles
Start by tracing circles on your fabric for both the outer and inner layers. Use a bowl or compass to get a perfect shape. Pin the right sides of the fabric together. This keeps everything in place while you sew.
Follow these steps to sew the circles:
- Sew around the edge of the circles, but leave a small opening. You’ll need this to turn the fabric right side out.
- Turn the fabric through the opening. Press the seams flat with your fingers or an iron.
- Place the smaller circle on top of the larger one. Make sure the centers line up.
- Sew the smaller circle to the larger one. This creates the base for your drawstring jewelry pouch.
If you want to add pockets, draw lines on the smaller circle. Sew along these lines to make sections for rings or earrings. This tutorial makes it easy to keep your jewelry organized.
Tip: Always backstitch at the start and end of your seams. This helps your drawstring jewelry pouch last longer.
Layering for a Double Pouch
Layering fabric gives your drawstring jewelry pouch extra strength and style. When you use two layers, you get a pouch that feels sturdy and looks neat. Here’s a table to show you the benefits:
| Advantage | Description |
|---|---|
| Robustness and structure | Your pouch holds its shape and lasts longer. |
| Reversibility | You can flip the pouch inside out for a new look. |
| Aesthetics | Double layers look more polished. |
| Concealing the backside of stitches | No messy edges show inside your pouch. |
| Adding pockets | More space for small items. |
| Possibility of interfacing | Add stiffness if you want a firmer pouch. |
| Possibility of base inserts | Make the bottom stronger for heavy jewelry. |
| Installation of hardware | Add snaps or straps if you like. |
| Waterproof or heat-resisting inserts | Protect your jewelry from water or heat. |
| Natural casings and channels | Easy to add drawstrings and other features. |
When you layer your fabrics, you get a drawstring jewelry pouch that feels professional. This tutorial shows you how to do it step by step.
Creating the Drawstring Casing
The drawstring casing is what lets you open and close your pouch. To make it, sew two seams around the edge of your pouch. Leave enough space between the seams for your cord to fit through.
Here’s a quick look at some methods and materials you can use:
| Method/Material | Description |
|---|---|
| Fabric | Use circles cut from your chosen fabric. |
| Seam Allowance | Leave about 1 1/2″ for a strong casing. |
| Compartment Creation | Sew lines from the center to the edge for pockets. |
| Drawstring Channel | Sew two seams to make a channel for the cord. |
| Closure | The drawstring keeps your pouch closed. |
| Decorative Elements | Try satin cord for a fancy look or grosgrain ribbon for strength. |
Thread your cord through the channel using a safety pin or bodkin. Pull the ends to close your drawstring jewelry pouch. This tutorial helps you get a secure and stylish finish every time.
Note: If your fabric frays, use pinking shears or zigzag stitch along the edges before you sew the casing.
With these steps, you’ll have a drawstring jewelry pouch that’s both beautiful and practical. You can use your new skills to make more pouches for gifts or travel.
DIY Fabric Jewelry Organizer
So, you want to make your diy fabric jewelry organizer even more useful? Adding pockets and compartments is the way to go. You can keep rings, earrings, and necklaces neat and easy to find. Let’s break down each step so you can organize your fabric jewelry organizer like a pro.
Marking Pocket Locations
Getting your pocket spots right makes a big difference. You want everything to line up and look neat. Here’s a simple way to mark pocket locations on your fabric jewelry organizer:
- Grab a 5-in-1 sliding gauge. Measure 1 inch from the short edge of your fabric piece. This helps you know where to put your first zipper or pocket.
- Use a permanent marker to draw a line parallel to the short edge. This line shows you exactly where to sew.
- Fold or measure your fabric to divide it into four equal sections. This trick helps you space out your pockets evenly.
Tip: Always double-check your measurements before you start sewing. It saves you time and keeps your diy fabric jewelry organizer looking sharp.
Sewing Pockets for Organization
Now it’s time to sew the pockets. You want them to last, so pick a strong stitch. Quilted stitching works great for this. It holds up well and keeps your pockets from coming loose. When you sew, start at the top of the pocket and go all the way down. Backstitch at the ends to lock everything in place.
If you want to add a zipper, sew it along the line you marked earlier. This gives you a safe spot for tiny items. You can also sew straight lines to make smaller sections for rings or earrings. Your fabric jewelry organizer will look neat and keep your jewelry safe.
Note: Use matching thread for a clean look, or try a bright color if you want your pockets to stand out.
Adding Compartments
You can get creative with compartments in your fabric jewelry organizer. Try these ideas to make the most of your space:
- Spread necklaces out in partitioned trays. This keeps them flat and stops them from tangling.
- Stack your jewelry in tiered trays. You can fit more in a small space and see everything at a glance.
- Hang jewelry up with a wall organizer. This makes it easy to grab what you need and keeps your pieces visible.
You can sew extra pockets or add fabric loops for rings. Try using clear vinyl for some pockets so you can see what’s inside. Your diy fabric jewelry organizer will fit your style and keep everything in order.
Remember: The best fabric jewelry organizer is the one that works for you. Mix and match pockets, zippers, and compartments until you find your favorite setup.
Drawstring
Making Holes or Openings
You need to make small holes or openings for your drawstring. This step helps you pull the cord through and close your pouch. There are a few ways to do this, and you can pick the one that works best for your fabric.
- Use a serger or a zig-zag stitch to finish the edges. This keeps the fabric from fraying where you cut the holes.
- Try using adhesive to secure the seams around the opening. This gives your pouch a neat look and helps the drawstring move smoothly.
If you want a strong and professional finish, you can add grommets or eyelets. These metal rings make the holes sturdy and add a cool detail to your pouch. Here’s how you can add a grommet:
- Reinforce the area with fusible interfacing.
- Mark where you want the grommet.
- Cut out a small circle at the mark.
- Insert the barrel of the grommet into the hole.
- Place the flange over the barrel on the wrong side of the fabric.
- Use an anvil to set the grommet in place.
Grommets and eyelets work well for fabric pouches. They are easy to install and make your drawstring pouch look polished. You can find them at most craft stores.
Tip: Always check that your holes are big enough for your cord but not too large. This keeps your jewelry safe inside the pouch.
Threading the Cord
Now it’s time to thread the cord through the casing you made. This step brings your drawstring pouch to life. Start by cutting your cord to the right length. Make sure it is long enough to go all the way around the pouch and leave extra for tying.
Push one end of the cord through the first hole or opening. Guide it through the channel you sewed earlier. Keep feeding the cord until it comes out the other side. If your pouch has two channels, repeat this step with a second cord for a double drawstring.
You can use different types of cord for your pouch. Satin cord feels smooth and looks shiny. Cotton cord is soft and easy to tie. Choose a cord that matches your style and the look you want for your pouch.
Note: If the cord starts to fray, wrap a small piece of tape around the end before threading.
Using a Safety Pin
Threading the cord can be tricky, but a safety pin makes it much easier. Attach a large safety pin to the end of your drawstring. The pin gives you a good grip and helps you push the cord through the casing without getting stuck.
- Attach the safety pin to the end of the cord.
- Push the pin into the opening and guide it through the channel.
- Keep moving the pin along, bunching up the fabric as you go.
- When the pin comes out the other side, pull the cord through.
Some people use a straw or even a stapler to help with this step. The safety pin method works best for most fabrics and cords. It saves time and keeps your fingers safe.
Tip: If you lose the end of the cord inside the casing, use the safety pin to fish it back out.
Now your drawstring is in place, and your pouch is almost ready to use. You can open and close it with a simple pull. This step gives your pouch that classic, easy-to-use finish.
Securing Ends
You have threaded your drawstring through the pouch, but you are not done yet. You need to secure the ends so your pouch stays closed and looks neat. If you skip this step, the cord might slip out or start to fray. Let’s look at some easy and creative ways to finish the ends of your drawstring.
Here are some popular methods you can try:
- Tie a knot: The simplest way is to tie a knot at each end of the drawstring. You can use a regular knot or a double overhand knot for extra security. This keeps the cord from slipping back into the casing.
- Add beads: Slide a bead onto each end of the drawstring and tie a knot underneath. Beads add a fun touch and help keep the cord in place. You can pick wooden, plastic, or metal beads to match your style.
- Use cordstops: Cordstops are small plastic or metal pieces that grip the drawstring. Squeeze the cordstop, slide it onto the cord, and let go. The cordstop holds the ends together and stops them from slipping inside the pouch.
- Apply no-fray products: If you use a fabric cord, dab a little no-fray liquid or fabric glue on the ends. This keeps the fibers from unraveling and makes the drawstring last longer.
- Melt synthetic ends: If your drawstring is made from nylon or polyester, you can carefully melt the ends with a lighter. The heat seals the fibers together. Just be careful and ask an adult for help if you are not sure.
- Use aglets: Aglets are small tubes that cover the raw end of the cord. You can buy them at craft stores or make your own with a bit of tape or shrink tubing. Aglets give your drawstring a polished look and stop fraying.
Tip: Always check that your knots or beads are bigger than the opening in your pouch. This way, the drawstring will not slip back inside.
You can mix and match these methods. For example, you might tie a knot, add a bead, and then use a dab of glue for extra hold. Try different ideas until you find the finish you like best. A secure end means your jewelry stays safe and your pouch looks great every time you use it.
Drawstring Travel Pouch Finishing
Turning and Topstitching
You’re almost done with your drawstring travel pouch! Now, you need to turn your pouch right side out and add some topstitching for a clean finish. Here’s how you can do it step by step:
- Place the outer and lining fabric circles with the right sides facing each other. Line up the edges and pin them together.
- Stitch around the edge using a ¼-inch seam allowance. Leave a small opening, about 2 to 3 inches, so you can turn the pouch right side out.
- Trim the seam allowance to make the edge smooth. Keep the seam at the opening a little wider.
- Turn the circle right side out through the opening. Use your fingers or a turning tool to push out the edges and make them neat.
- Press the circle flat with your hands or an iron. Fold the raw edges of the opening toward the inside and pin it shut.
- Topstitch around the entire circle at the ¼-inch mark. This closes the opening and gives your pouch a crisp edge.
- Stitch again at the 1 ½-inch spot to create the channel for your drawstring. You can add another line of topstitching at the ¼-inch mark for extra strength.
- Trim any loose threads and knot the ends to keep everything secure.
Tip: Topstitching not only makes your pouch look professional, but it also helps the drawstring slide smoothly through the channel.
Decorative Touches
You can make your drawstring travel pouch stand out with a few simple decorations. Try these ideas to add personality and style:
- Sew on beads or sequins near the top edge for sparkle.
- Use embroidery to add your initials or a small design.
- Pick a colorful drawstring cord or ribbon that matches your favorite colors.
- Attach small charms to the ends of the drawstring for a fun surprise.
- Add fabric paint or iron-on patches for a custom look.
Note: Decorations should not block the drawstring channel or make it hard to open and close your pouch.
Troubleshooting
Sometimes, you run into small problems when finishing your pouch. Here are some common mistakes and easy fixes:
- If your drawstring feels loose, tie a double knot at the ends. This keeps your jewelry safe inside.
- When you see fraying at the edges, use pinking shears or dab a little fabric glue to stop it.
- Uneven seams can happen if you rush. Go slow and use pins to keep the fabric lined up.
- If the drawstring gets stuck, check for tight stitches in the channel. Loosen them with a seam ripper and try again.
- Thin drawstrings can break if you pull too hard. Handle them gently and pick a sturdy cord for your pouch.
Remember: Secure knots and gentle handling help your drawstring travel pouch last longer. If you make a mistake, you can always fix it and try again.
Conclusion
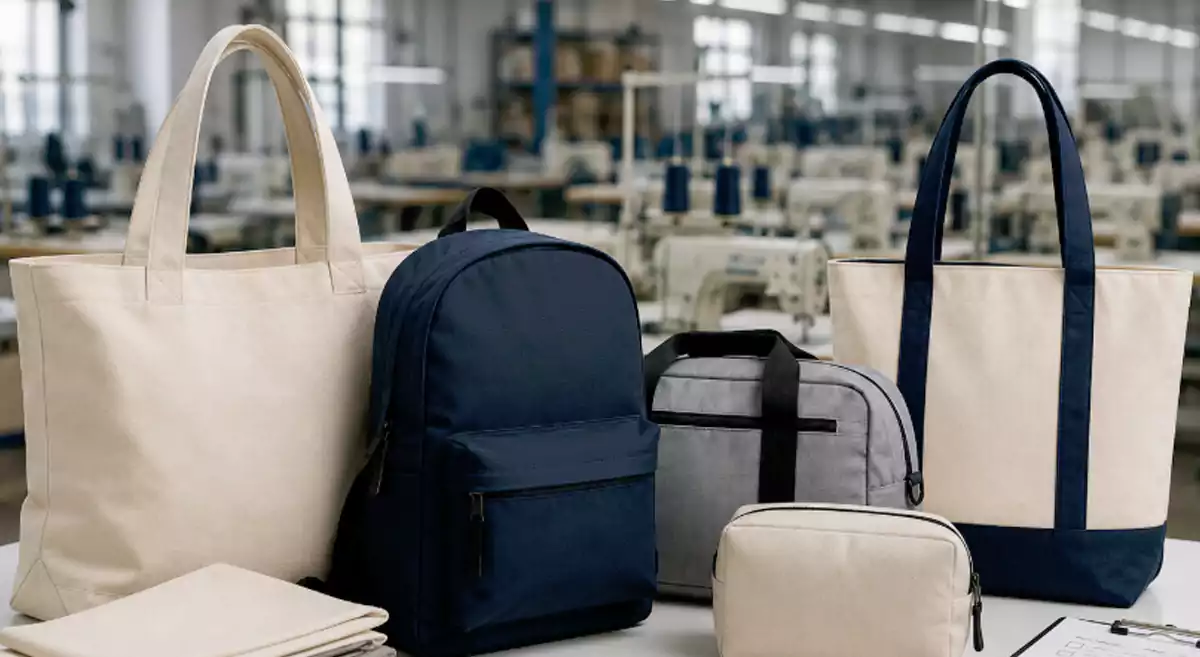
You just learned how to make a jewelry pouch from start to finish. Try quilting cotton or decorative fabrics for a fun look. Add larger pockets for watches or eight small ones for rings and earrings. When you use reusable fabric pouches, you help the planet by cutting down on waste and making something that lasts for years. Show off your project and inspire others to get creative, too! Ready to scale it for your brand? We manufacture custom jewelry drawstring bags with OEM/ODM support—choose sizes, fabrics, cords, and logo printing; request samples and a fast quote.
FAQ
How long does it take to make a jewelry drawstring bag?
You can finish a simple pouch in about 15 minutes. If you add pockets or decorations, you might need 30 minutes. Take your time and enjoy the process!
What fabric works best for beginners?
Cotton is easy to cut and sew. It does not slip around much. You can also try canvas or muslin. These fabrics hold their shape and make sewing simple.
Can I sew the pouch by hand?
Yes, you can sew by hand. Use small, tight stitches for strength. A sewing machine makes the job faster, but hand sewing works well for small projects.
How do I stop the fabric from fraying?
Tip: Use pinking shears to cut the edges. You can also sew a zigzag stitch along the edge or apply a little fabric glue to seal it.
What size should I make my pouch?
| Item Type | Suggested Size (inches) |
|---|---|
| Rings/Earrings | 6 x 8 |
| Necklaces | 10 x 12 |
| Watches | 8 x 10 |
Pick a size that fits your jewelry.
Can I wash my jewelry pouch?
You can wash most fabric pouches. Use cold water and gentle soap. Air dry the pouch to keep it looking new. Avoid washing if you use glue or delicate decorations.
What can I use for the drawstring?
You can use satin cord, cotton cord, ribbon, or even shoelaces. Make sure the cord fits through the channel and feels strong enough to hold your pouch closed.
How do I add pockets inside the pouch?
Mark pocket spots with fabric chalk. Sew straight lines to create sections. You can add small pockets for rings or larger ones for necklaces. Try using clear vinyl for see-through pockets.