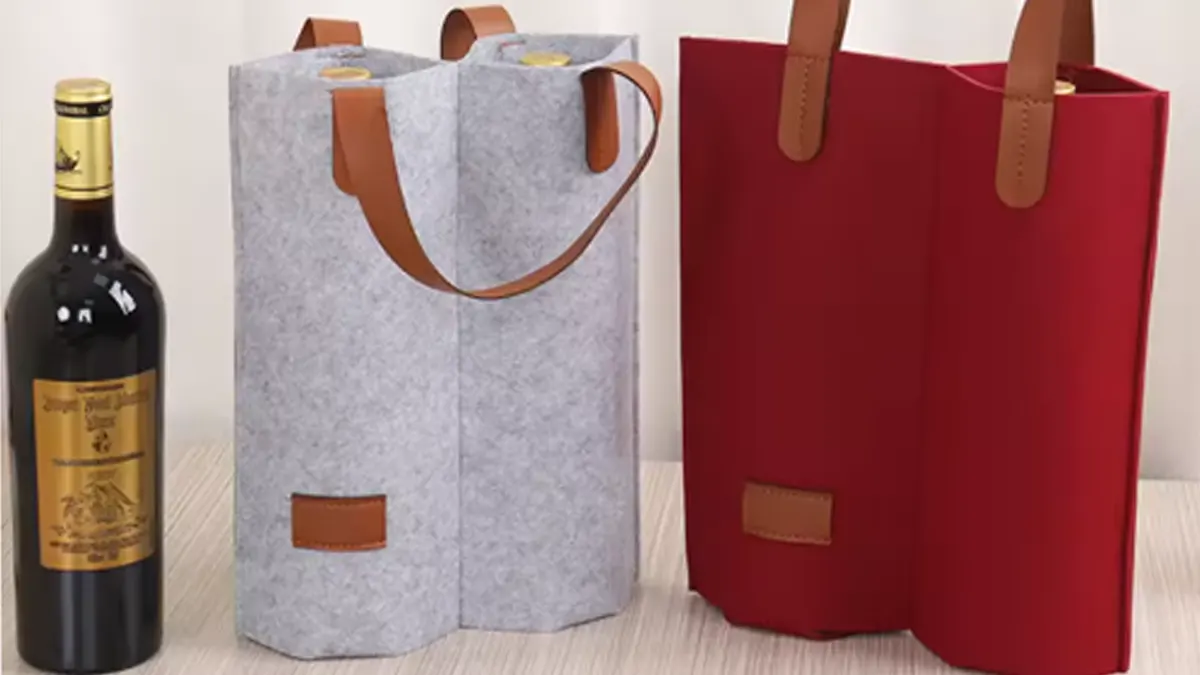
Flat bottom tote bags are not just trendy—they are super practical too. Compared to basic flat totes, a bag with a structured bottom gives you more space, better shape, and solid support for your stuff. Whether you are headed to the market, beach, or library, this bag style has your back.
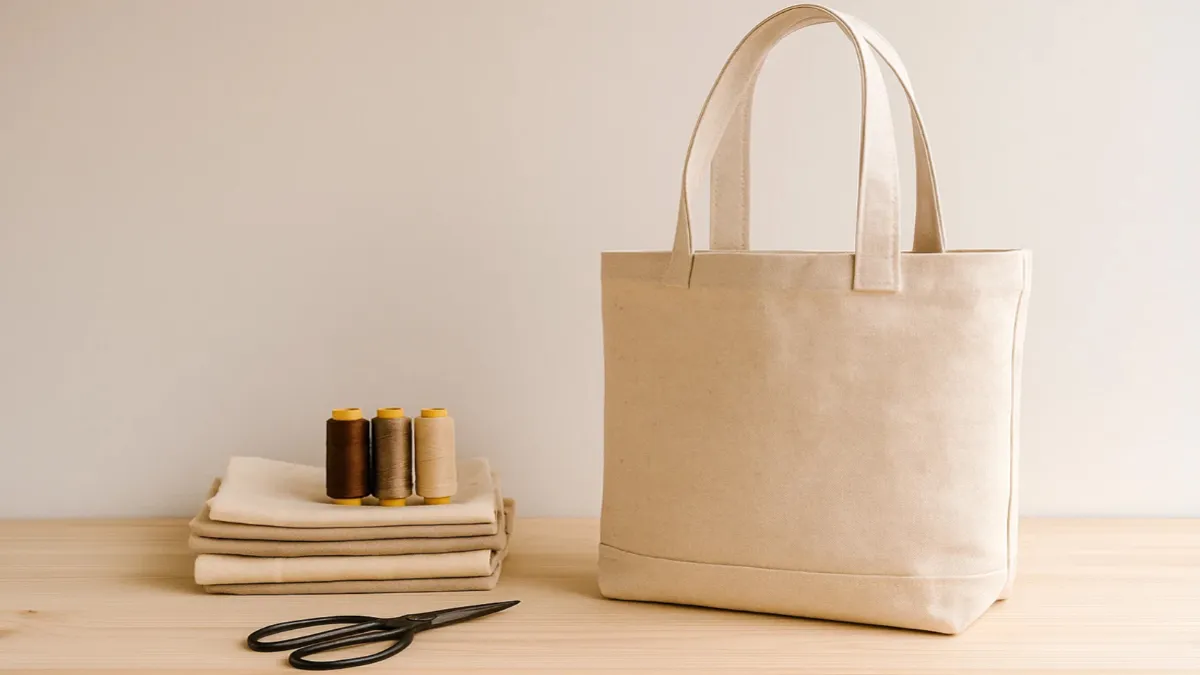
In this guide, we will walk you through every step—what materials to use, how to cut the fabric, sew it up, and even add extras like zippers and pockets. By the end, you will be ready to craft your very own flat bottom tote bag, even if you have never touched a sewing machine before.
Materials You’ll Need
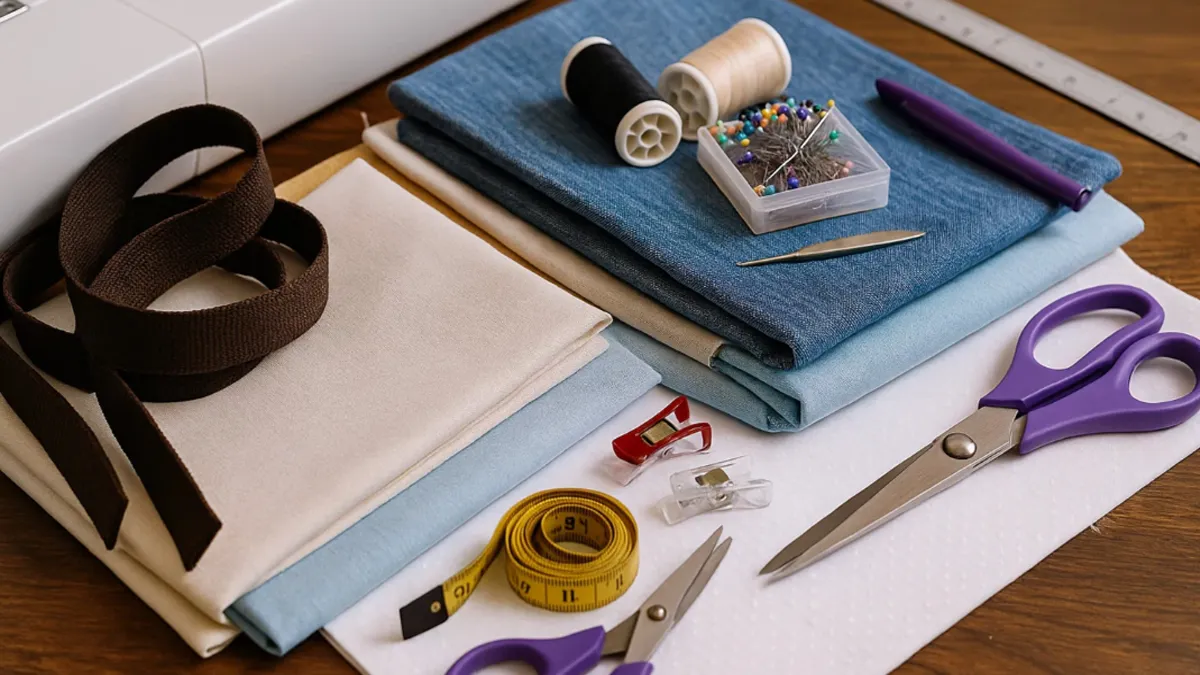
Before you dive in, let’s make sure you’ve got all the essentials. Here’s a list of what you’ll need to gather.
Essential Materials:
- Main fabric (canvas, cotton, PVC, denim, or even old curtains)
- Lining fabric (optional but gives a professional touch)
- Thread (to match or contrast—your choice)
- Interfacing or base stabilizer (for a stronger bottom)
- Handles (you can sew your own or use pre-made webbing)
Tools Required:
- Fabric scissors or rotary cutter
- Ruler or measuring tape
- Pins or clips
- Chalk or fabric marker
- Sewing machine
- Iron (for clean seams)
- Seam ripper (in case you make a mistake)
Material Comparison Table
| Material | Durability | Weight | Waterproof | Cost | Ease of Sewing |
|---|---|---|---|---|---|
| Canvas | High | Medium | No | Medium | Easy |
| Cotton | Medium | Light | No | Low | Very easy |
| Denim | High | Heavy | No | Medium | Moderate |
| PVC/Vinyl | High | Medium | Yes | Medium | More difficult |
| Jute | Medium | Heavy | No | Low | Moderate |
Deciding Size and Cutting the Fabric
It’s important to decide how big you want your tote to be before cutting your fabric.
Let’s take a standard example:
- Finished tote size: 14 inches wide × 16 inches tall × 4 inches deep
- You’ll need to add ½ inch seam allowance on all sides
Fabric Cut Dimensions:
- Exterior fabric: 2 pieces, each 15 x 17 inches
- Lining fabric: 2 pieces, same size (if used)
- Straps: 2 pieces, 22 to 26 inches long and about 1.5 to 2 inches wide
- Optional base stabilizer: 4 x 14 inches
Sizing Cheat Sheet
| Final Size (W×H×D) | Fabric Panel (Each) | Strap Length | Boxed Corner Cut |
|---|---|---|---|
| 14×16×4 inches | 15×17 inches | 22 inches | 2×2 inch square |
| 16×18×5 inches | 17×19 inches | 24 inches | 2.5×2.5 inches |
| 18×14×6 inches | 19×15 inches | 26 inches | 3×3 inches |
Once you’ve cut your fabric panels, also cut out squares from the bottom corners (these will form the flat bottom).
Sewing the Bag Body
Step-by-Step Instructions:
- Place the two outer fabric panels together, with right sides facing in.
- Sew along the two sides and the bottom using a ½ inch seam allowance.
- Cut out the bottom corner squares (as per your measurement).
- Open up the bottom corners, align the side seam with the bottom seam, and sew across the opening. This creates the boxed bottom.
- Repeat the above steps with your lining fabric if you’re using one, but leave a small gap at the bottom (about 3 inches) so you can turn the bag right side out later.
Tips:
- Backstitch at the beginning and end of each seam for strength.
- Press the seams open with an iron for a crisp finish.
Reinforcing the Bottom
This is the step that gives your tote that nice flat base.
You can use:
- Interfacing (fusible or sew-in)
- Foam stabilizer
- Plastic canvas
- Leather or faux leather
Cut the stabilizer to fit your base. You can either sew it directly into the seam or slip it inside later, before closing the lining. Some people also make a removable base insert, which you can slide into a hidden pocket inside the bag.
Attaching the Handles
You’ve got two main choices here:
Option A: Sew-In Handles
- Position each strap about 3 inches in from the side seam
- Sandwich the handles between the outer bag and the lining
- When you sew the top edge together, the handles get sewn in too
Option B: Top-Stitched Handles
- After turning the bag right side out, top-stitch the straps to the outside of the bag
- This gives you more control over placement
Make sure your handles are the same length and attached securely. A boxed X stitch (square with an X inside) is ideal for strength.
Strap Type Comparison Table
| Strap Material | Pros | Cons |
|---|---|---|
| Matching Fabric | Custom, matches bag | Takes time to sew |
| Webbing (nylon) | Strong, easy to use | Fewer color options |
| Leather | Elegant, durable | Requires tools |
Optional Add-Ons
You can totally keep your tote simple. But if you’re feeling adventurous, here are some extras to consider.
Adding a Zipper:
- Use a zipper foot
- Install the zipper between the exterior and lining layers
- Optional: use topstitching for a clean finish
Adding Pockets:
- Cut a square of fabric
- Fold and sew three sides to the inside of the lining
- You can also add outer pockets for extra storage
Other Ideas:
- Magnetic snap closure
- Metal hardware
- Decorative patches or labels
- Vinyl print or hand-painted design
Putting It All Together
Now it’s time to assemble your bag.
- Insert the lining into the outer bag, right sides facing.
- Align the seams and handles carefully.
- Sew around the top edge with a ½ inch seam.
- Turn the bag right side out through the hole in the lining.
- Push the lining into the bag and press everything flat.
- Topstitch around the top edge for a finished look.
- Close the hole in the lining with a straight stitch or by hand.
Your flat bottom tote is ready.
Common Mistakes and Fixes
Problem: Bag looks saggy
Fix: Use thicker stabilizer or add a structured base insert
Problem: Uneven corners
Fix: Double-check your boxed corner measurements before sewing
Problem: Handles feel loose
Fix: Use stronger thread and reinforce with X-box stitching
Tips:
- Always iron your seams
- Take your time pinning layers
- Use clips instead of pins on vinyl or PVC to avoid leaving holes
Design Variations
Once you’ve got the basic method down, you can start customizing.
Ideas to Try:
- Reversible tote with two print fabrics
- Oversized beach tote with mesh pocket and waterproof lining
- Laptop bag style with padded bottom
- Small gift totes with drawstring tops
- Clear PVC tote with colorful edging
You can even sew matching accessories like pencil cases or zipper pouches.
Why This Style Works for Everyday Use
Flat bottom totes just make sense. They’re more stable, roomy, and stylish than floppy flat totes. Plus, they work well for almost any use:
- Grocery shopping
- Book bag
- Office or laptop bag
- Baby bag
- Gym tote
- Travel carry-on
With the added depth, nothing gets lost in the corners, and your stuff stays upright.
This design also looks more polished, which is great for gifting or even selling as part of a handmade brand.
Conclusion
Flat bottom tote bags are a smart choice for anyone who wants a bag that’s both practical and stylish. Whether you’re crafting one for yourself, creating handmade gifts, or building a product line, the possibilities are endless once you master the basics.
But if sewing isn’t your thing, or you’re looking for larger quantities, custom branding, or bulk pricing—we’ve got you covered. As a trusted manufacturer, we help businesses and creators turn their tote bag ideas into high-quality products, ready for the market.
Get in touch today to learn more or request a quote.
FAQs
Can I hand sew this bag if I don’t have a machine?
Yes, but it will take longer. Use strong thread and a backstitch for seams.
What’s the best beginner fabric?
Cotton or canvas. They’re easy to cut, don’t shift around, and press cleanly.
Can I wash my finished tote bag?
If it’s cotton or canvas, yes—wash cold and air dry. PVC bags should be wiped clean with a damp cloth.
How do I make the base more stable?
Use a stiffer base insert or sew in plastic canvas or heavy-duty interfacing.
Can I sell bags made using this tutorial?
Of course. Add your own twist and use this as your base pattern. Many handmade businesses started this way.